Introduction
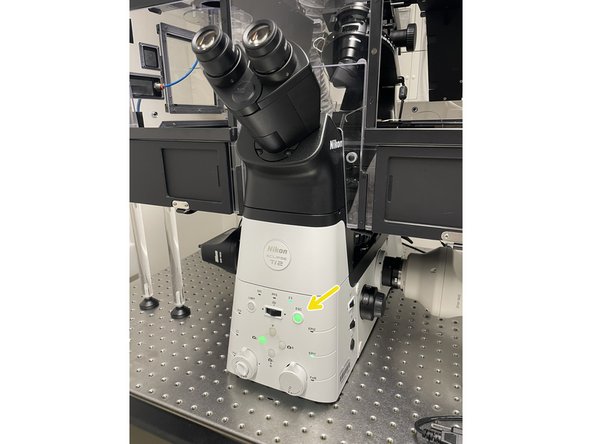
This guide will walk you through the startup process of the widefield Nikon Ti2 microscope, located at the Balgrist Campus, Room Microscopy 3 W.112.
If you are not familiar with the location at Balgrist Campus, read How to get to the ZMB at Balgrist Campus.
And find a detailed infomration about this system in here.
-
-
Fluorescent camera - always ON
-
RGB camera - always ON
-
Control unit
-
Computer
-
-
-
Switch on the control unit
-
Switch on the computer
-
Log into your CORE account, once the computer is booted
-
There is no need to switch on the cameras as they should be always on
-
-
-
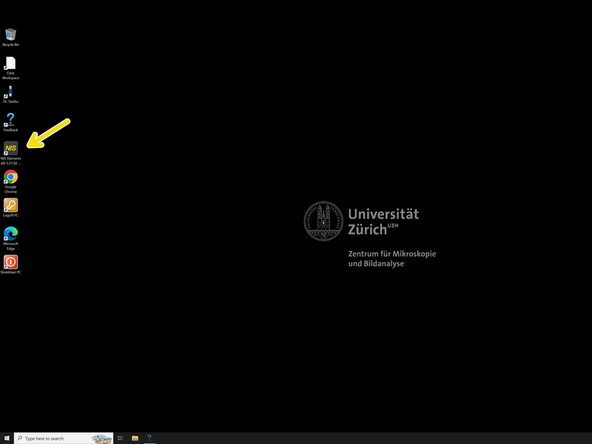
Open Nikon SW "NIS-Elements"
-
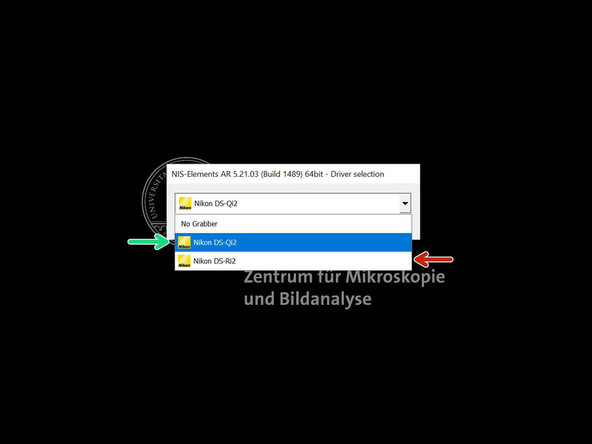
Choose camera
-
If you want to acquire RGB images choose the DS-Ri2 camera.
-
If you want to acquire fluorescent images choose the DS-Qi2 camera.
-
Press OK
-
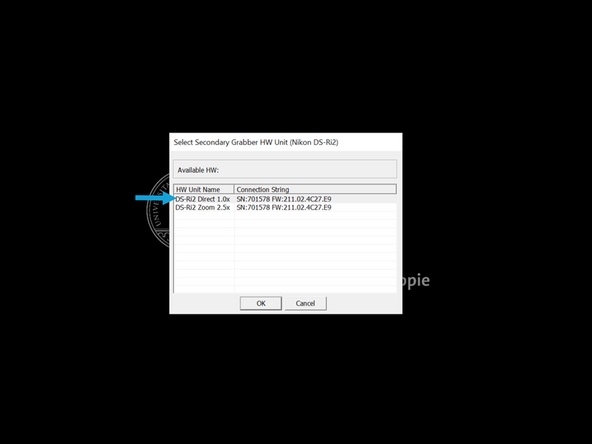
Select DS-Ri2 Direct 1.0x (only when you are logging for the first time)
-
-
-
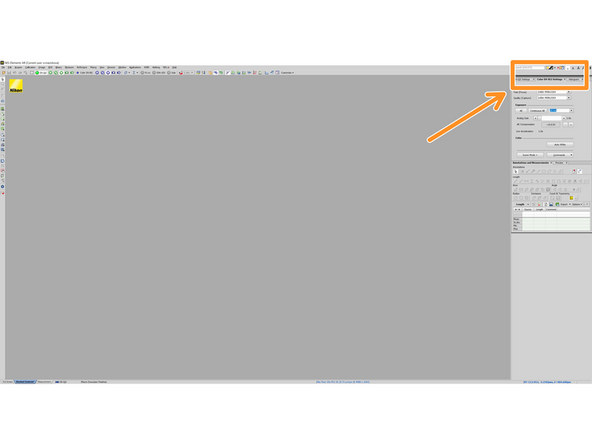
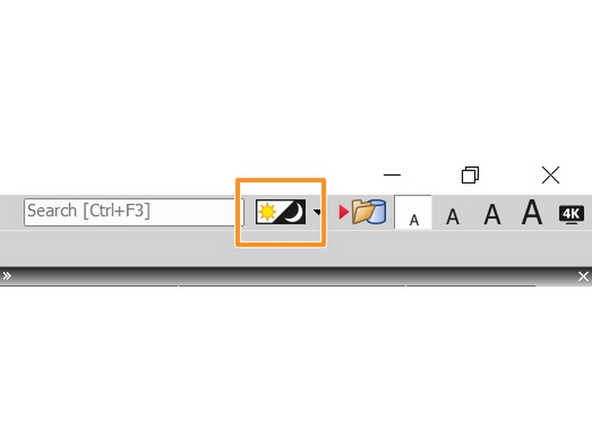
Change the color of the software to more visually appealing option - BLACK
-
This setting only needs to be activated when you log in for the first time.
-
-
-
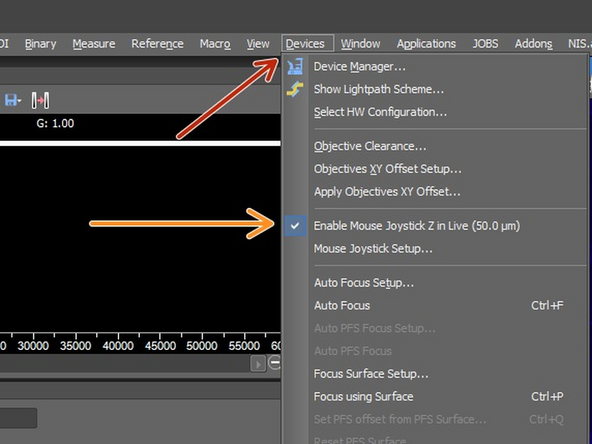
Open devices
-
Enable mouse joystick Z in live
-
With this setting active, you can use the mouse in the software to move in XYZ axis.
-
This setting only needs to be activated when you log in for the first time.
-
-
-
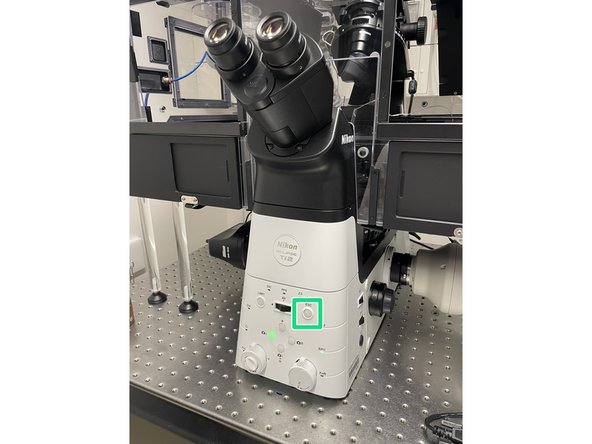
Press the escape button
-
With this you will lower the objective to the lowest position.
-
The escape button will appear green. Now press and hold for 1-2 sec until it appear grey again.
-
With this step you will reset the last remembered position of the objective. In this way, you will ensure that when mount sample you won't crash the objective with your sample.
-
-
-
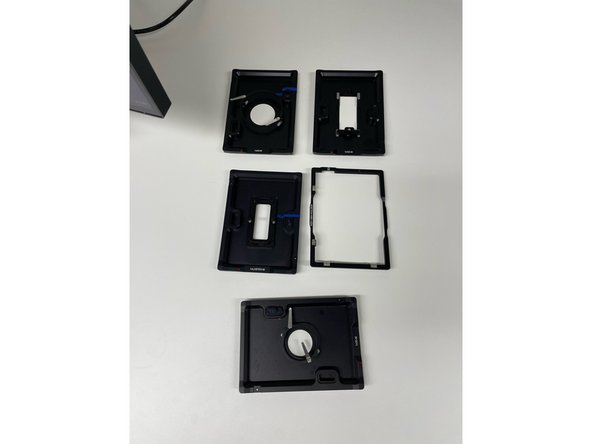
On the tables lies multiple stage inserts.
-
35 mm dish, 60 mm dish, Lab-Tek, Slides, multi wells, etc. ...
-
Choose one of those based on your sample and proceed to the next step.
-
-
-
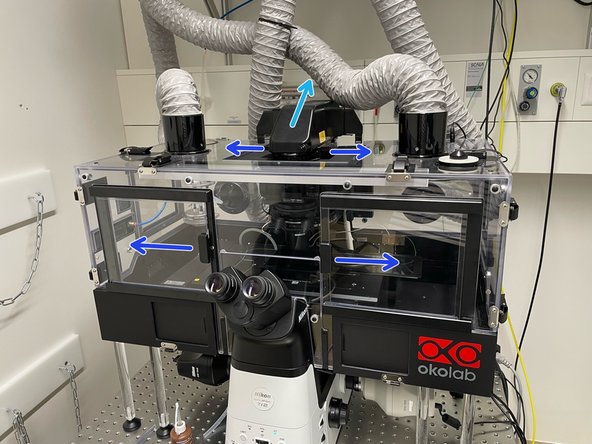
Open the front and top sliding covers of the box.
-
Lean back the condenser arm
-
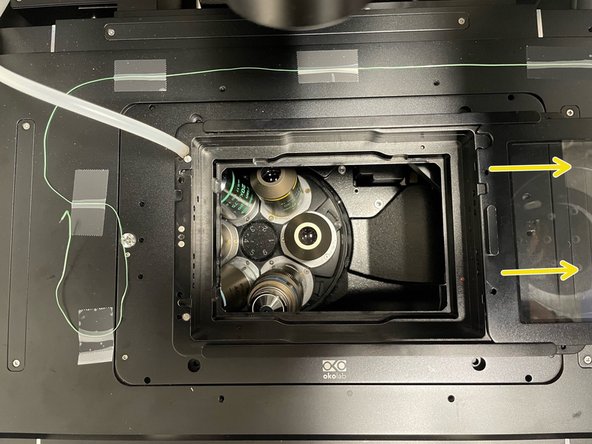
Open the Okolab lid
-
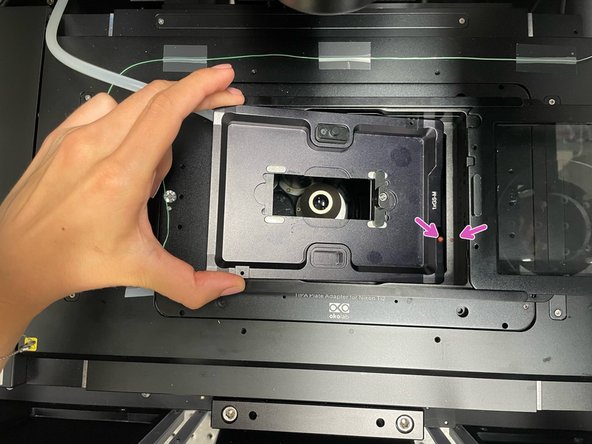
Place the insert into the stage and ensure that the red dot on the insert aligns with the red dot on the stage in the same corner
-
It will attach to the chamber using magnet.
-
-
-
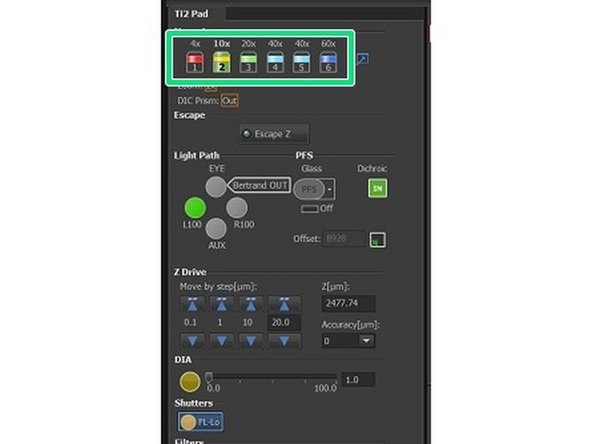
Locate the Ti2 Pad window in the software and choose objective.
-
If you go with the immersion objective, add the water/oil to the objective in this step.
-
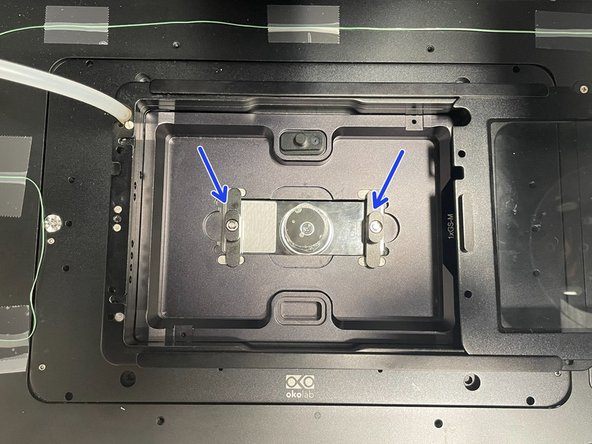
Mount the sample in the stage. You may want to arrest it with magnetic holders.
-
As an example there is a magnetic holders for standard slide, but similar magnetic cage can be used also for the dishes. You will find it on the table.
-
-
-
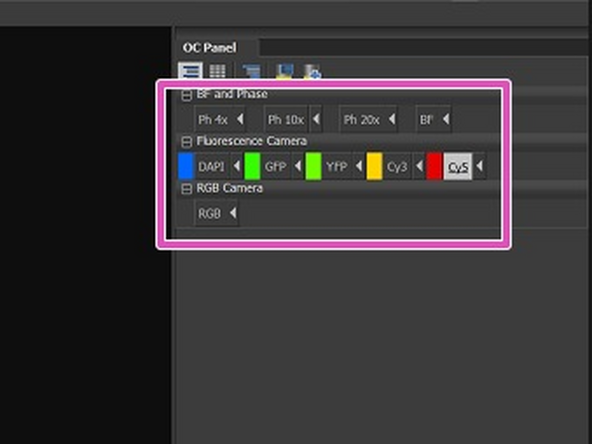
Choose the Optical configuration (OC). Click here for intructions
-
If your samples are stained with DAPI, it is recommended to use it for focusing as it provides usually good contrast.
-
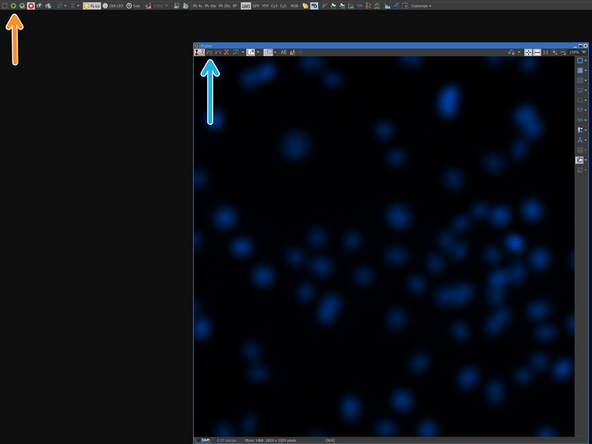
Go Live in the software (Play icon).
-
Press the Autoscale button (Histogram with Play icon. This will ensure that the Histogram will be scaled and you won't miss focal plane even with a weak signal.
-
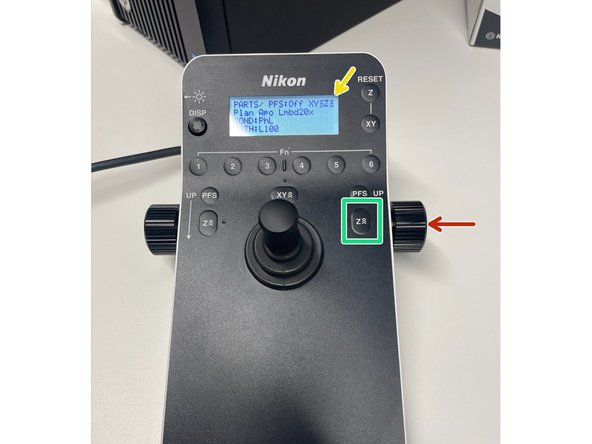
Go up with the objective rotating the knob towards yourself.
-
The number of arrows indicates you the speed of movement. (3 arrows = fastest)
-
You can change the speed with this button
-
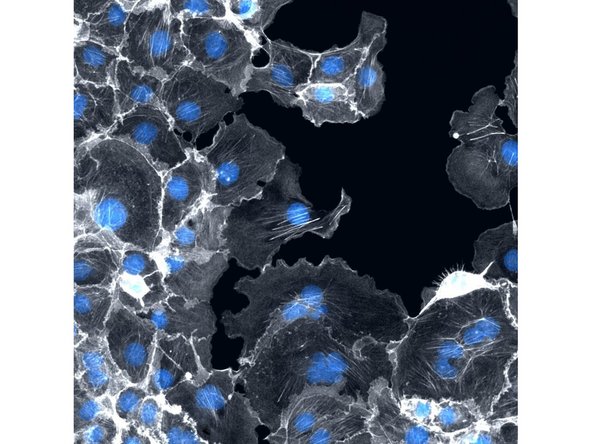
Start with 3 or 2 arrows and go up carefully, until you will hear gentle beeping with which microscope indicates you are near to the focal plane. Then change the speed to 1 arrow and find your focus.
-
-
-
Or continue with the help of our other guides
-
-


