Introduction
How to power off/ power on the K3 of the TEM - Thermo Fisher Titan Krios G3i located at the Center for Microscopy and Image Analysis (ZMB), Irchel Campus, room Y24-F-11, UZH, Zurich, Switzerland.
The K3 power off/ power on cycle needs to be performed when either the camera or the energy filter is not inserting (or retracting), or not responding.
If the energy Filter does not have any issue, do not restart the GIB (skip step 4 and 5).
-
-
The power off and power on cycle should be done when there are issues at the K3 camera that a restart can fix. I will list few examples below.
-
A camera restart takes 30 minutes, and typically you should re-do the energy filter tuning and gain reference afterwards. Do it only when really sure that the issue is the camera. When in doubt, call the CryoEM specialists of ZMB.
-
The computer is completely frozen, the screen is blue and you don't see any program/reaction.
-
The Camera is refusing to insert, or to retract.
-
Digital micrograph (DM) crashed already few times, and restarting only DM does not help.
-
The Camera health is grey, or red, because there is no data connection.
-
-
-
The camera is more stable upon restart if it is set at 20 ° C.
-
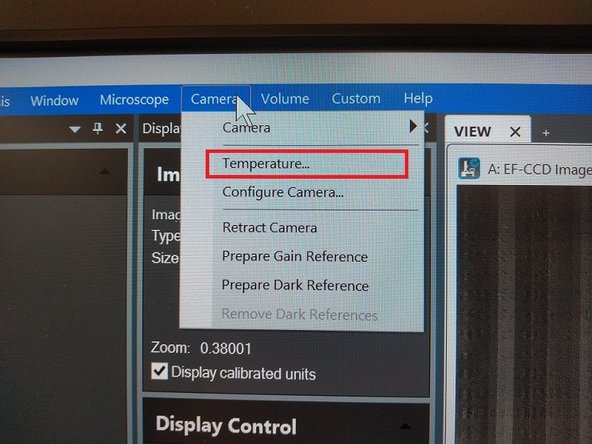
To set the temperature at 20 ° C select "Camera" -> "Temperature..." in the DM Menu.
-
Set 20 ° C as target temperature.
-
The software will ask you if you want the camera to be at 20 ° C also when DM is launched again -> say "Yes".
-
-
-
Close DM
-
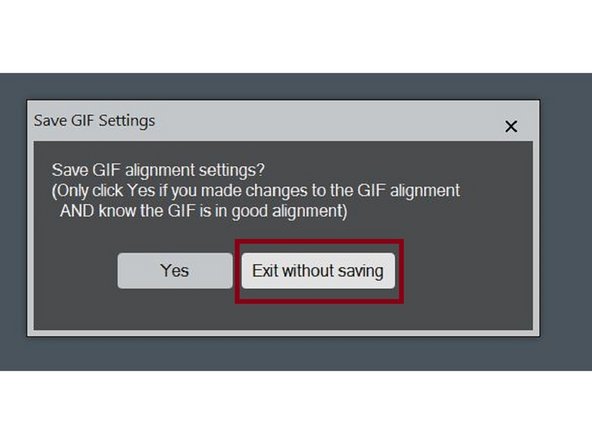
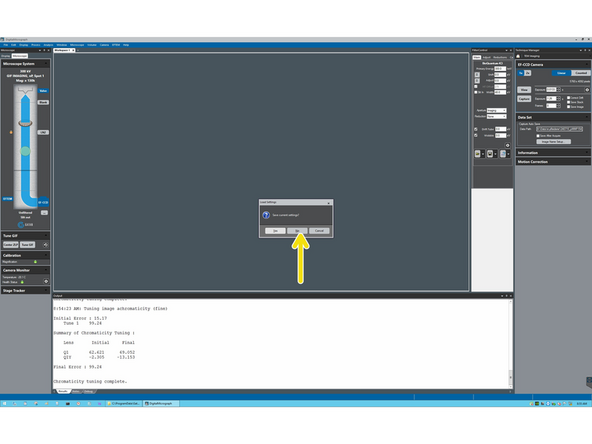
The software will ask you if you want to save the GIB alignment. Click 'Exit without saving'.
-
Shut down the Computer
-
-
-
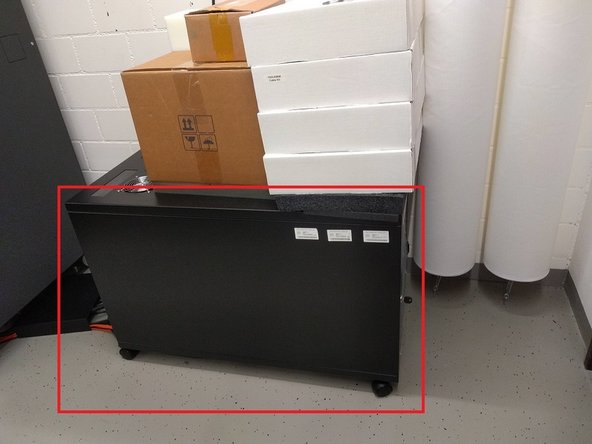
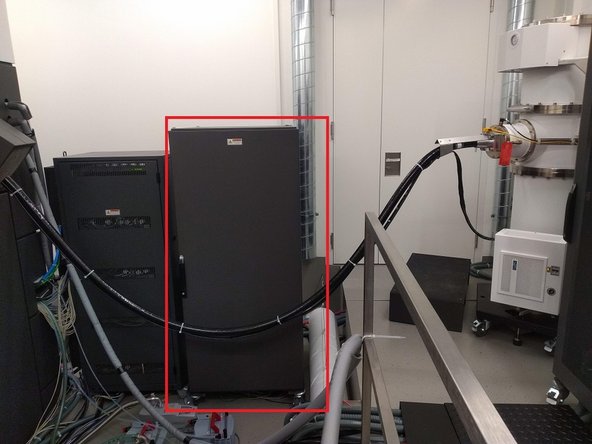
Locate the rack for the K3 computer and power supply at the back of the room.
-
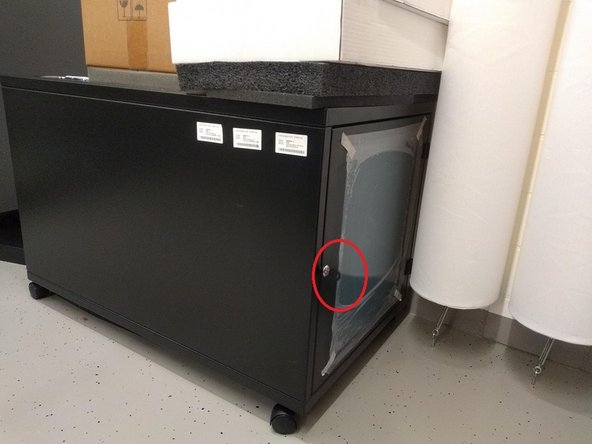
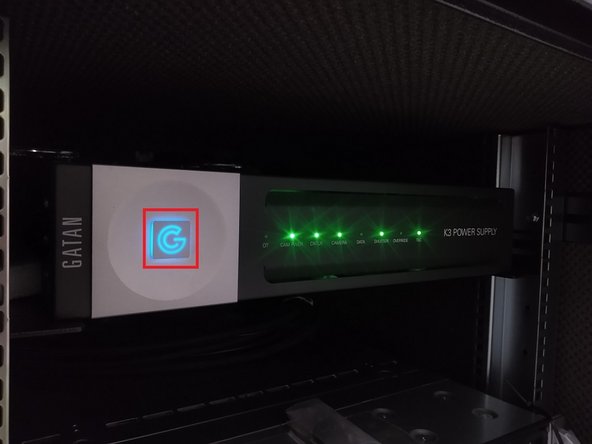
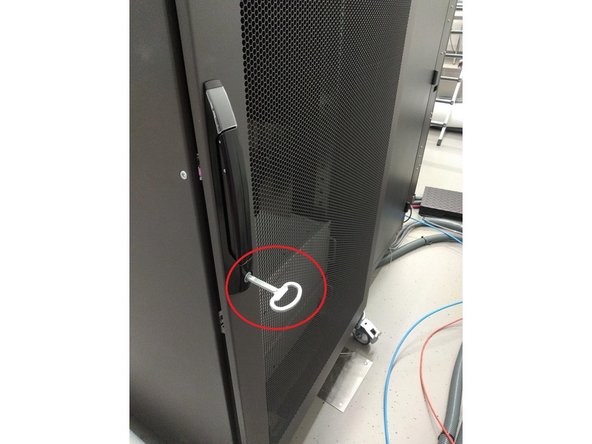
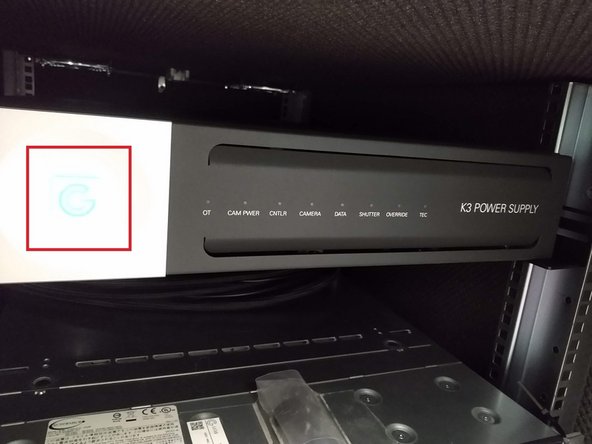
Open the rack with the key (that is always inserted) and switch off the K3 Power supply pushing few seconds the big blue G until the green lights are off.
-
Wait 30 sec before the next step.
-
-
-
GIB (Gatain Instrumentation Bin) OFF only if there is a problem with the energy filter.
-
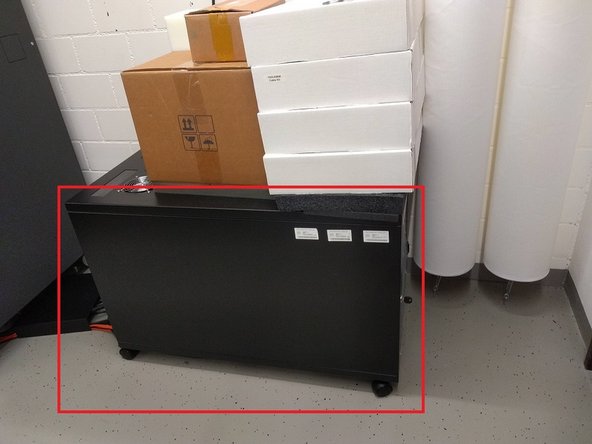
Locate the big rack at the back of the room where the GIB (Gatan Instrumentation Bin) is located.
-
Open it with the key that is on top of the rack.
-
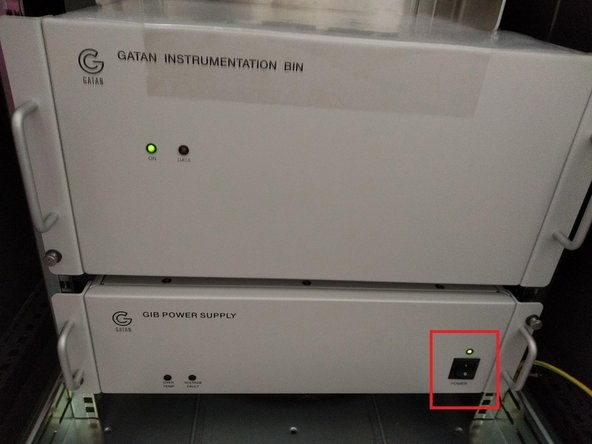
Switch off the GIB power supply.
-
Wait 30 sec before the next step.
-
-
-
GIB ON only when step 4 was performed (if there is a problem with the energy filter).
-
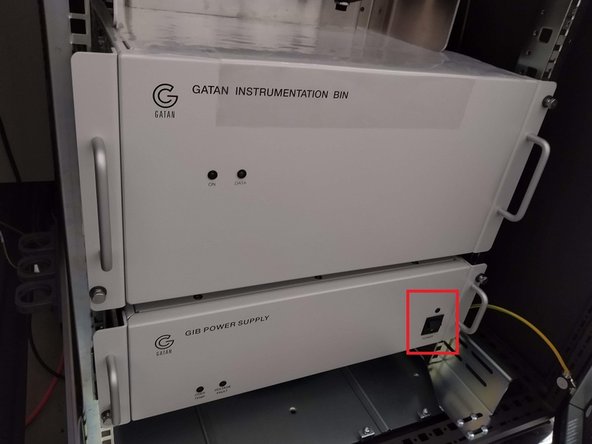
Switch GIB power supply ON.
-
Wait 30 sec before the next step.
-
-
-
Go back to the K3 rack, The green lights are off, but the blue G is should be pulsating.
-
Switch on the K3 power supply pushing the blue G for few seconds.
-
Now the led lights will switch on with the following order: CTR → camera power → camera → tec.
-
Only when also TEC is on can you proceed with the following step. This might take few minutes.
-
-
-
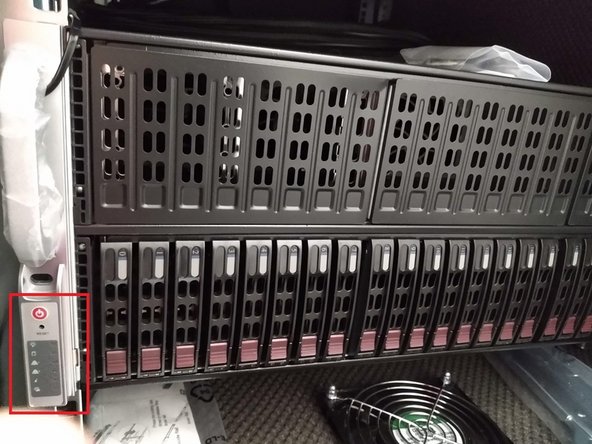
Just bellow the K3 computer, in the K3 rack, you will find the K3 power supply.
-
Switch on the K3 computer by pushing the little red button.
-
The K3 computer is really noisy, close the K3 rack again.
-
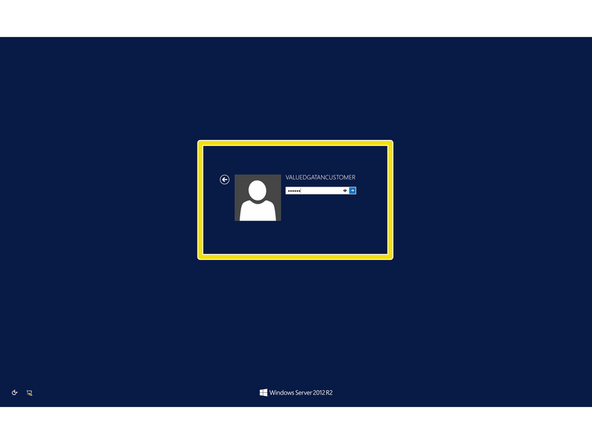
Go back to the computer, and log in using the credentials: USER: VALUEDGATANCUSTOMER; PWD: $admin.
-
Launch DM.
-
-
-
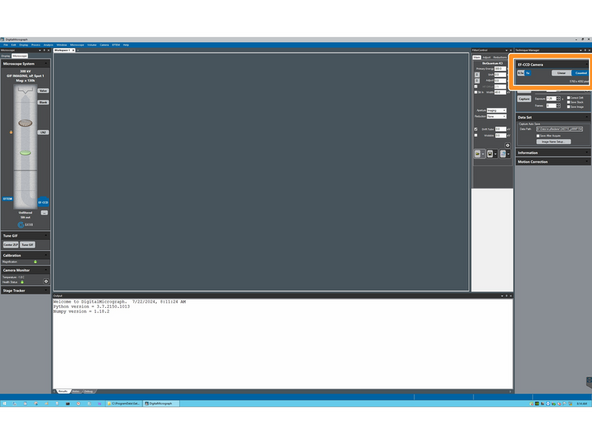
Before proceeding to Gain Reference acquisition wait until the camera temperature is at -20 °C.
-
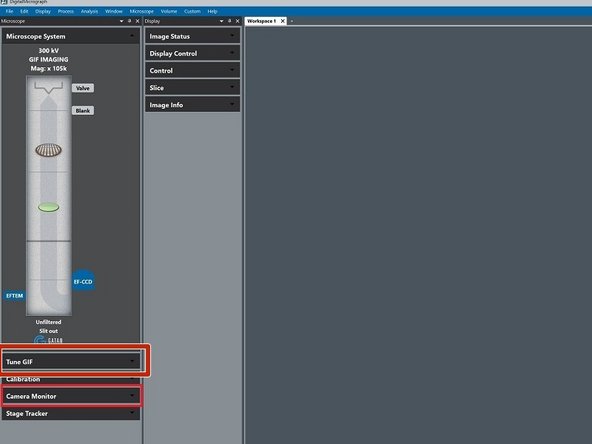
In DM locate and open the 'Camera Monitor' and 'Tune GIF' panels.
-
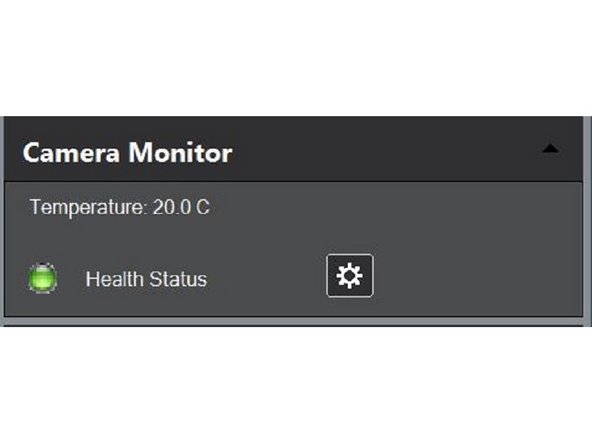
Check the camera status. In the image, the camera is healthy (green color). If the camera would be unhealthy, it will display a red/orange color.
-
If the camera is unhealthy, inform/call the ZMB staff.
-
If the camera is healthy, proceed to change the temperature.
-
-
-
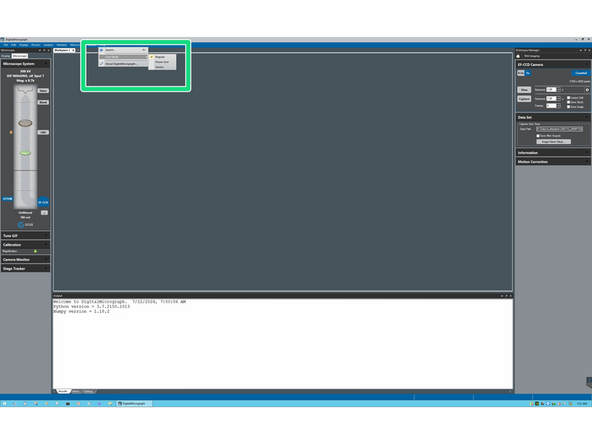
To be able to select the imaging mode, and control the energy filter you must be in Power User mode
-
In Help -> User Mode -> Check your user mode. If the Power User is not activated, do so by simply clicking on it.
-
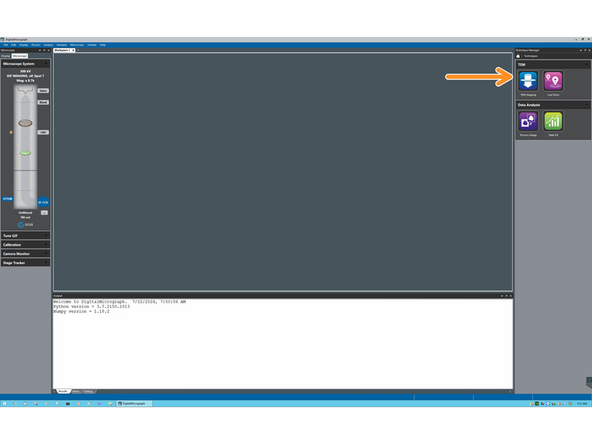
Click on 'TEM imaging'. Make sure you are in 'Counted' mode and 1x bin.
-
-
-
On the Dm Menu, select "Camera" -> "Temperature.."
-
Set -20 ° C as target temperature.
-
Set the camera to be at - 20 ° C also when DM is launched again.
-
-
-
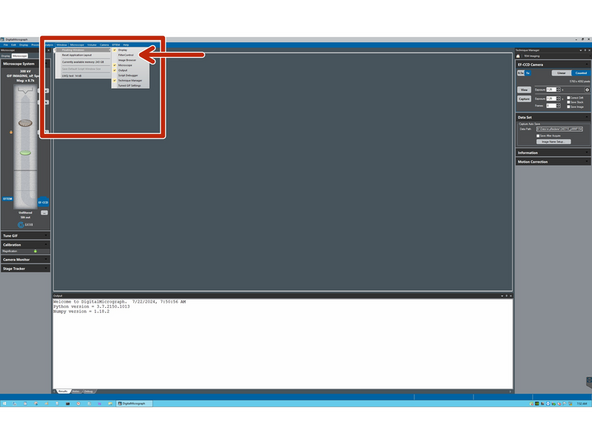
Go to 'Floating windows --> Filter control'.
-
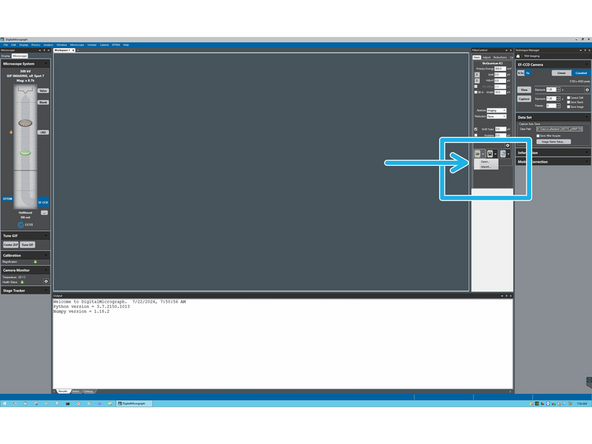
Click on 'Open' in the 'Filter control' window and load the latest GIB settings. The file is called 'GIB Settings CURRENT.gdfx' and is located in C\ProgramData\Gatan\Prefs.
-
The software will ask you to save the current settings. Click 'No'.
-
-
-
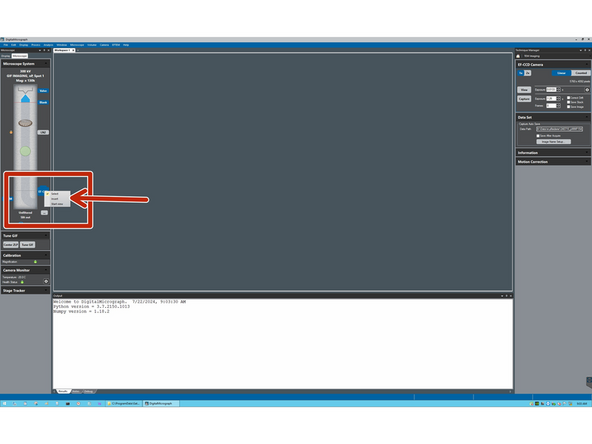
Insert the camera by right click on the camera symbol and selecting 'Insert'.
-


