
-
-
The correct start up sequence is very important for proper microscope function. Carefully follow the next steps.
-
The numbers in brackets correspond to the sticky labels on the microscope.
-
Turn the key on the CSU-W1 Yokogawa unit (1) to ON.
-
Switch on the two cameras. You will find a switch on the back of each one of them.
-
Make sure the "Status" LED next to the switch is green before turning on the PC at step 6.
-
-
-
Open the rack door.
-
Locate the lasers controllers on the top shelve (2).
-
Also locate the controller boxes on the shelve bellow (3).
-
-
-
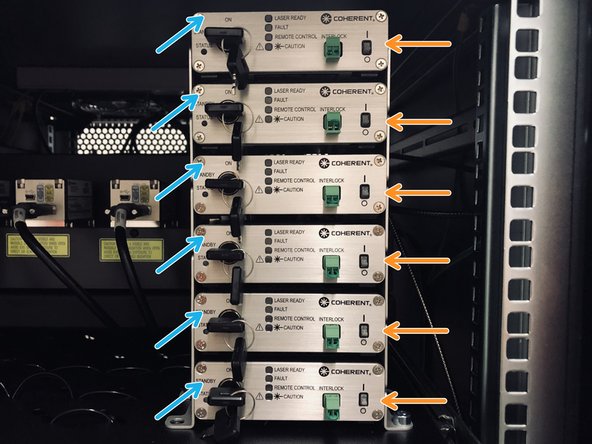
First turn on all 6 laser switches (2).
-
Wait until ALL the laser lights stop blinking.
-
Next turn the 6 interlock keys on the left.
-
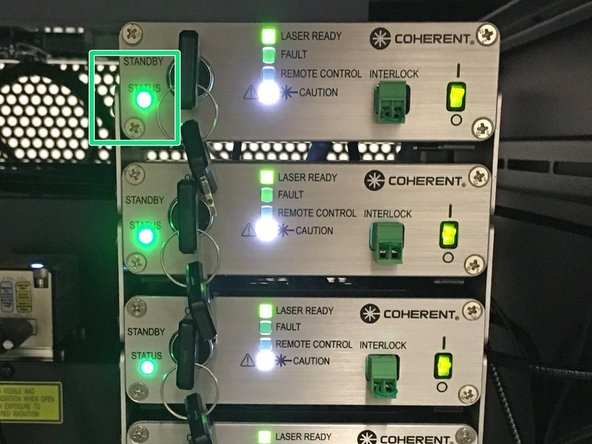
The status lights should now be all green.
-
If there is a blue light instead, turn the key off and on again.
-
-
-
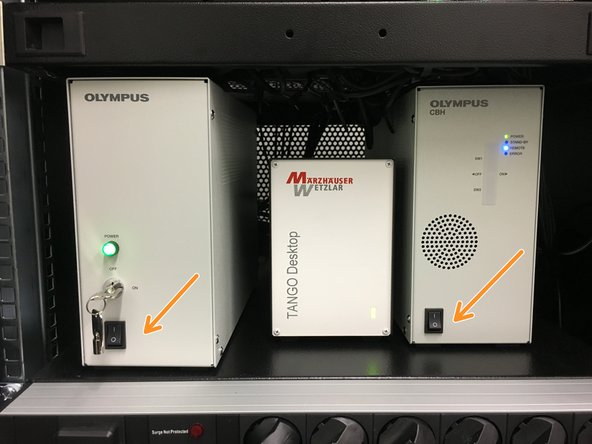
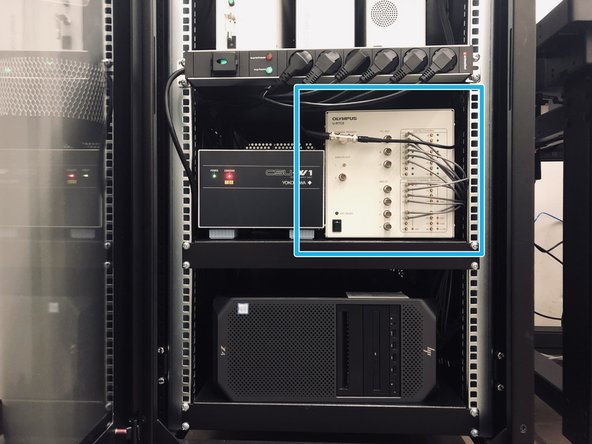
On the lower shelf switch on the two Olympus controller boxes (3).
-
-
-
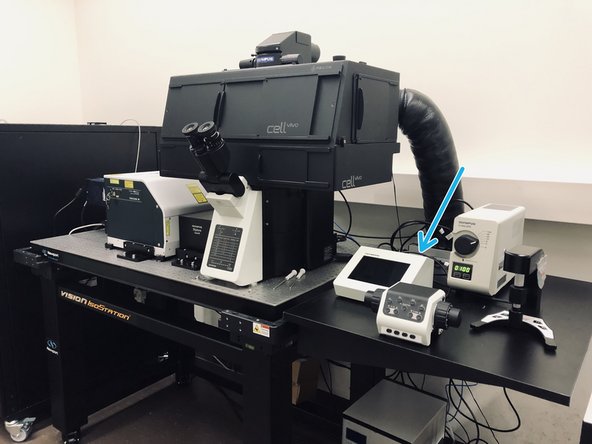
Next switch on the microscope controller. You will find a button on the back of the touch screen controller (4).
-
Wait until "Start Operation" is visible on the display panel.
-
-
-
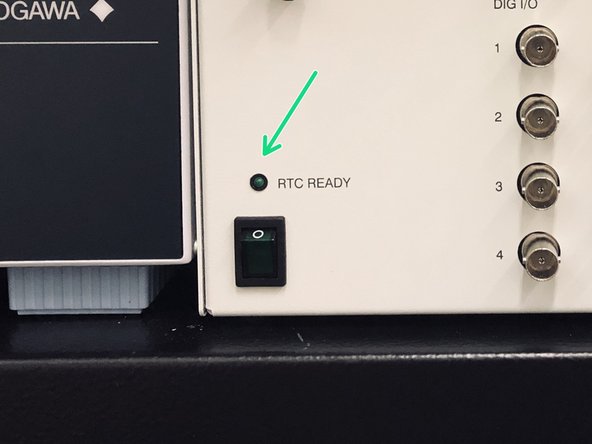
Return to the Olympus rack and switch on the RTC Box (5).
-
Wait for the "RTC READY" light to turn green! It might take a couple of minutes.
-
Make also sure the "Status" LED at the back of the camera next to the switch is green.
-
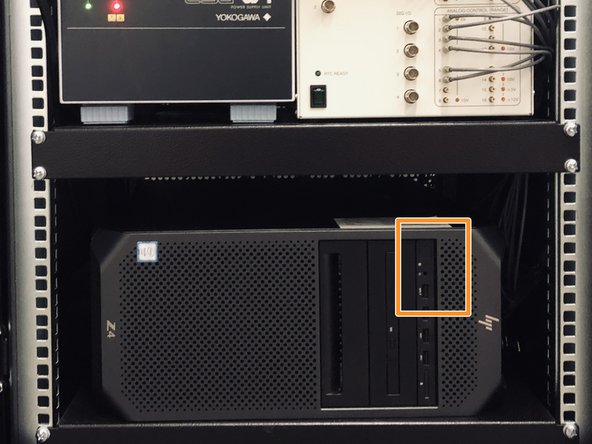
You can now switch on the computer (6).
-
-
-
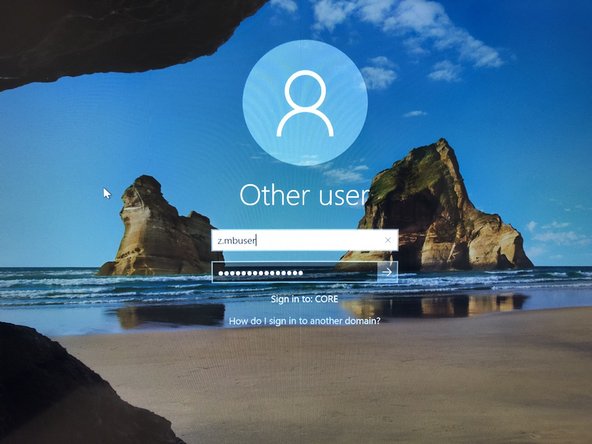
Log in with your ZMB credentials
-
-
-
Start "cellSens Dimension" software.
-
-
-
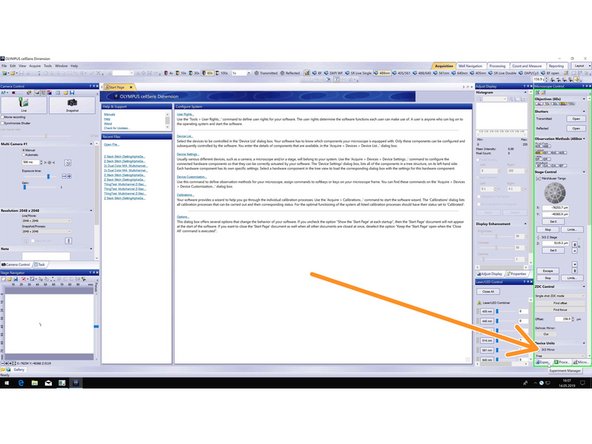
Open the "Experiment Manager" tab on the bottom right.
-
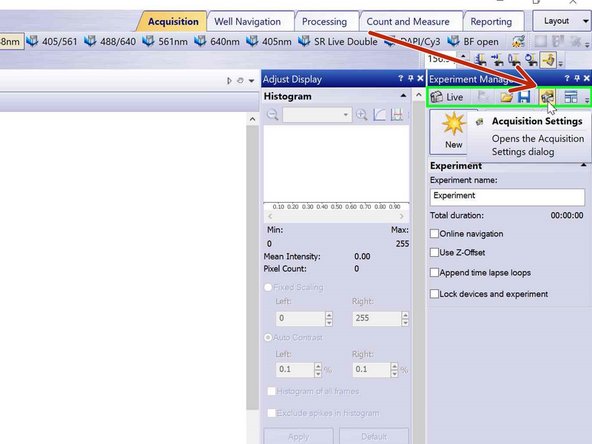
Define where your data will be saved by clicking on the "Acquisition Settings" icon.
-
-
-
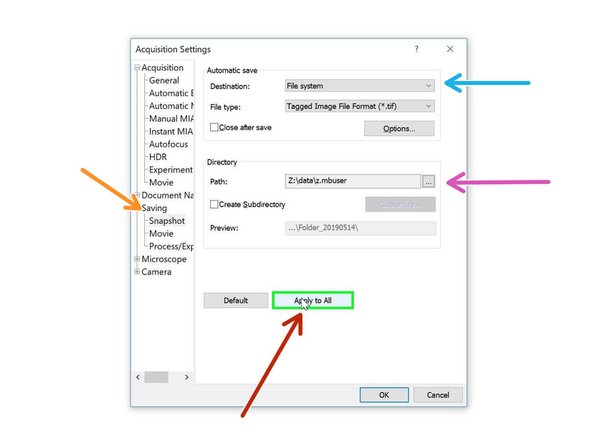
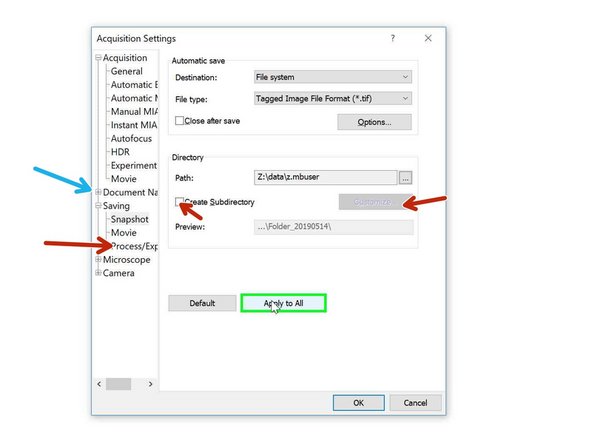
Go to "Saving".
-
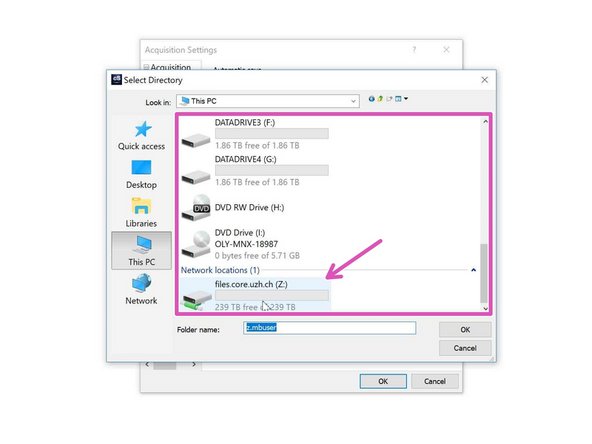
Choose file system as "Destination".
-
Choose your personal zmb data path folder on files.core.uzh.ch.
-
If you plan to acquire large data sets (eg. multiposition timelapses, large volumes, etc.) please use the X: drive. More details here.
-
Finally press "Apply to All".
-
-
-
When acquiring multipositions you can custom define the naming of your files/ experiments.
-
You can change file naming here.
-
Or create subfolders containing each well ID e.g.
-
To set up an experiment go to Olympus Spinning Disk - 2: Multichannel + Z-stack acquisition.
-


Cancel: I did not complete this guide.
One other person completed this guide.
