Introduction
This guide will show you how to organise your profile in NIS-Elements.
-
-
OC = Optical configurations, are like channels. In order to detect only signal from a specific dye, there has to be a specific filter/dichroic mirror, etc. in the optical path. And so that we don't have to set these elements manually in the SW, they are saved in so-called OCs.
-
There is a set of pre-defined OCs available in your profile
-
This OCs are shared across users - and therefore the attributes like exposure time, bit depth, ROI, ... can be changed by anyone
-
If you want to have a private OCs and be sure you have consistent settings for your measurements we recommend to duplicate them in your folder
-
-
-
If you want to create a sub-folder for your OCs:
-
Click on the New Group and name the folder
-
New groups will display below the shared OCs
-
We recommend to follow the structure and create a sub folder each for WF, SD and DIC (if needed)
-
-
-
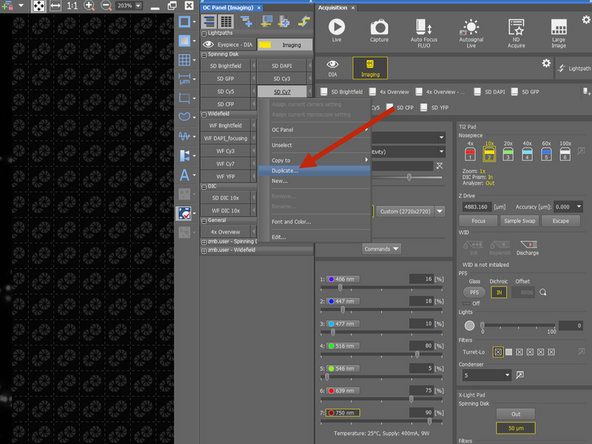
Right-click on the OCs you would like to use and duplicate
-
Rename the OC - in this case we used the original name and initials from Zmb User
-
For the naming you can also use what makes sense for you - e.g. excitation laser (488), or name of the dye you are using (GFP)
-
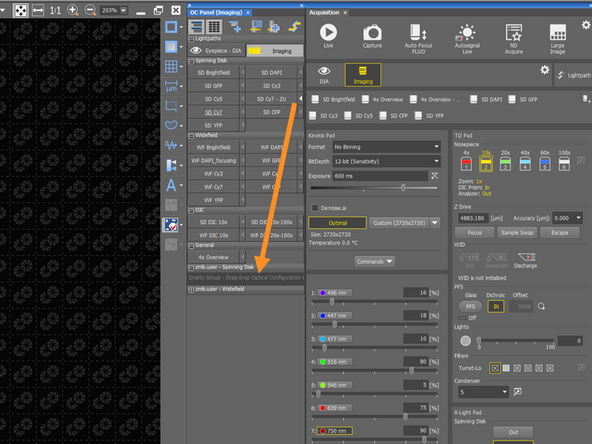
Drag and drop to your folder
-
With this, the OCs became your private ones - meaning, if you want to use consistent bitdepth or exposure time it will be saved in your OC
-
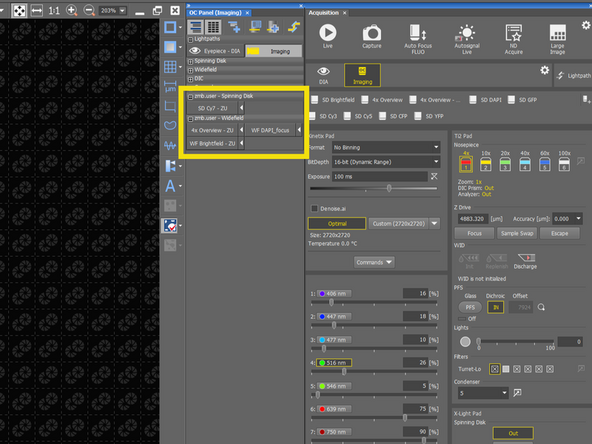
They will appear in your folder.
-
You can like that copy only those you are using for your experiment - in this case: WF DAPI and BF, and SD Cy7
-
-
-
This step will help you to adjust the OC panel, so you can have an easy access to those that you use the most
-
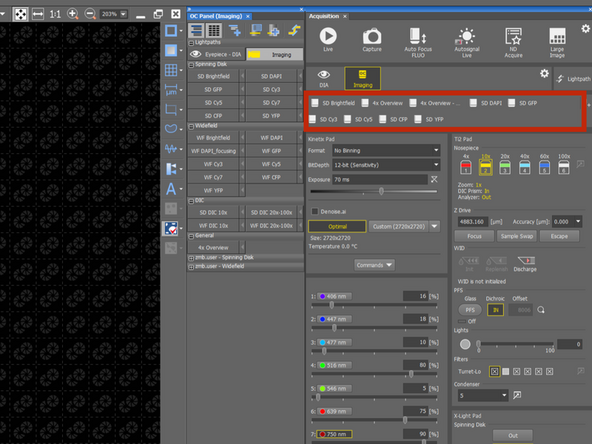
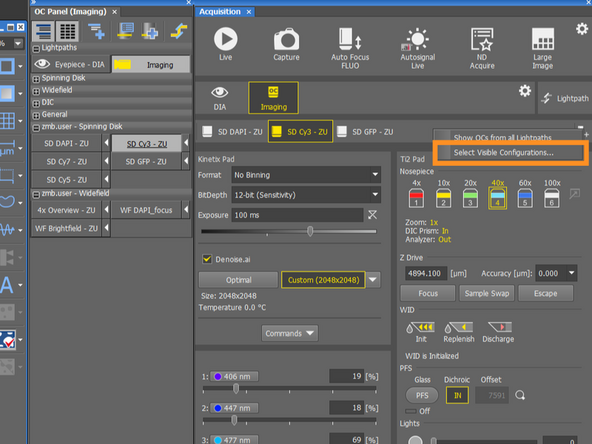
Localize the easy access OC panel
-
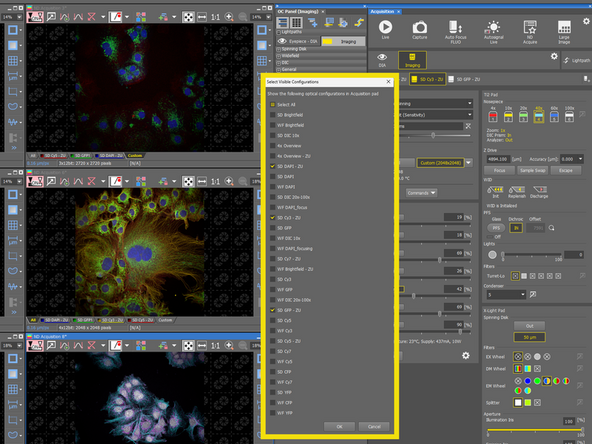
Right-click on the panel and choose Select Visible Configurations
-
You can choose which of these OC you want to have displayed on the panel above for easy access.
-
-
-
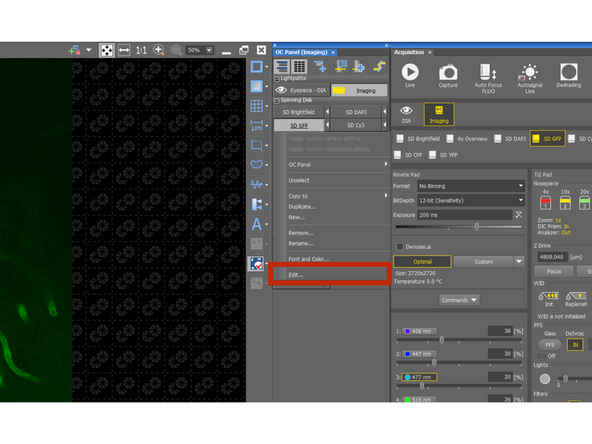
Rightclick on your OC and choose Edit
-
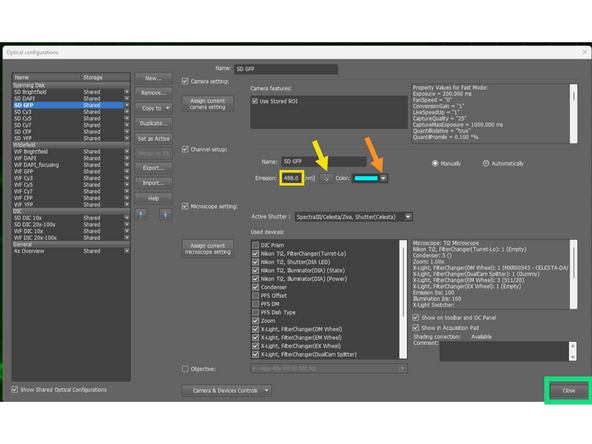
You can choose from drag-and-drop menu from predefined colors
-
Or you can specify color by wavelength and assigning by clicking on the arrow
-
Once you are happy with new color, you can close the window and changes will take place
-


