-
-
Start computer and login using your Core Account
-
Press the main power switch on the table
-
-
-
Move up camera switch. A light will turn on at the active camera.
-
Start microscope by pressing the silver button on the microscope body (left side). The touch panel on the table next to the keyboard will become active.
-
-
-
Sign-in with your ZMB core credentials.
-
-
-
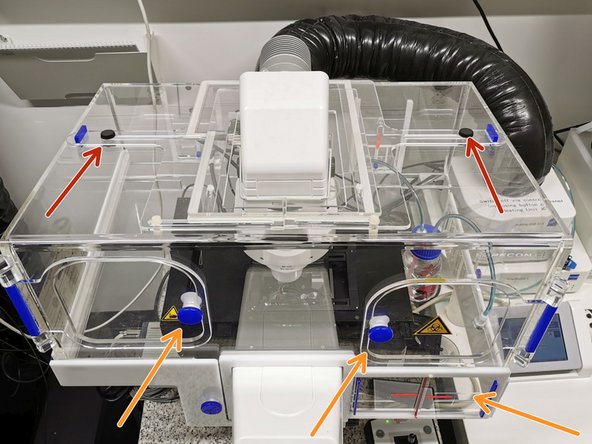
If the correct stage insert is installed you can load your sample from the front doors.
-
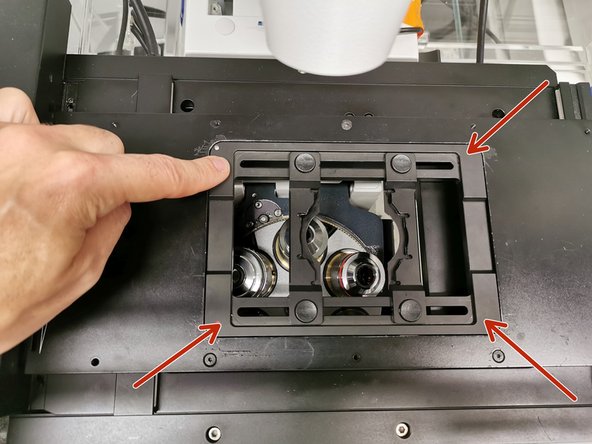
For changing the stage insert you can temporally move back the condensor. Open the black screws and slide the top covers to the sides. Next push the condensor in the rearward position.
-
-
-
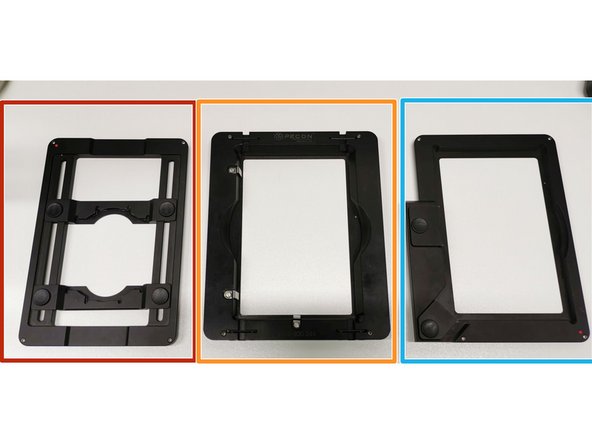
Insert for slides or small petri dishes. The inner part can be adapted in width.
-
Insert for well plates. This one can be used with a lid to supply living cells with CO2. However, it is more tricky to install on the stage compared to the one one right.
-
Insert for well plates. You can use the clamps in the top left corner to hold the plate in position.
-
All inserts can be found in the top drawer labelled "Stage Inserts". Please store them here if you exchange to another one.
-
-
-
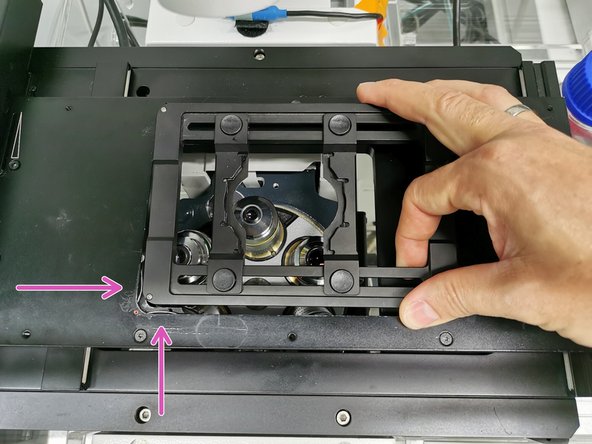
Mind the objectives when exchanging the stage inserts!
-
The stage insert is hold in place by two silver clamps which are located in the bottom left corner.
-
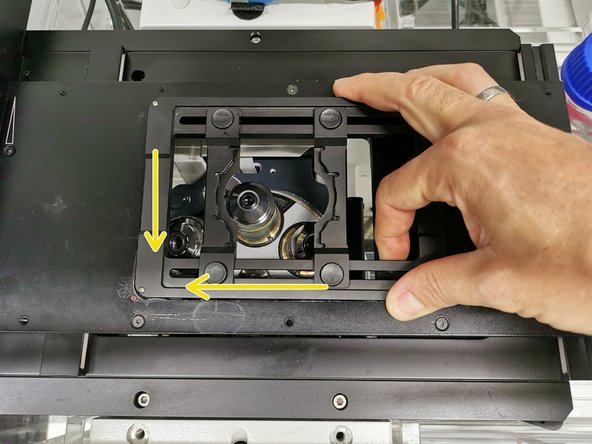
To load a new insert you should place the insert in the top left corner and apply slight pressure against the clamps while sliding in the complete insert.
-
Tap with your finger on the corners of the insert. If the slide is moving/wobbling it is not positioned correctly! In this case you will need to try again...
-
-
-
Always load your sample with the coverslip down to the objective.
-
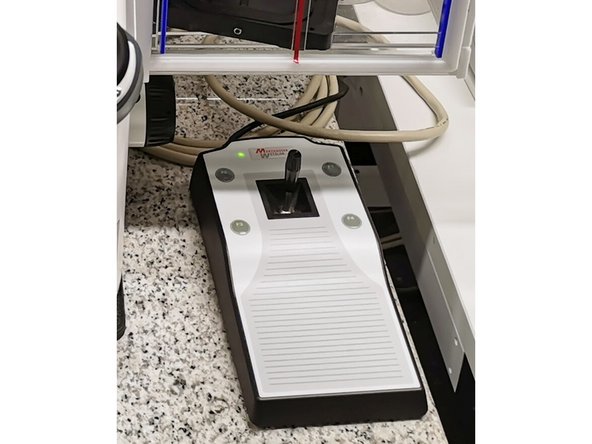
Use the joystick controller to navigate your sample over the objective. Button F1 allows to change Joystick speed (no function of F2-F4)
-