Introduction
Every Sunday night both the microscope and the camera need a heating cycle, to get rid of all the contamination accumulated during the week.
This guide from the Center for Microscopy and Image Analysis, UZH, Zurich, Switzerland shows how to cycle the Camera and the Microscope at the end of a session, at the transmission electron microscope Titan Krios G3i.
Please find more detailed information about the system here.
-
-
Go to the 'Autoloader' tab.
-
Click on the 'State' tab in the 'Temperature control' panel.
-
-
-
From the dropdown menu select 'Conditioning both'.
-
Specify when the cryocycle should start.
-
Click the arrow on the right.
-
-
-
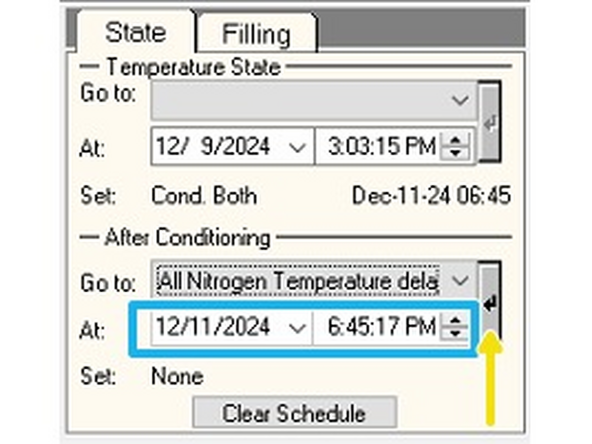
From the dropdown menu 'After conditioning' select 'All Nitrogen Temperature delayed'.
-
Specify the date when the microscope cool down should start (Monday morning at 6:00 AM).
-
Click the arrow on the right.
-
-
-
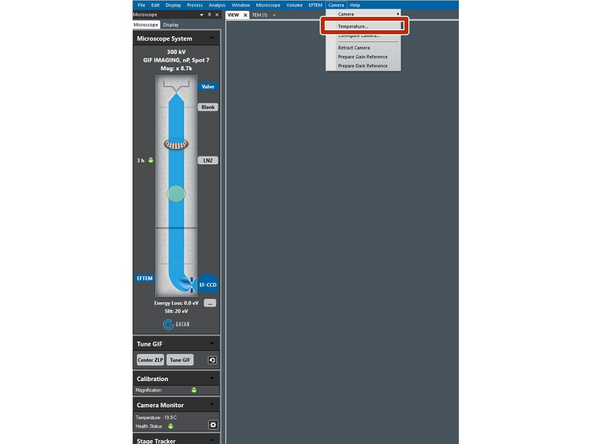
Click on the 'Temperature' option in the 'Camera' drop down menu that can be found in DigitalMicrograph (K3 computer).
-
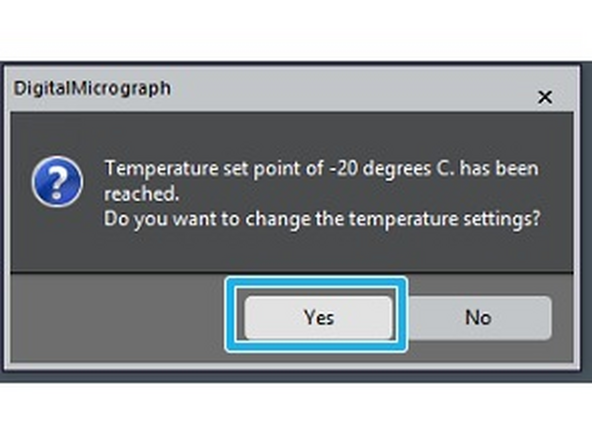
Click on 'Yes'.
-
-
-
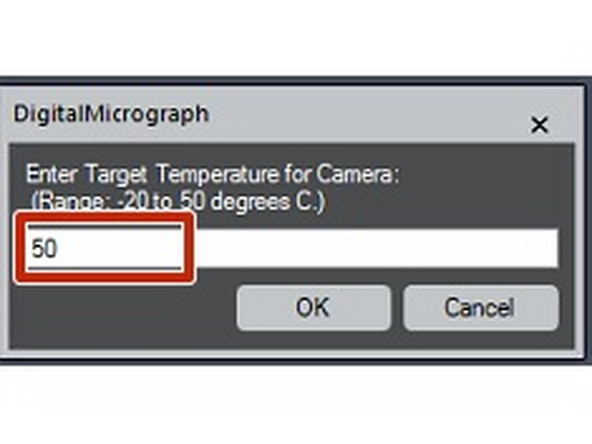
In the window specify the target temperature: 50 deg C and click 'OK'.
-
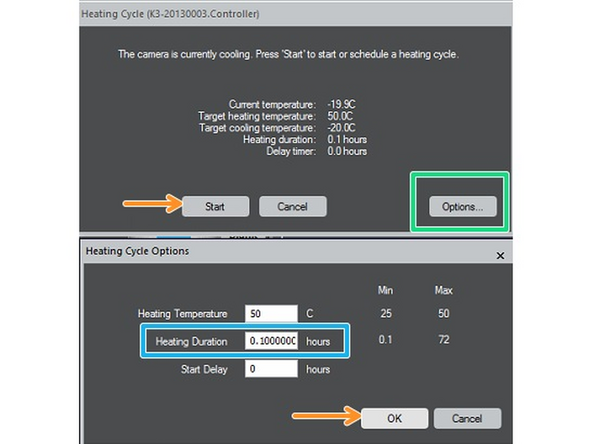
Then click on 'Options'.
-
In the new window specify the duration of the heating cycle in hours. Calculate the number of hours so that the camera cool down begins at 6:00 AM on Monday.
-
Press 'OK' and then 'Start'.
-