-
-
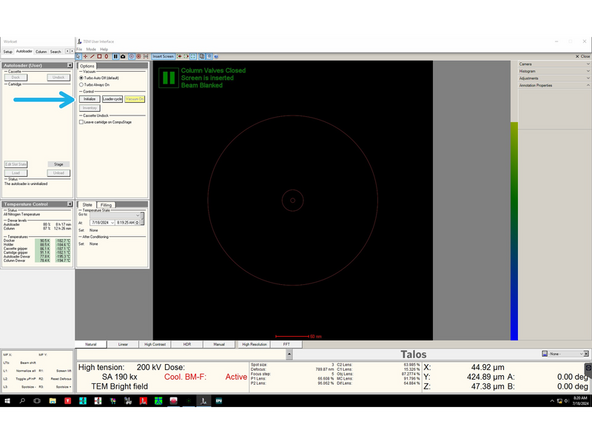
Perform initial checks of the microscope state before you start doing anything - make sure that:
-
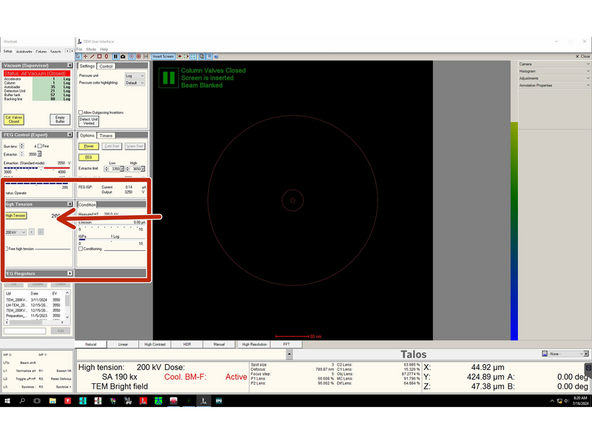
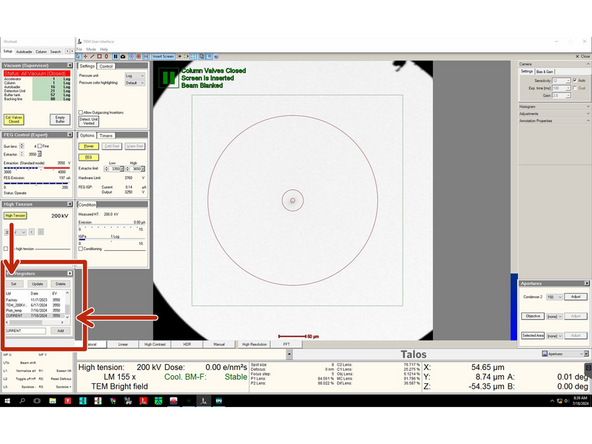
The system vacuum is in order (all values in green range).
-
High Tension is on (at 200 kV).
-
There is no error messages in the status window.
-
The microscope is at LN2 temperatures (Autoloader tab).
-
-
-
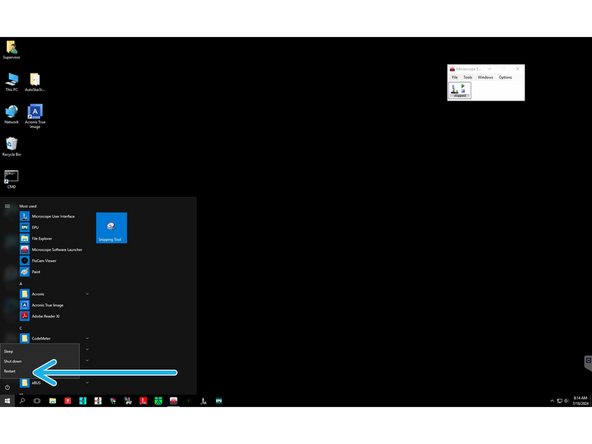
In case the system is unresponsive (e.g. EPU is frozen) you might need to restart the microscope PC. To do so please:
-
Click on 'Stop All' (Software Launcher).
-
After a while, all the applications should close down and TEM server should stop.
-
-
-
Click on the 'Start' button and restart th PC.
-
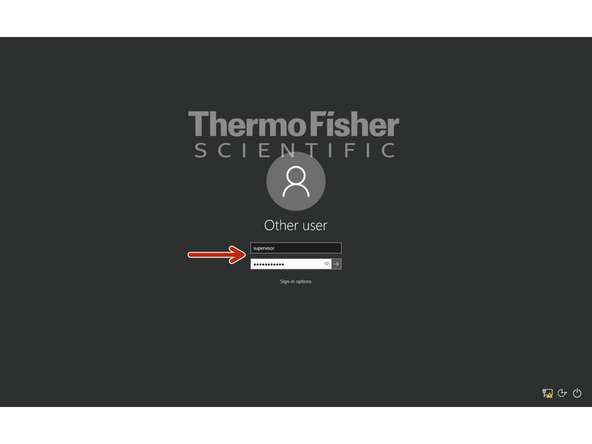
After the system has rebooted login using the following credentials: USER: supervisor; PWD: Superuser#1
-
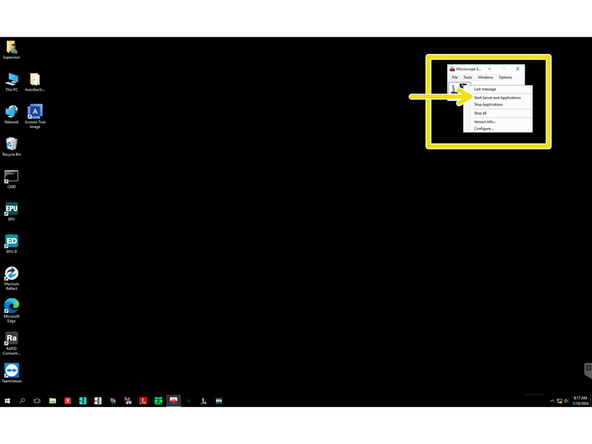
Once the Software Launcher has started: right click on the green 'Play' button and select 'Start Server and Applications'.
-
-
-
In case HT is off, click on High Tension button (so that it becomes yellow) and ramp it up to 200 kV.
-
Initialize autoloader.
-
-
-
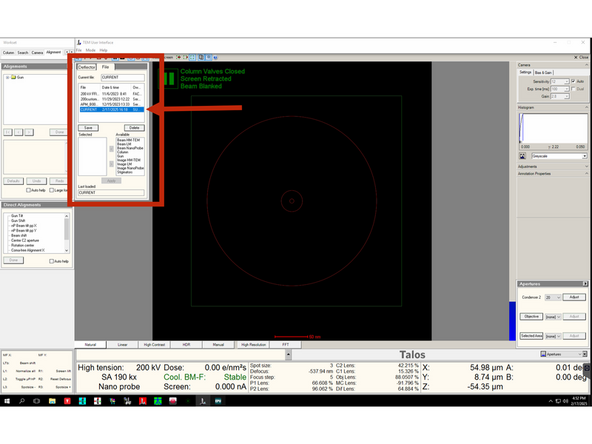
In 'Alignements' tab load the correct file: 'CURRENT'.
-
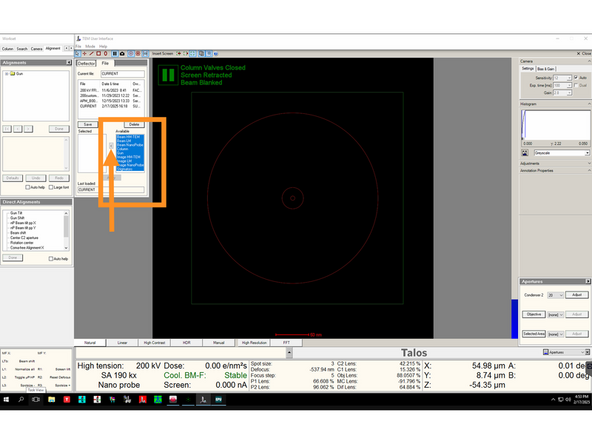
Highlight all the settings and click the arrowhead to the left.
-
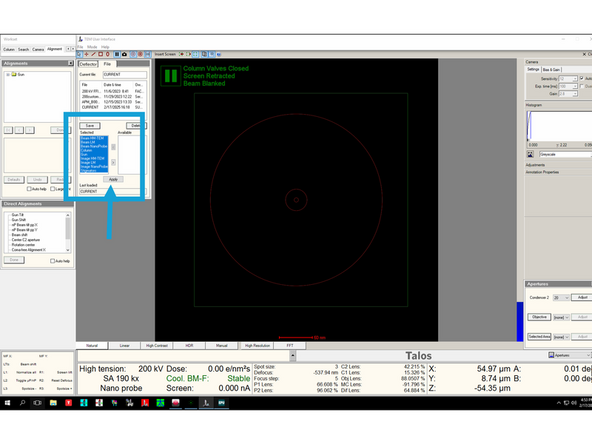
Then highlight them again and click 'Apply'.
-
-
-
Load the latest FEG registers by highlighting 'CURRENT' and clicking 'Set'.
-
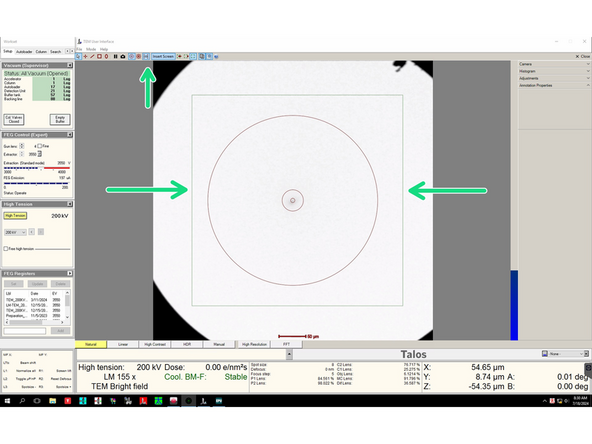
In the Flu Cam viewer click on the 'CCD' button to display the green square that shows the area of the Falcon4i detector.
-
-
-
Launch EPU.
-
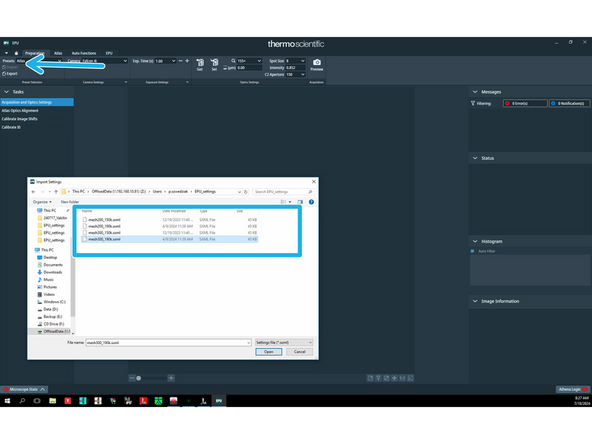
Load your settings by clicking 'Import' and selecting appropriate file.
-
-
-
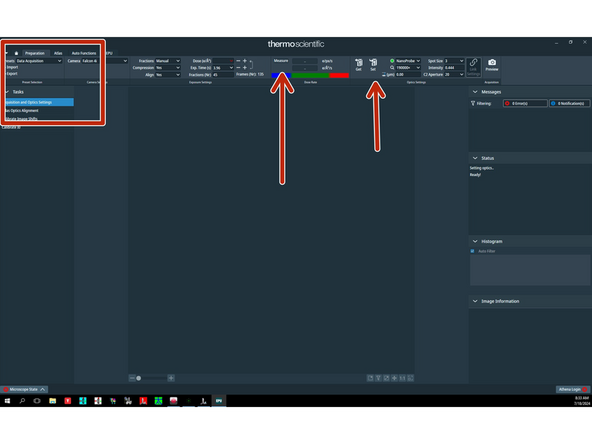
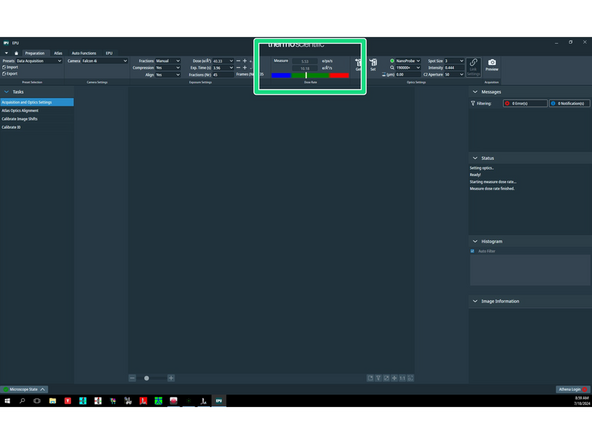
Load Data Acquisition presets by clicking 'Set'. Make sure that the beam covers the detector. Then click 'Measure'.
-
After a moment, the current electron dose in e/pix/s will show up. Make sure you stay in the green range. The optimal dose is between 5 and 10 e/pix/s.
-