-
-
The gain reference is automatically copied to the folder containing your movie files (.gain format). This file can be used directly in CryoSparc (no rotation, no flip).
-
All the files generated by an EPU session in the OffloadData/Users/XXXX, where XXXX=your core domain user name, must be manually deleted after your session.
-
-
-
First acquire atlases and screen the grids. After you have identified suitable grids, load the first grid on stage using the EPU interface and follow the steps below:
-
In the 'EPU' tab in the 'Session creation' section click on 'New queue'.
-
Specify the details of the session - these will be relevant only for the grid currently on stage. Please note that in the Multigrid mode the 'Manual' type session is disabled (the selection brush is inactivated).
-
Steps that will guide you through setting up a session for the grid on stage will appear on the left hand side. You have to go through the steps: first, select grid squares on which you want to collect; second, identify holes in the first grid square only; third, specify the data acquisition pattern for this grid. Specify max number of exposures.
-
Identify holes only in the first grid square, other grid squares will be processed on the fly during the session using the ice filter settings you specify.
-
Once you have finished setting up the first grid, load another grid on stage using the EPU interface (in 'Atlas' tab) and click on 'Add session'. Repeat all the steps for the second grid.
-
In the Multigrid session each grid is treated independently and can have individual ice filter settings, data collection pattern and specified max number of exposures. The only feature that is shared between the grids in one Multigrid session are imaging presets, i.e. Data acquisition, Hole/Eucentric height, Grid square.
-
Multigrid session forces using 20 um C2 aperture thorughout the session (as specified in Data acquisition imaging presets) - there is no possibility to use C2 50 um to prepare grid squares (unlike in regular EPU session).
-
-
-
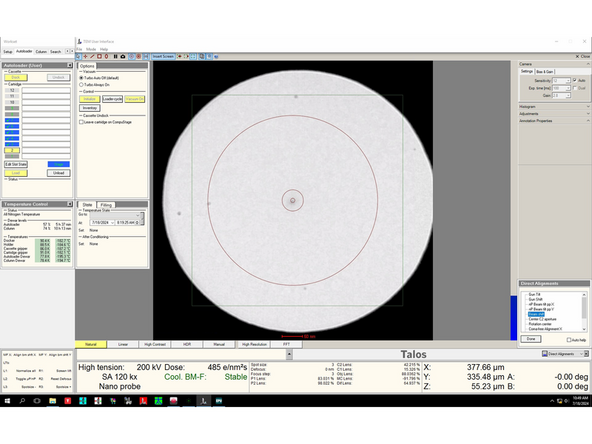
In case the beam is not present on the FluCam screen, change C2 to 50 um and reduce magnification (to around 50k) - the beam should then be visible close to the screen edge.
-
Almost done!
Finish Line


