Introduction
The main idea of high-pressure freezing is to fix biological samples without the unpredictable effects of chemical fixation a life-like ultrastructural analysis.
Cryo-immobilization achieves best preservation of biological samples at the ultrastructural level, provided that the biological material is not distorted by the formation and growth of ice crystals. At ambient pressure, this requires high cooling rates (> 10’000 K/ s for a few µm) or antifreezing agents at low freezing rates. Specimens of up to 10 µm in thickness can be frozen without detectable ice crystal damage and without the use of intracellular antifreezing agents by liquid propane jet freezing. Thicker samples can be adequately frozen only when the physical properties of water are changed, e.g., using antifreezing agents or under high pressure (210 MPa). The thickness of biological specimens to be adequately frozen by high pressure freezing is limited to about 200 µm.
The formation of ice crystals can be greatly reduced if the specimen is subjected to a pressure of 2100 bar before the freezing process has started. Pressure may cause changes in the physical and chemical equilibrium, such as dissociation or the reactivity of enzymes. This must be prevented in order to immobilize the specimen in a near native state. In the high-pressure freezer, a pressure of 2100 bar is applied within a few milliseconds, the specimen immediately frozen with pressurized liquid nitrogen and transferred automatically to liquid nitrogen at ambient pressure (-196°C).
Tools
Parts
No parts specified.
-
-
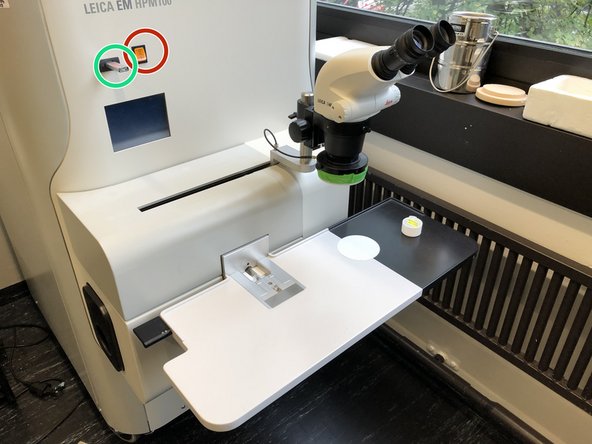
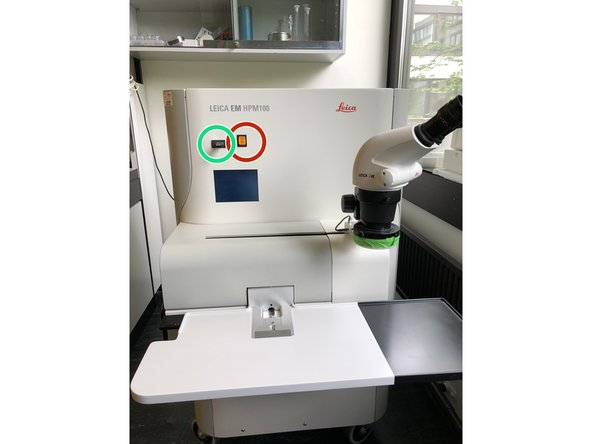
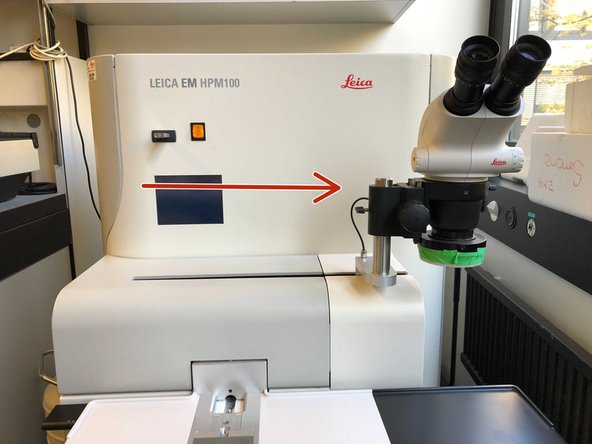
You will find the High-pressure freezer Leica EM HPM100 in Y42H86.
-
-
-
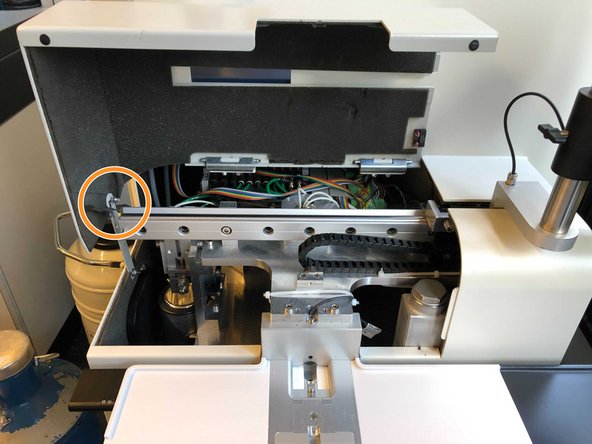
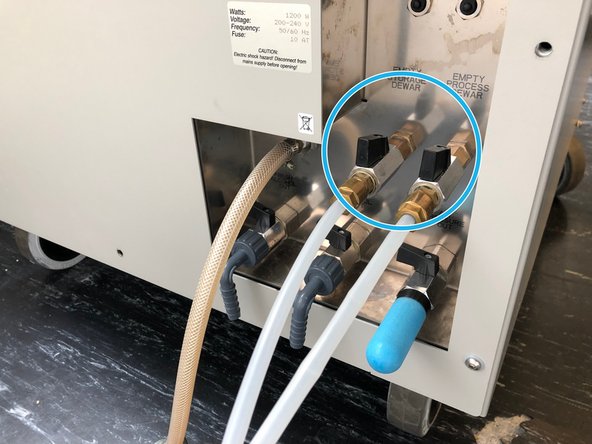
Close all valves at the back of the machine.
-
Taps are kept open after air heating to let condensation water escape.
-
Closed position of the valves.
-
-
-
Switch on the system at the main switch on the front panel.
-
The compressor starts to build up the operating pressure. This can take up to 15 minutes if there is no residual air pressure in the machine.
-
Connect the Leica USB stick to the HPF to save the process parameters for every freezing cycle (if not plugged in already).
-
If the USB stick is not connected the process parameters will be displayed following each freezing cycle, but will not be saved.
-
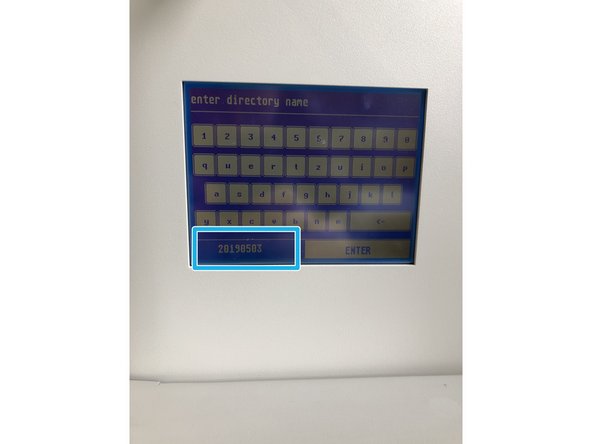
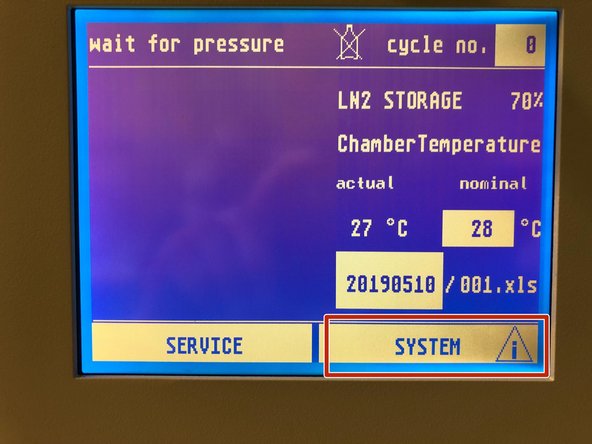
On the display of the HPF enter the current date as the folder name (YYYYMMDD).
-
-
-
In case you do not intend to use alcohol as pressure temperature synchronization fluid, turn off alcohol delivery and proceed with step 7.
-
Alcohol injections should be avoided in case of freezing sapphire disks as a release from the middle plate is not possible anymore in liquid nitrogen (residual alcohol freezes the sandwich tightly in the middle plate).
-
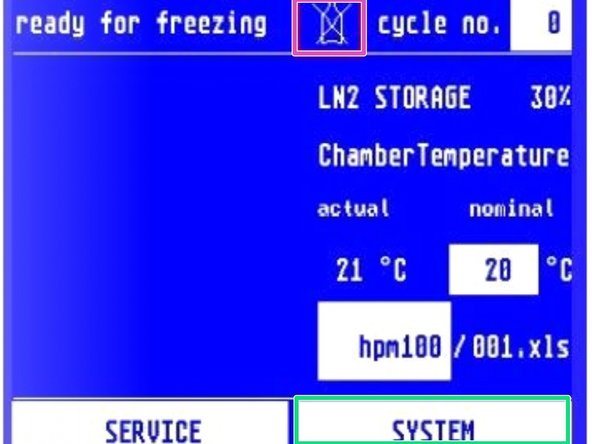
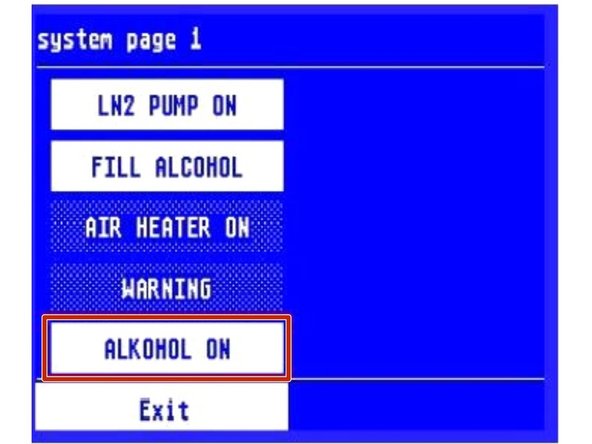
To turn off the alcohol select "SYSTEM" from the main screen.
-
and press "ALKOHOL ON".
-
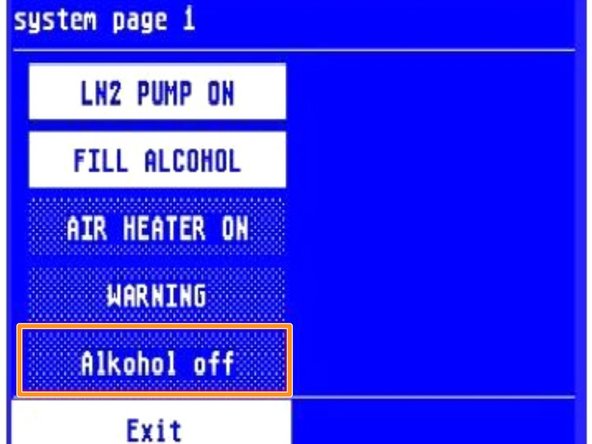
The display button changes to "ALKOHOL OFF".
-
The machine is ready to freeze without alcohol injection, which is indicated on the main screen.
-
Keep in mind that if you switch the alcohol injection on/off, you always have to perform a few test shots.
-
-
-
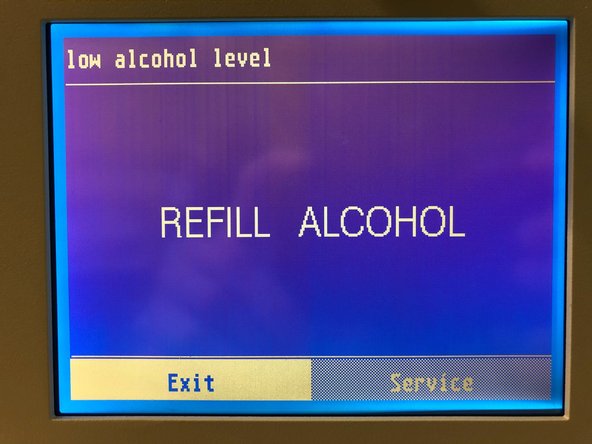
In case the machine reports low alcohol level, follow step 6 accordingly.
-
-
-
To add 100% isopropanol or ethanol, slide the binocular to the right until it comes to a stop.
-
Open the front safety cover and prop it using the cover support lock.
-
Unscrew the alcohol tank cap and fill the tank with 40 mL isopropanol or ethanol.
-
The tank must be filled with 100% isoporpanol or absolute ethanol only!
-
After filling, close with the tank cap (hand tight only). Close the safety cover by pushing the cover support back to release the lock.
-
-
-
The Leica HPM100 is cooled with liquid nitrogen while the system is reaching operating pressure.
-
-
-
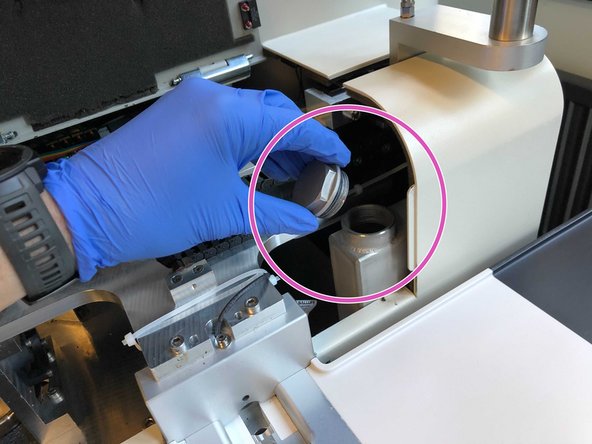
Add liquid nitrogen to the storage dewar, until the front display shows at least 70%. If many samples will be processed fill 100%. A small pop-up rod in the top cover rises when the dewar is completely full of liquid nitrogen.
-
Fill liquid nitrogen in small steps until storage Dewar reaches liquid nitrogen temperature (reduced evaporation upon filling). Initial rapid filling with liquid nitrogen causes splashing of liquid nitrogen and entering the machine.
-
The internal liquid nitrogen pump will start when the storage dewar registers at least 30% full (makes sound).
-
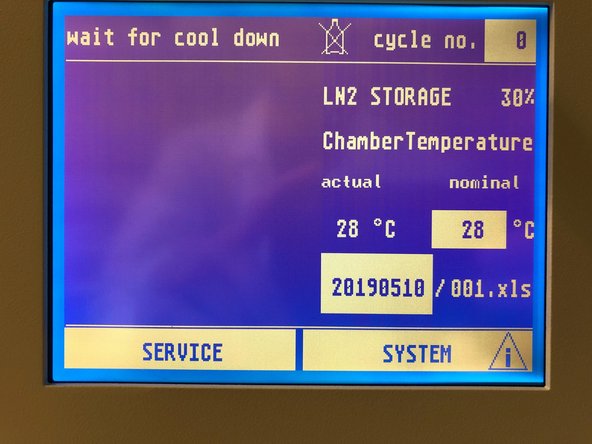
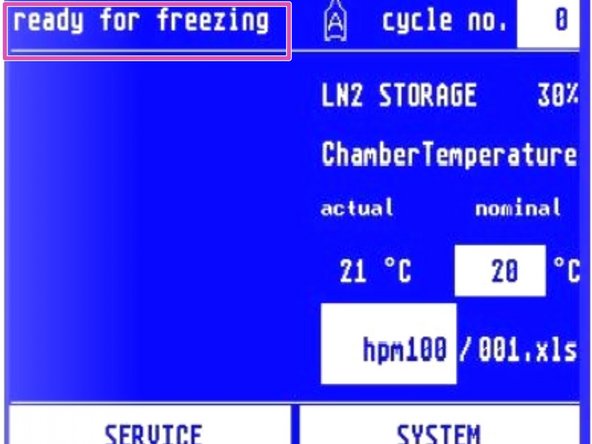
When the system is fully cooled down (takes ca. 30 minutes) the screen shows "ready for freezing".
-
-
-
Fill the specimen dewar before freezing only halfway with liquid nitrogen to avoid the samples from jumping out due to boiling nitrogen.
-
After cryo-fixation, the frozen sample is automatically released into the specimen dewar.
-
-
-
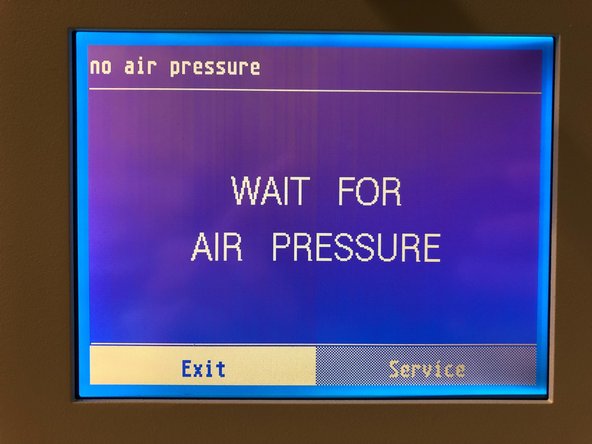
The system needs to build up the pressure prior to freezing.
-
-
-
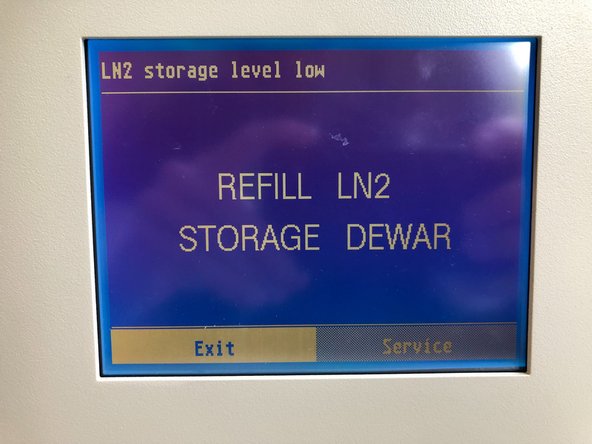
The system has to cool down. This will take roughly 40 minutes after starting filling liquid nitrogen.
-
The system is now "ready for freezing"
-
-
-
Now switch to the corresponding sub-guides which explain how to proceed, for example to process adherent cells on sapphire disks or c. elegans.
-
For long sessions, the Dewar of the HPF has to be refilled.
-
Do not forget to refill storage Dewar for samples.
-
-
-
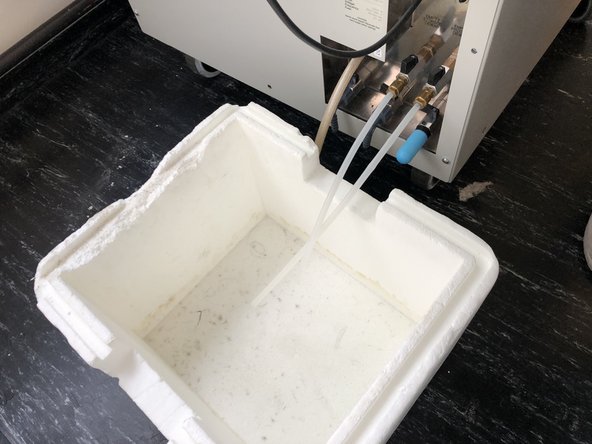
Pull machine to front to get access to tubing on the back side. Put big styrofaom box below tubes.
-
Open valves at the back to release nitrogen into styrofoam box.
-
-
-
Once the storage dewar has reached a level of below 20% select "SYSTEM" from the main screen.
-
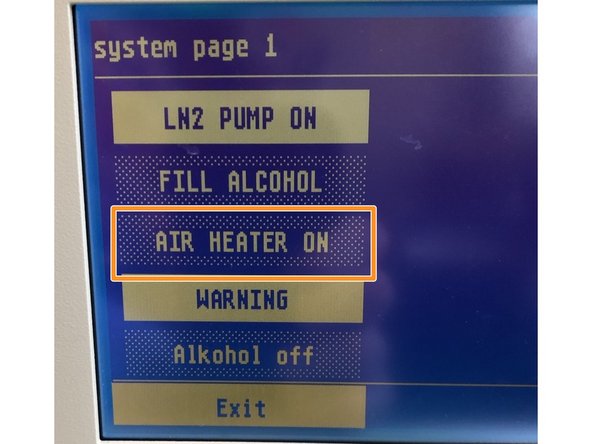
Select "AIR HEATER ON".
-
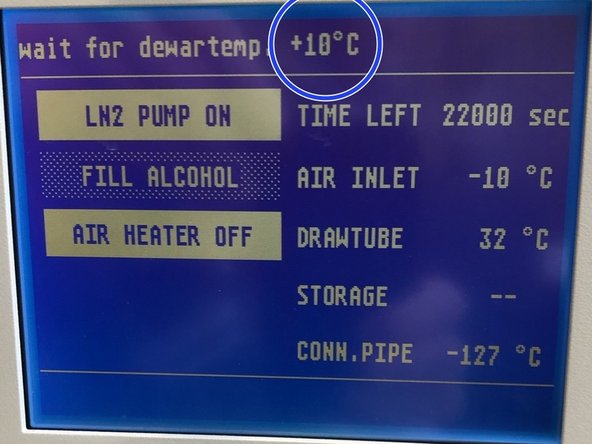
This activates the heating cycle. Cycle will only start when the chamber temperature reaches 10°C.
-
The bake out will automatically terminate after reaching the end of the cycle (> 6 hours) leaving the instrument ready for the next use.
-
Note: Leave the main power on for the heating cycle to run.
-
When the air heating cycle is started, the compressor turns on "air heater working"
-
Once the cycle is complete the machine switches back to the standard screen and you can turn it off by the switch at the front.
-