-
-
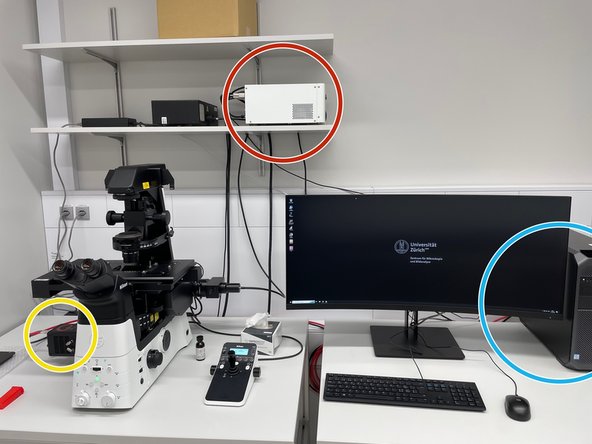
control unit
-
camera
-
microscope computer
-
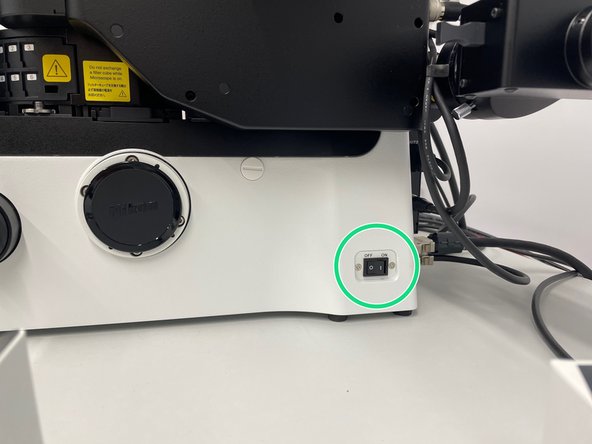
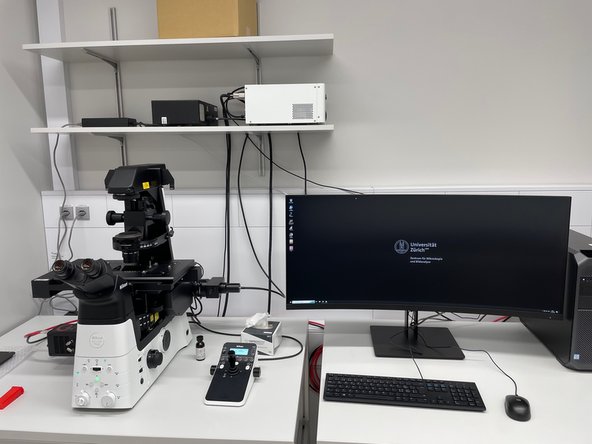
turn the microscope stand on
-
-
-
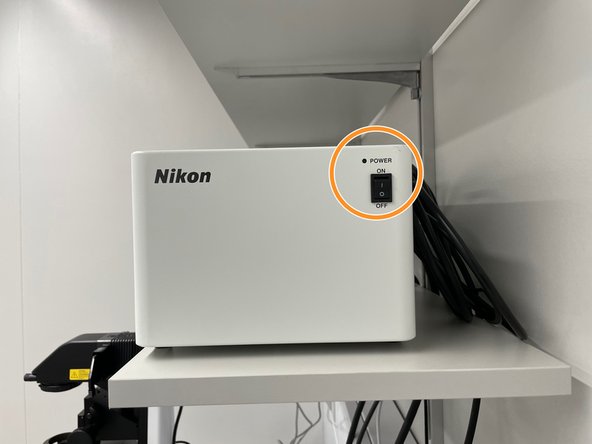
turn the camera on
-
turn the microscope control unit on
-
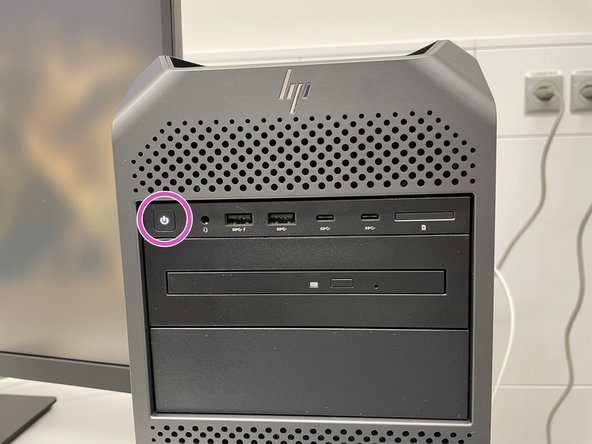
turn the PC on (check if the screen is also switched on)
-
-
-
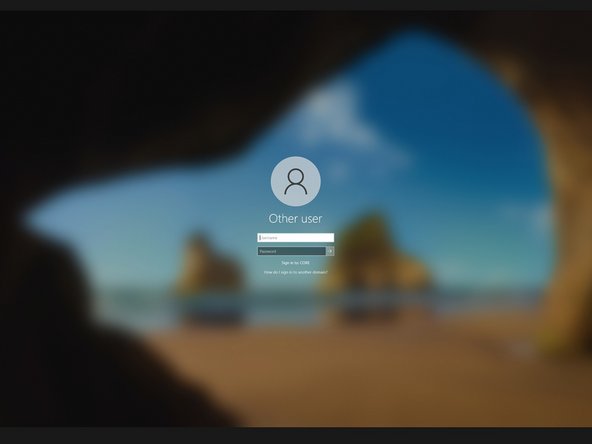
Log in to windows with your zmb credentials
-
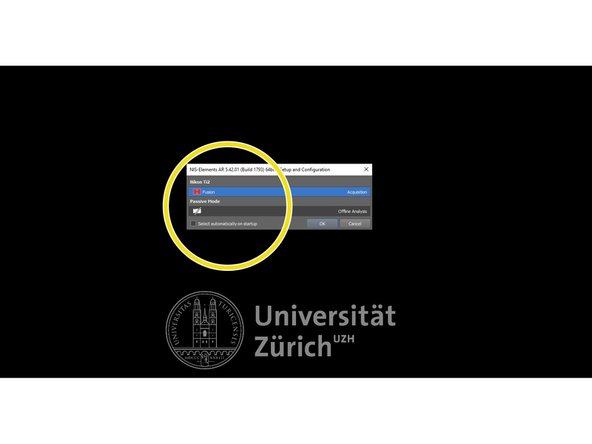
Open Nikon "NIS-Elements"
-
Choose "Fusion"
-
-
-
Choose the right stage insert.
-
-
-
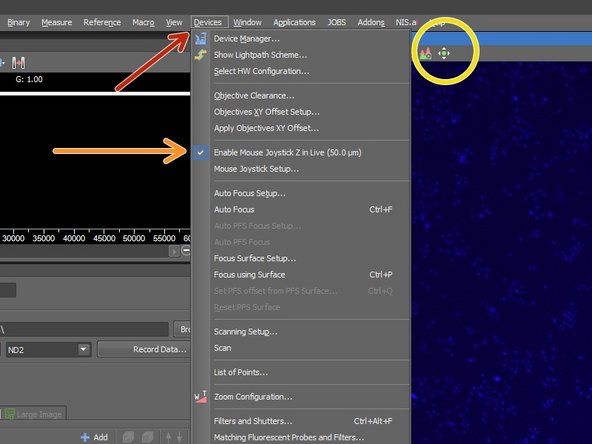
Open devices
-
Enable mouse joystick Z in live
-
Activate mouse XY, while live acquisition
-
With this seeting active you can use the mouse in the software to move the stage.
-
-
-
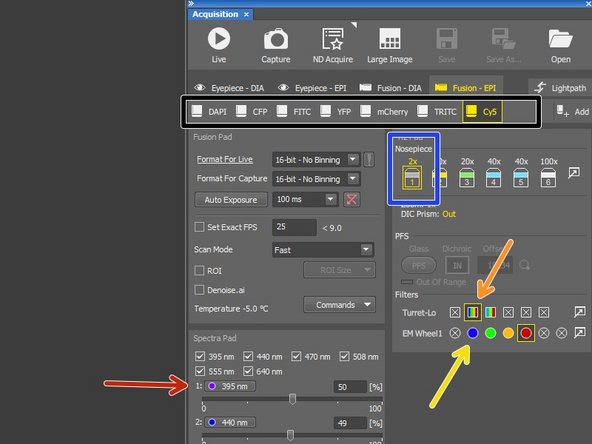
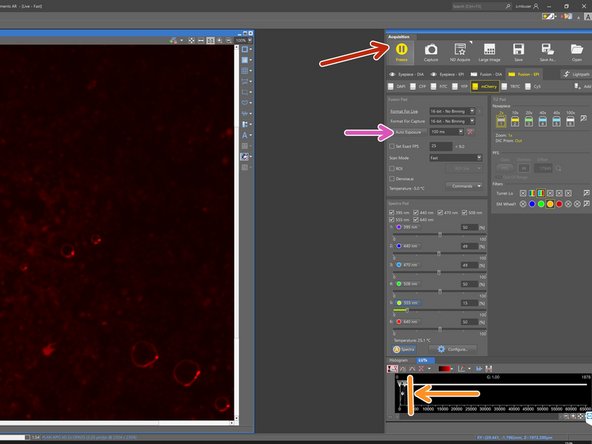
Choose one of the preset optical configurations, that fits to your fluorophore.
-
Choose illumination wavelength (when activated - highlighted blue)
-
Choose excitiation filter
-
Choose emission filter
-
Choose 2x objective for overview acquisition
-
-
-
Click on "Live"
-
Click here to display over and undersaturated pixels.
-
oversaturated pixels in blue. The highlight colour can be changed.
-
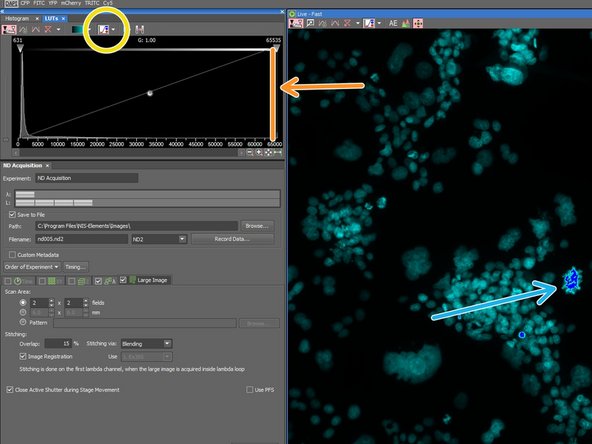
Adjust the look up table
-
Use the mouse wheel in the live window to focus the sample.
-
Adjust exposure time to your imaging requirements
-
-
-
Go to ND Acquisition window
-
Setup "Large Image"
-
Setup Lambda
-
-
-
Click on "Run now" to start imaging an overview
-
-
-
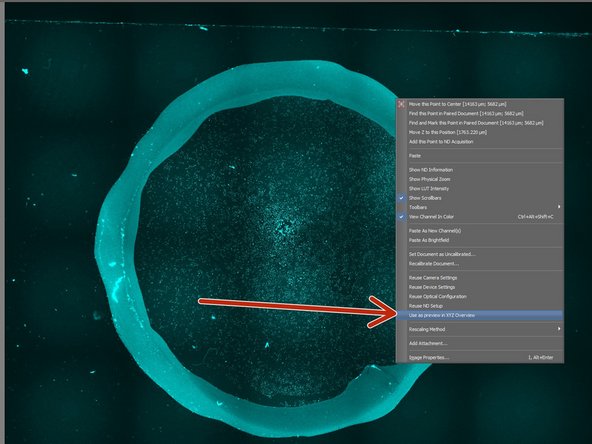
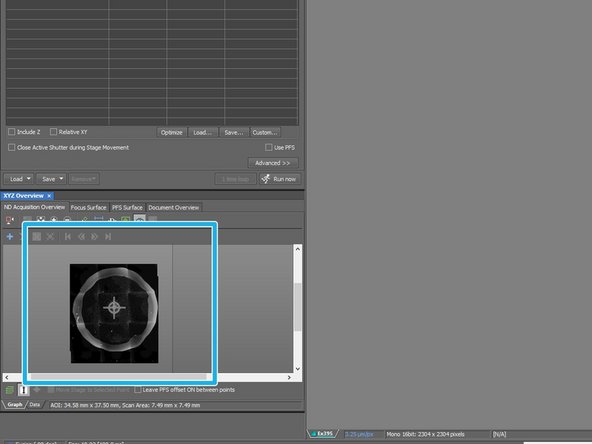
Right click into overview image
-
"Use as preview in XYZ overview"
-
-
-
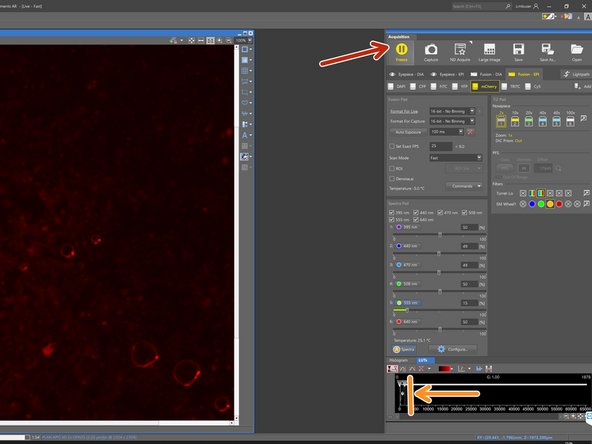
Go "Live"
-
Adjust look up table
-
bring sample to focus (use mouse wheel)
-
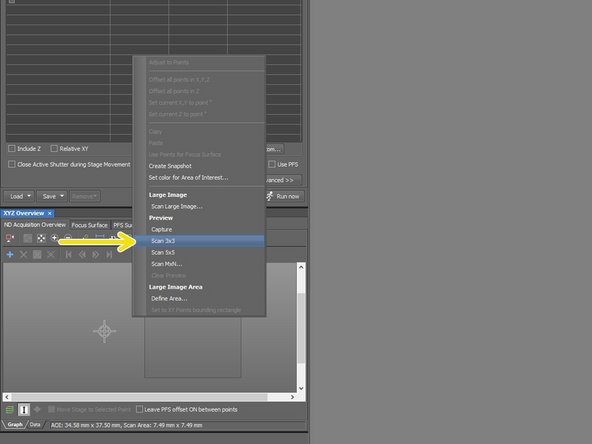
Right click in XYZ Overview area
-
Choose "Scan 3x3"
-
Use overview for navigation
-