Introduction
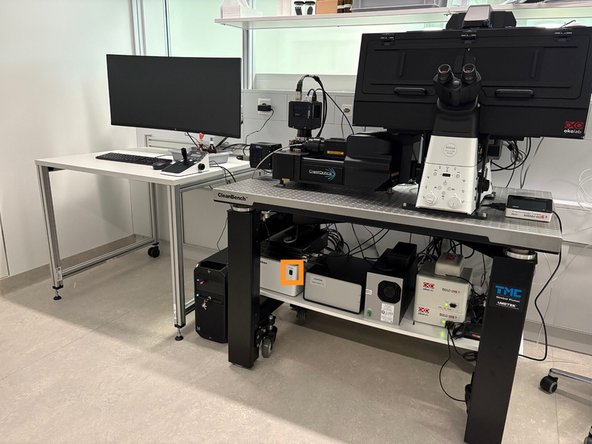
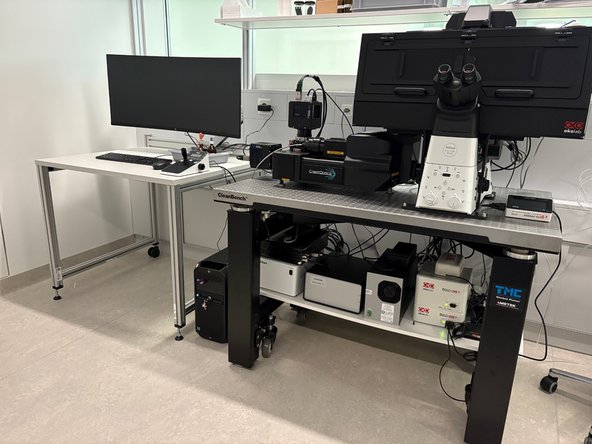
This guide will walk you through the startup process of the Nikon spinning disk confocal microscope, located at KISPI Research Tower, Room C8.
-
-
The pc should be already ON, as we keep it ON all the time and never switch it off.
-
1. Start the microscope controller below the optical table
-
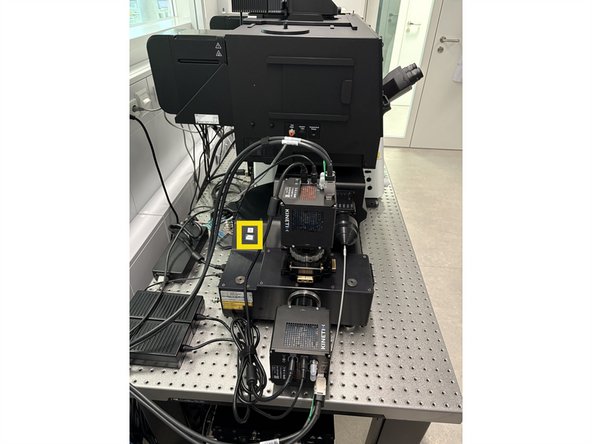
2. Start the spinning disk unit
-
-
-
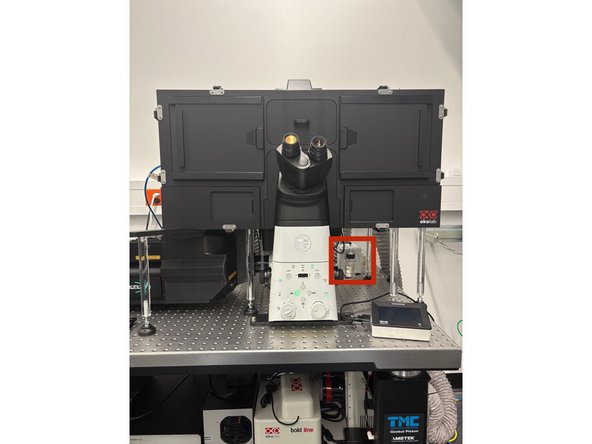
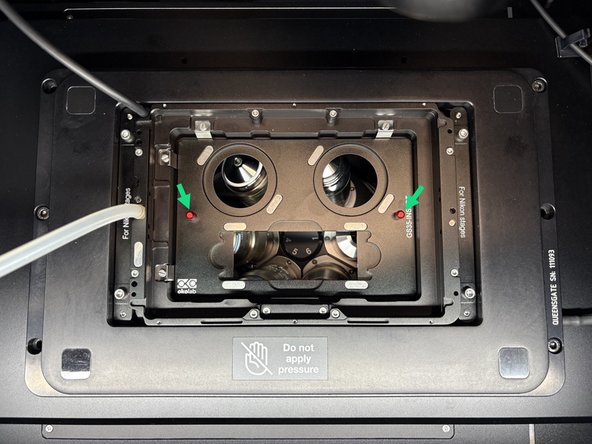
Press the On button on the OKOLab device
-
Monitor CO2 level and temperature on the touch screen
-
Once the level is stable the orange dot will turn green
-
-
-
Localize the water dispenser
-
Check if there is enough water in the bottle.
-
If not, find a bottle on the shelf above the microscope and re-fill the water dispenser.
-
If you see that there is almost no water left in the bottle, please let the ZMB staff know, e.g. via the feedback form! Same for immersion media, cleaning solutions
-
-
-
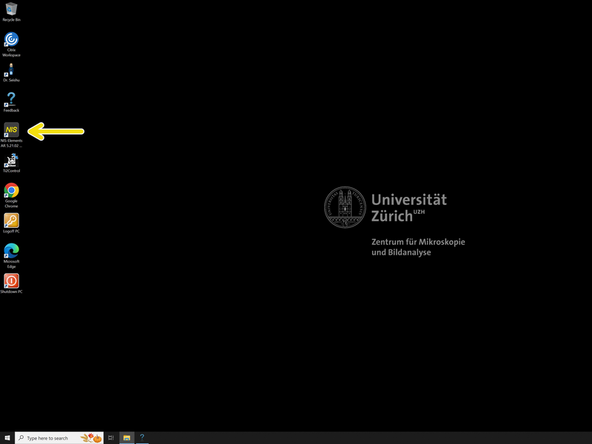
Pres Ctrl + Alt + Del and log in with your CORE credentials
-
-
-
Star the NIS-Elements SW
-
Star the software either in single or dual camera mode.
-
-
-
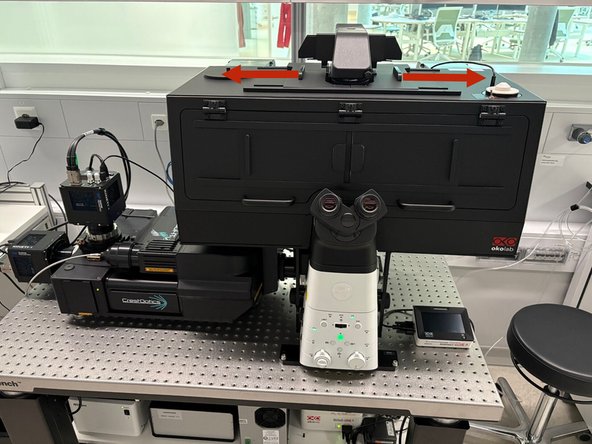
Open the top covers and lean back the condenser arm to access the stage.
-
Open the front cover
-
Make sure that the objective is in the lowest position. If you are not sure, press the escape button and reset the focus position by pressing it again and holding that for another 2-3 sec.
-
Place the insert into the stage. You can grab it by the red handles for easier handling.
-
Well plates directly fits into the stage. You do not have to insert any frame.
-
Mount your sample and move the stage that the objective is below the sample.
-
-
-
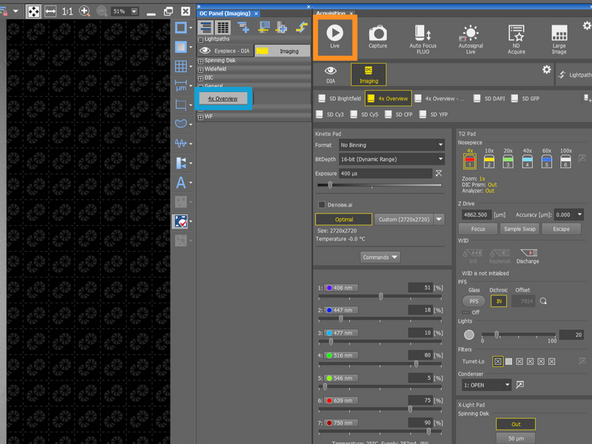
Choose the 4x Overview OC.
-
Go Live
-
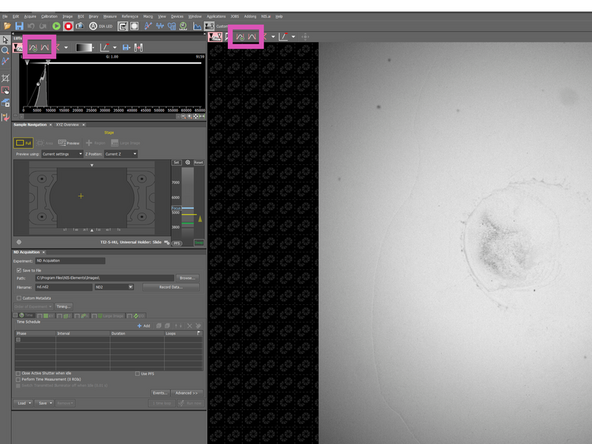
Press the Autoscale button (Histogram with Play icon.) This will ensure that the Histogram will be scaled and you won't miss the sample even with a weak signal.
-
Alternatively, you can also select 4x objective and WF fluorescence channel for the overview if BF does not provide good contrast for sample localisation
-
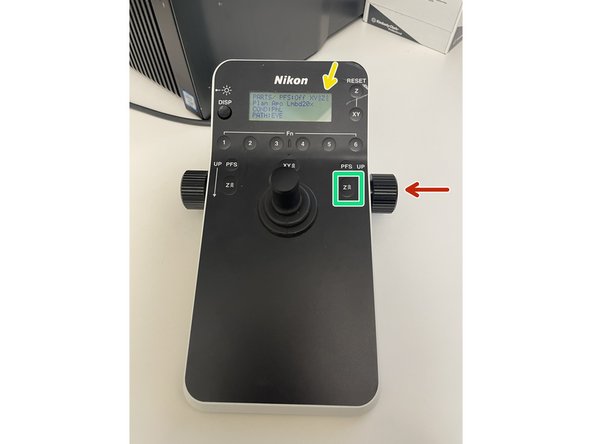
Go up with the objective rotating the knob towards yourself.
-
The number of arrows indicates the speed of movement. (3 arrows = fastest)
-
You can change the speed with this button
-
Start with 3 or 2 arrows and go up carefully, until you will hear gentle beeping with which microscope indicates that it is near the focus (= it sense the reflection from a coverslip). Then change the speed to 1 arrow and find your focus.
-
-
-
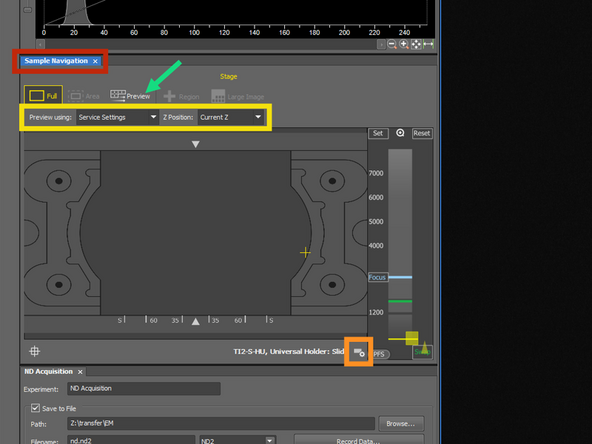
Once you focused on the slide/sample, localize the Sample Navigation tab
-
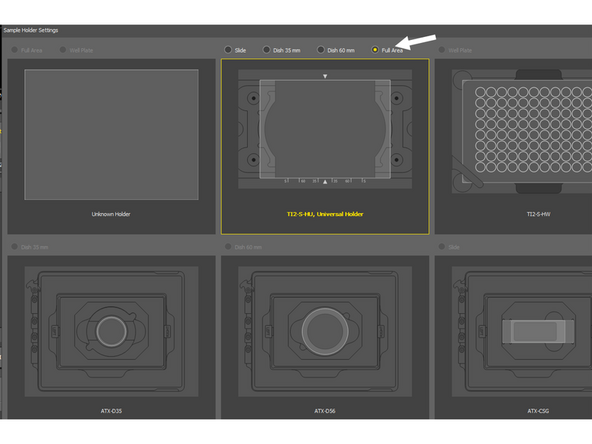
Choose from the sample holder - if you cannot find the exact same one, choose from the most similar one.
-
Check different plane for different holders
-
Choose Service settings and Current Z position
-
Click on Preview
-
Microscope will acquire a tilescan, which you can use later for the navigation in the sample
-
If you are using a holder with a space for slide and two disches, select as a holder the Universal Holder - Full Area
-
-
-
1.5x / 1.0x lens - otherwise it will change the pixel size
-
ND filter on the top for BF
-
You may consider to insert the ND filter if you are using WF Brightfield OC
-
Close the environmental box. If it is not closed and there is a light in the room it can increase the background
-
-
-
You can continue with the help of other guides:
-
-
-
-