Introduction
This guide will walk you through the startup process of the Nikon spinning disk confocal microscope, located at Irchel Campus, Room 42 F 66.
Please find more detailed information about this system in here.
-
-
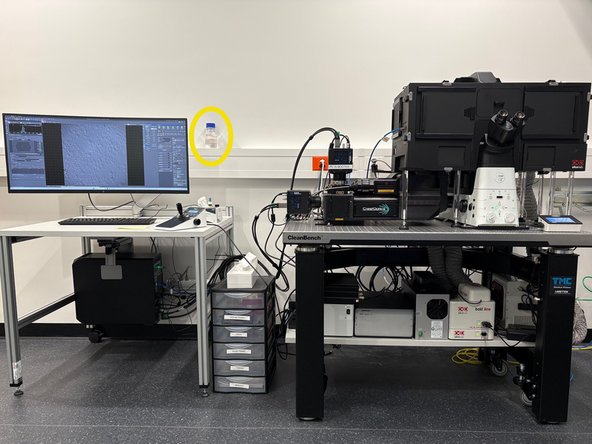
Start the computer below the table.
-
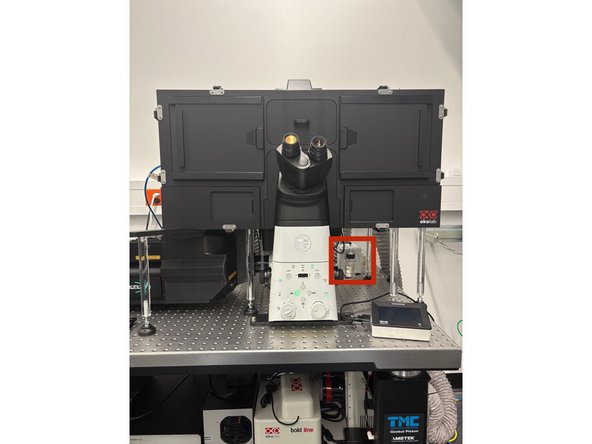
Start the microscope controller below the optical table
-
Start the spinning disk unit
-
Start the both cameras
-
-
-
Follow this guide if you need to turn on environmental control for live cell imaging.
-
-
-
Localize the water dispenser
-
Check if there is enough water in the bottle.
-
If not, find a bottle on the wall and fill the water dispenser.
-
If you see that there is almost no water left in the bottle, please let the ZMB staff know!
-
-
-
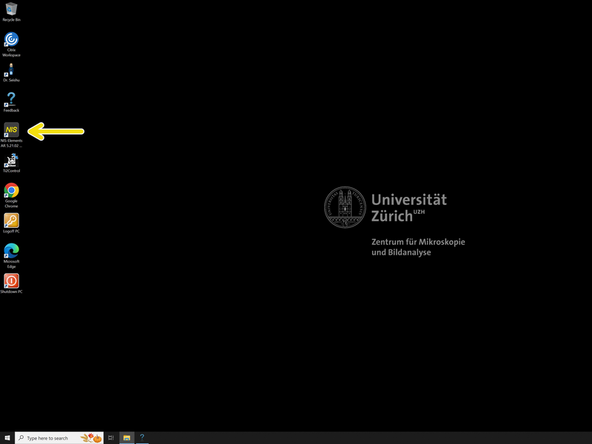
Pres Ctrl + Alt + Del and log in with your CORE credentials
-
-
-
Star the NIS-Elements SW
-
Star the software either in single or dual camera mode.
-
For dual camera mode you can follow this guide
-
-
-
Open the black environmental control box to access the stage.
-
Turn on the light in the box, if needed.
-
Make sure that the objective is in the lowest position. If you are not sure, engage the escape button and reset the focus position by holding that for another 2-3 sec.
-
Move the condensor arm to the back.
-
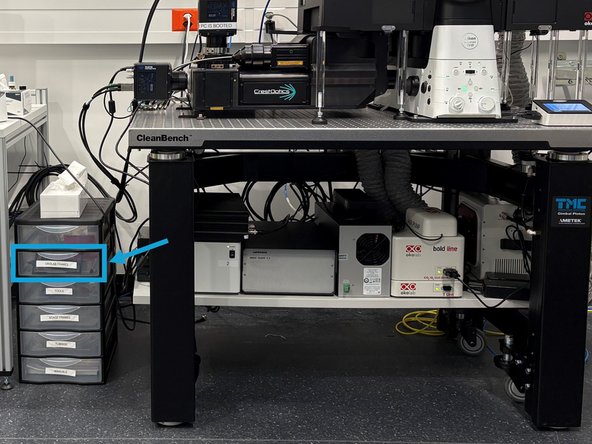
Choose the frame insert from the tower - drawer Okolab frames
-
Place the insert into the stage and ensure that the red dot on the insert aligns with the red dot on the stage in the same corner.
-
Mount your sample and move the stage that the objective is below the sample.
-
-
-
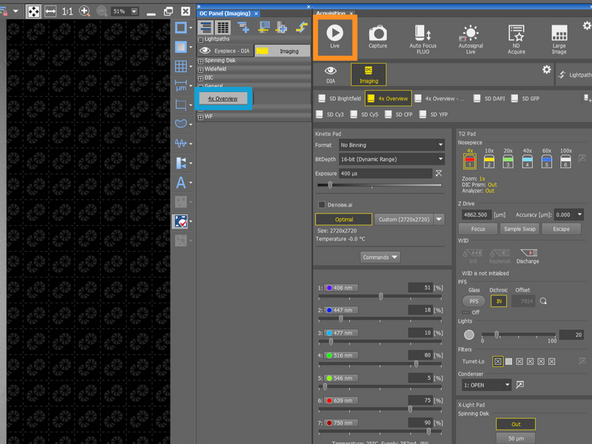
Choose the 4x Overview OC.
-
Go Live
-
Press the Autoscale button (Histogram with Play icon.) This will ensure that the Histogram will be scaled and you won't miss the sample even with a weak signal.
-
Alternatively, you can also select 4x objective and WF fluorescence channel for the overview if BF does not provide good contrast for sample localisation
-
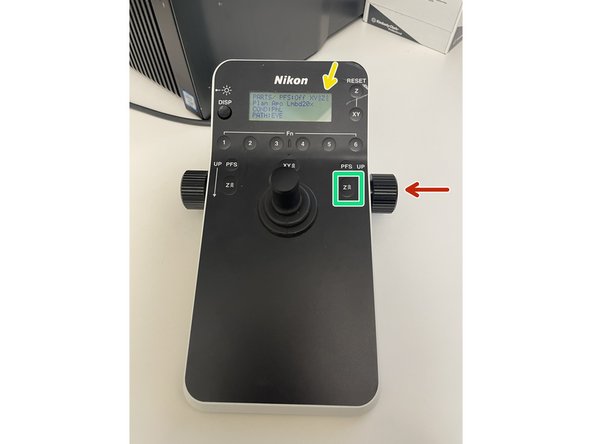
Go up with the objective rotating the knob towards yourself.
-
The number of arrows indicates you the speed of movement. (3 arrows = fastest)
-
You can change the speed with this button
-
Start with 3 or 2 arrows and go up carefully, until you will hear gentle beeping with which microscope indicates you are near to the focal plane. Then change the speed to 1 arrow and find your focus.
-
-
-
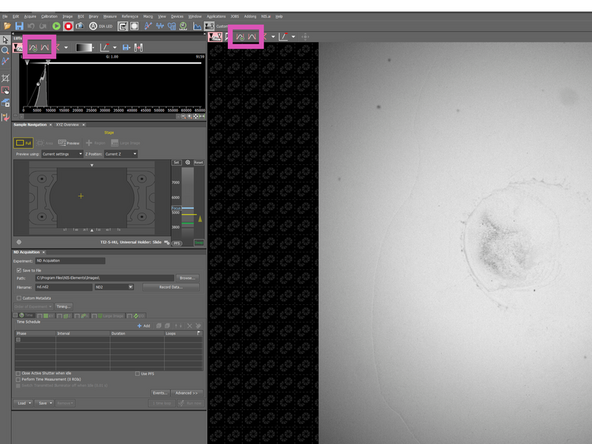
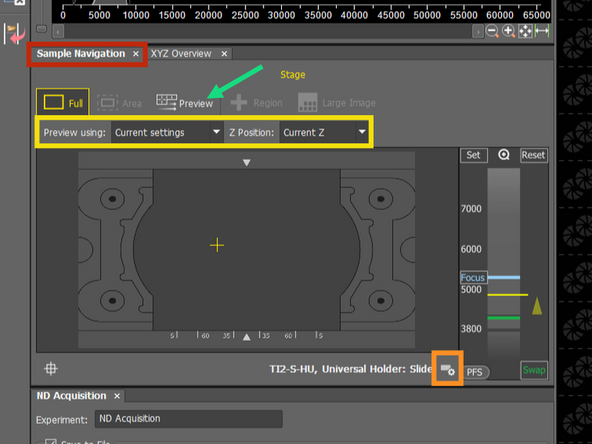
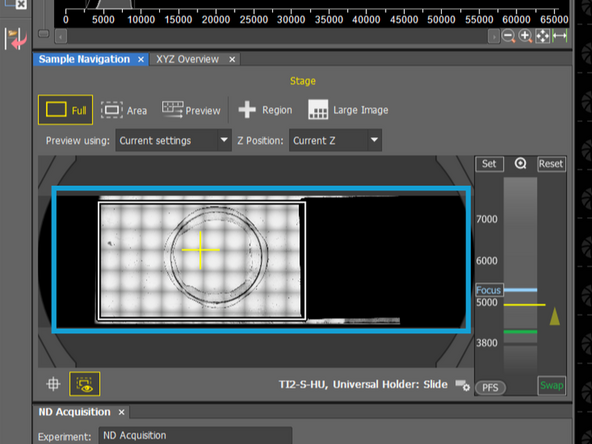
Once you focused on the slide/sample, localize the Sample Navigation tab
-
Choose from the sample holder - if you cannot find the exact same one, choose from the most similar one.
-
Check different plane for different holders
-
Choose Current settings and Current Z position - this will use the last used OC, which you used for focusing in previous step
-
Click on Preview
-
Microscope will acquire a tilescan, which you can use later for the navigation in the sample
-
-
-
1.5x / 1.0x lens - otherwise it will change the pixel size
-
ND filter on the top for BF
-
Check whether you see the green sticker
-
You may consider to insert the ND16 if you are using WF Brightfield OC
-
Close the environmental box. If it is not closed and there is a light in the room it can increase the background
-
-
-
You can continue with the help of other guides:
-
-
-
-