Introduction
In this guide of the Center for Microscopy and Image Analysis (University of Zurich, Switzerland) we describe how to acquire Z stacks over time on the MD ImageXpress.
-
-
Create your plate acquisition protocol or load it from a previously saved file.
-
Make sure your include Z-stacks in your acquisition protocol.
-
With the present version of our Z over time pipeline single site acquisitions are not possible.
-
-
-
Open "control".
-
Go to "Journal".
-
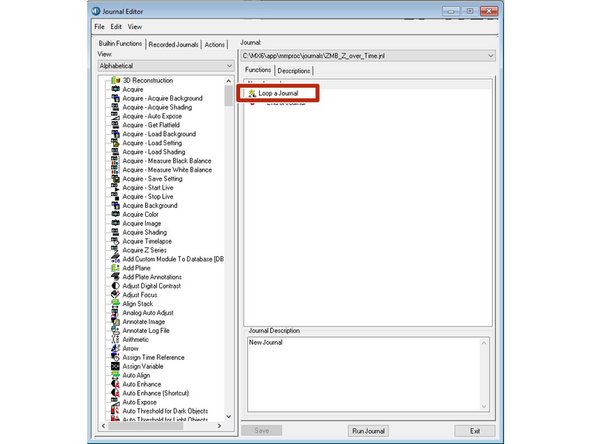
Click "edit Journal".
-
Open "ZMB_Z_over_Time.jnl"
-
-
-
Double click on "Loop a journal".
-
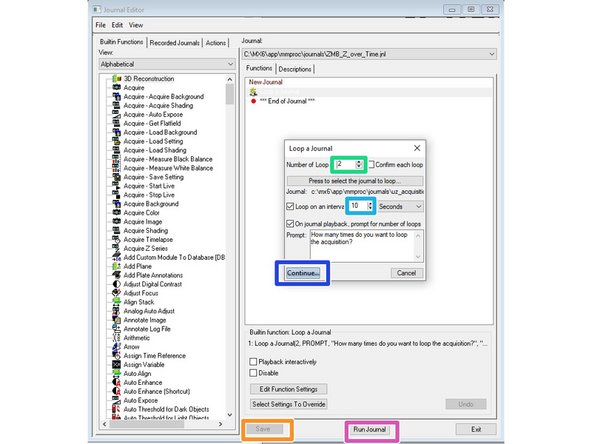
Specify how many times you would like to loop your plate acquisition protocol.
-
Specify the loop interval you need.
-
Make sure your loop interval is sufficient. Keep in mind it depends on the duration of your plate acquisition and that you won't receive an error if the interval is too short.
-
Click "Continue".
-
Click "Save".
-
Click on "Run Journal" if you are ready to start acquisition.
-
Please note that the journal can be modified by any user in terms of loop time and loop interval, hence check and modify the journal before each experiment.
-
-
-
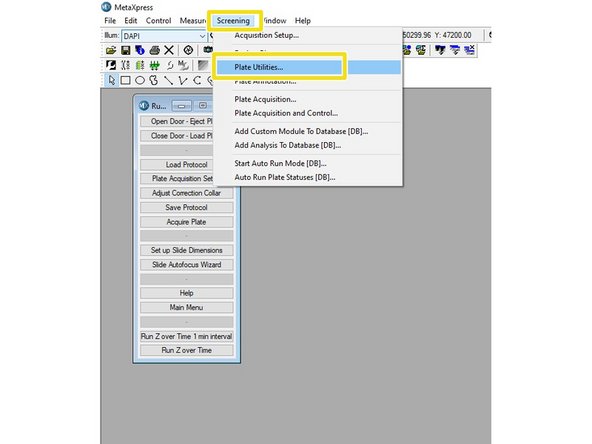
Once your acquistion is done, export the data by clicking on screening.
-
Choose "Screening" > "Plate Utilites...."
-
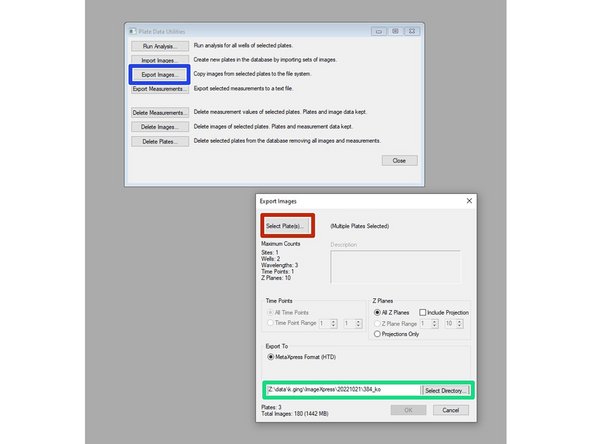
Click "Export Images".
-
Specify your saving location.
-
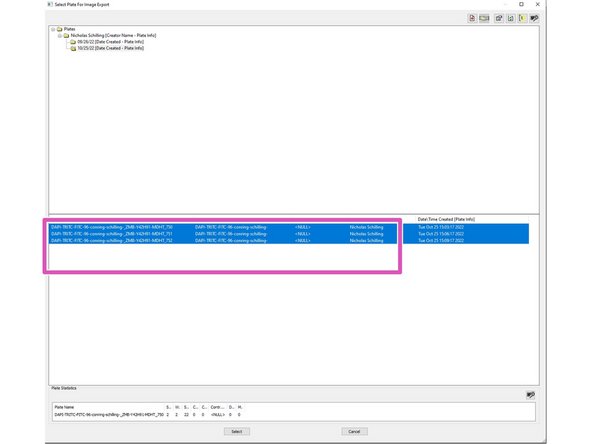
Click "select plate".
-
Choose all looped plate acquisitions.
-
Make sure you choose all looped plate acquisitions of your time lapse experiment.
-
With this setup your individual time points will correspond to individual plate files that will need to be exported.
-
-
-
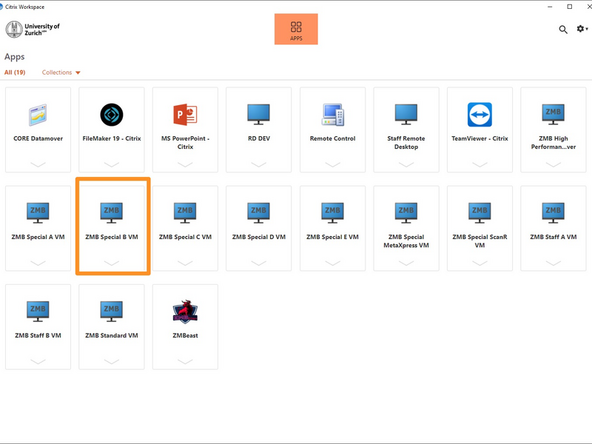
Open the Special B VM.
-
Make sure you have a booking for the virtual machine.
-
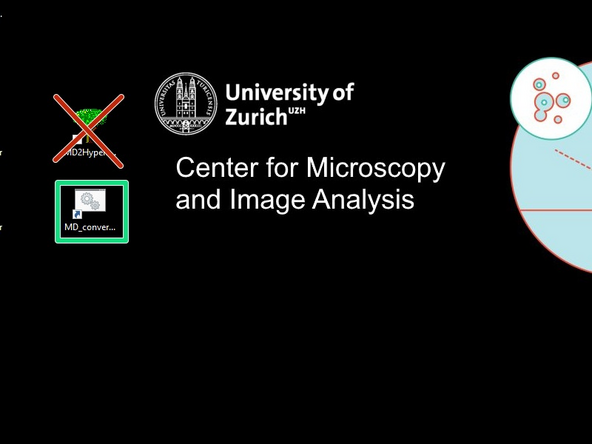
Open MD_converter from the desktop.
-
This replaces the old MD2Hyperstack
-
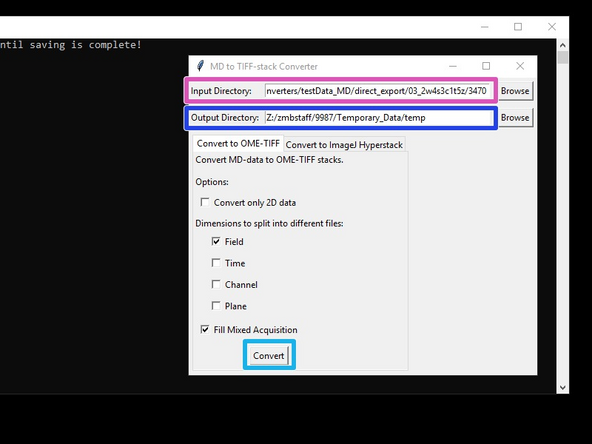
Select the location of the data you have exported.
-
Select the top folder containing multiple MD datasets (usually having 4-digit plate numbers as names), corresponding to the different time-points.
-
Specify the saving directory.
-
Click "Convert".
-
-
-
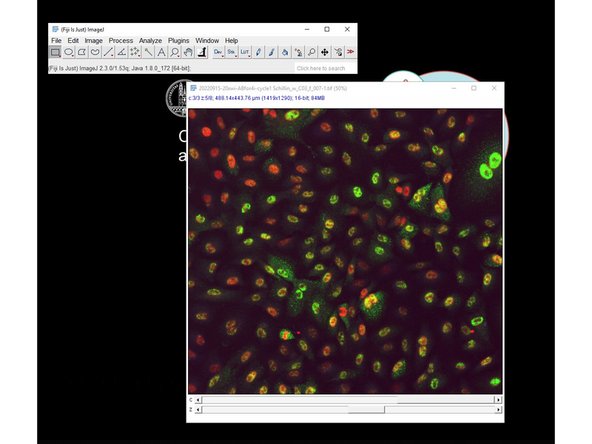
In the end you have a tif file containing a hyperstack for each site of your wells.
-
Note that the MD_converter also works with Z-stacks (without time), or 2D data and finally converts the MD data to either a .ome.tif stack, or a .tif fiji-hyperstack that can both be opened in FiJi.
-
If the .ome.tif files don't open correctly in Fiji, try importing them via File->Import->Bio-Formats
-