Introduction
In this guide of the Center for Microscopy and Image Analysis we show how to start up and mount a sample on the Leica SR GSD 3D TIRF microscope.
Please find more information about the system here.
-
-
Laser Rack
-
Microscope body ("DMI6000")
-
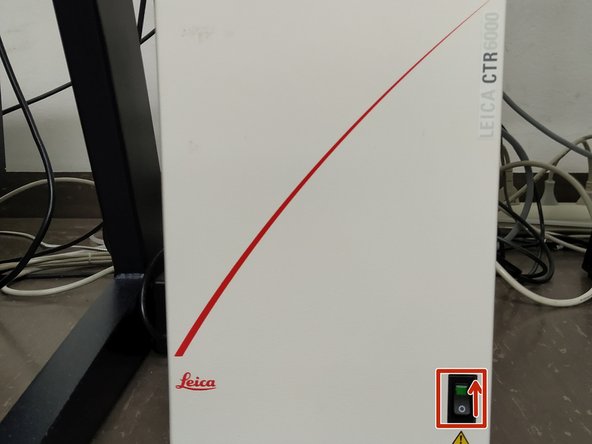
Microscope control box ("CTR box")
-
Fluorescence lamp
-
Isolation Table
-
Computer
-
-
-
The control box is always kept ON to maintain steady temperature of the microscope components.
-
Switch OFF the CTR box, as lasers must be turned ON BEFORE the CTR box.
-
At the laser rack:
-
Turn ON the main power switch.
-
Turn the laser key for the 405 nm laser to "I" in order to enable "LASER Emission".
-
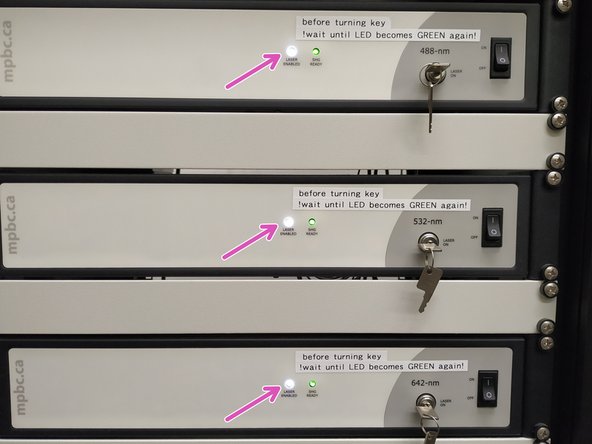
Switch ON all other lasers. Do NOT turn the keys yet.
-
The LEDs ("SHG Ready") light shortly up in green and turn then orange.
-
Once continuously green, turn laser keys to "LASER ON".
-
-
-
Switch ON the control box.
-
Switch ON the fluorescence lamp.
-
Once turned on, the lamp should stay on for at least 30 min.
-
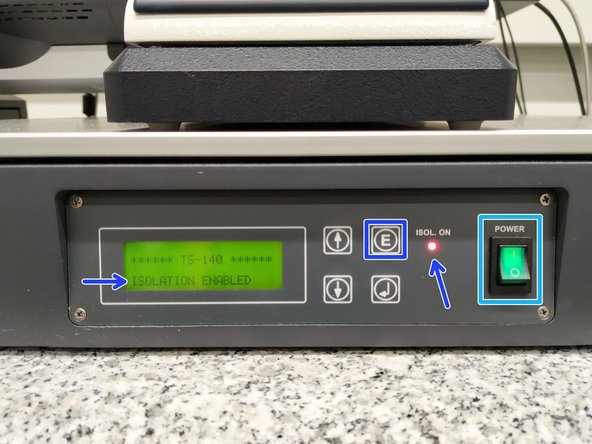
Switch ON the isolation table.
-
Press "E" in order to enable isolation (indicated by the red LED "ISOL. ON" and display).
-
-
-
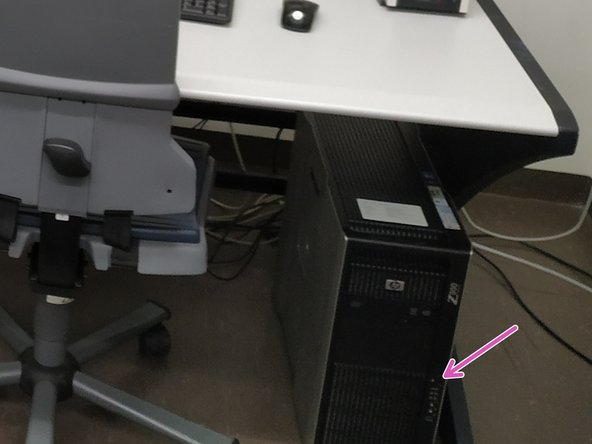
Turn ON the computer.
-
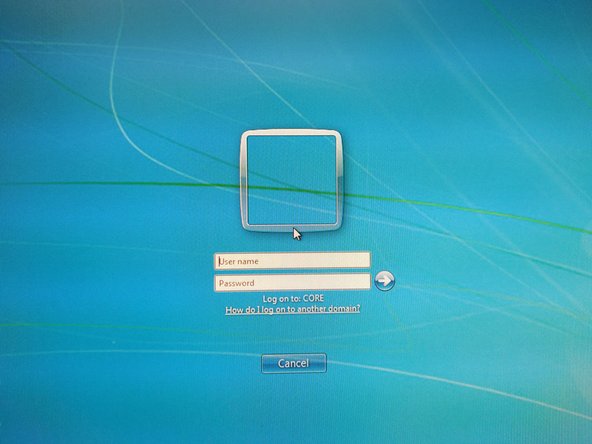
Sign-in with your ZMB core credentials.
-
-
-
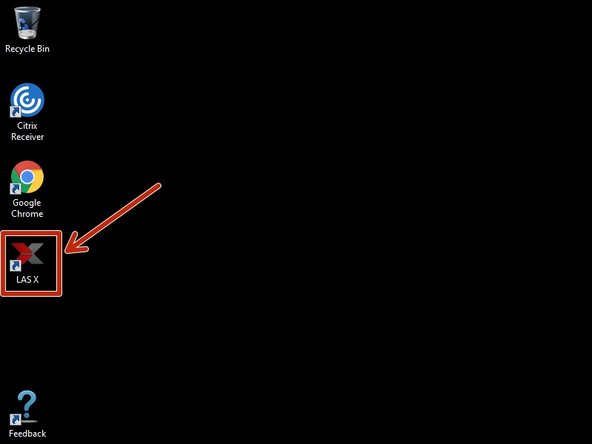
Start the "LAS X" software via the desktop icon.
-
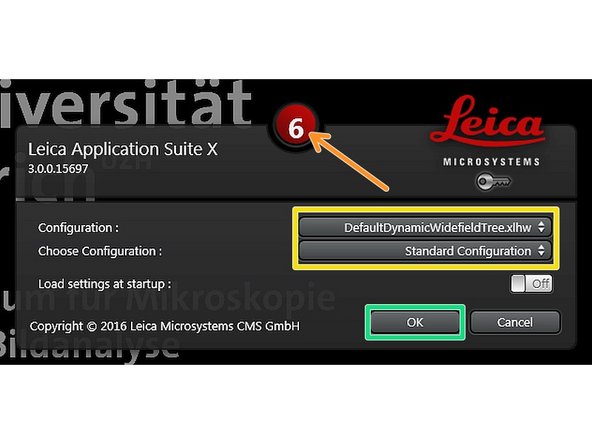
Stop the countdown by clicking on it.
-
Make sure "DefaultDynamicWidefieldTree.xlhw" and "Standard Configuration" is selected.
-
Click "OK".
-
-
-
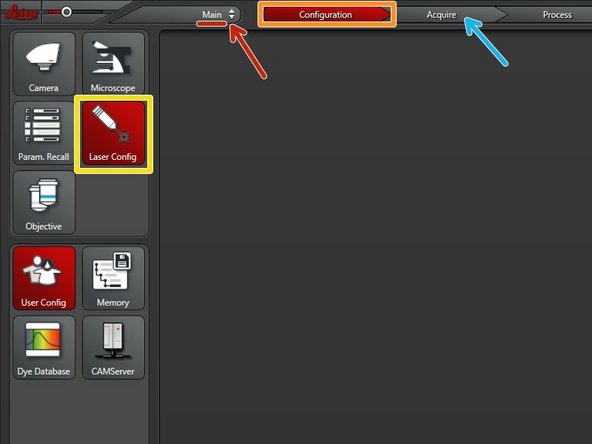
Make sure you are in the "Main" module.
-
Go to "Configuration".
-
Select "Laser Config".
-
Switch "ON" the lasers you need.
-
The "LASER ENABLED" light should turn white.
-
Go back to "Acquire".
-
-
-
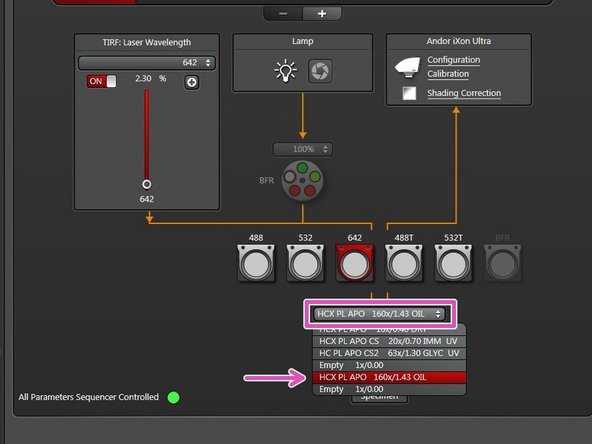
Select the 160x/1.43 objective in the "LAS X" software.
-
The 160x/1.43 objective is the only suitable objective for GSD imaging.
-
Double-check if the objective is correctly inserted (clicked in).
-
The GSD objective is directly connected to the manual stage (SuMo-Stage) in order to reduce drift.
-
-
-
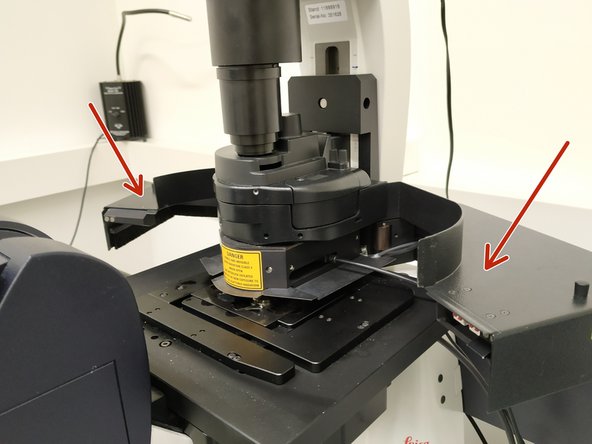
Push the condenser arm to the back.
-
Apply "Type F" immersion to your sample or onto the objective (do not touch the lens with the applicator).
-
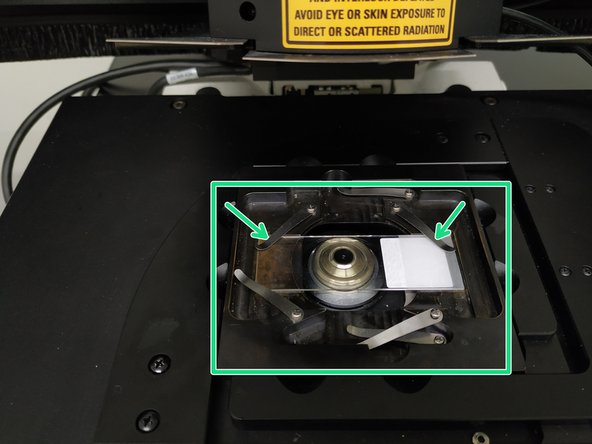
Insert a sample with the coverslip facing down and fix it with the two springs.
-
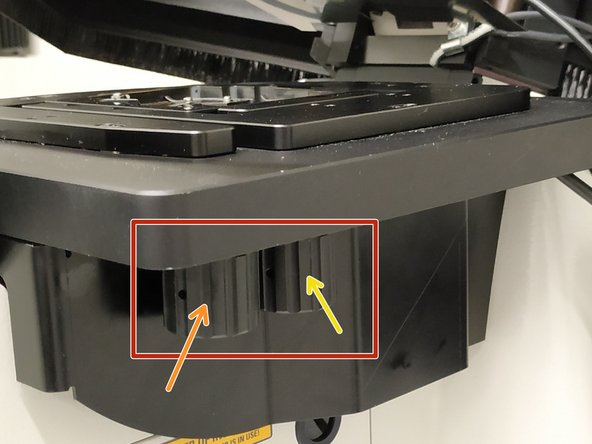
Move your sample over the objective by using the manual stage knobs.
-
Movement in y-direction: clockwise moves the stage towards the back.
-
Movement in x-direction: clockwise moves the stage to the right.
-
Pull back the condenser arm.
-
-
-
An interlocked "Laser Protection Cover" is attached to the condenser arm to protect from the strong laser illumination needed for imaging.
-
This cover has to be opened for accessing the sample.
-
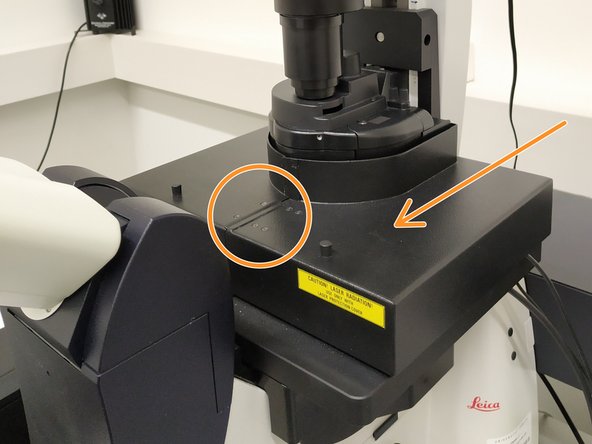
For engaging the lasers during imaging the cover has to be closed.
-
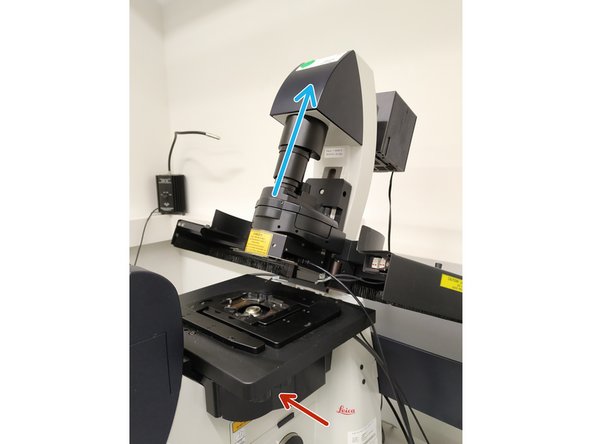
Proper closure is confirmed by a green LED on the back of the microscope.
-
-
-
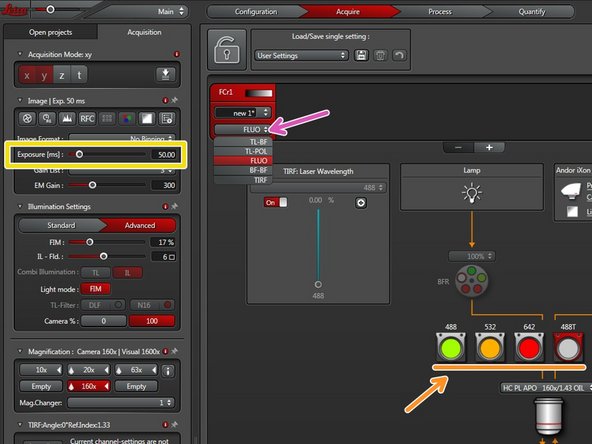
In the "LAS X" software:
-
Choose FLUO to enable widefield illumination.
-
Choose an appropriate filter cube for your fluorophore.
-
Set the camera exposure time.
-
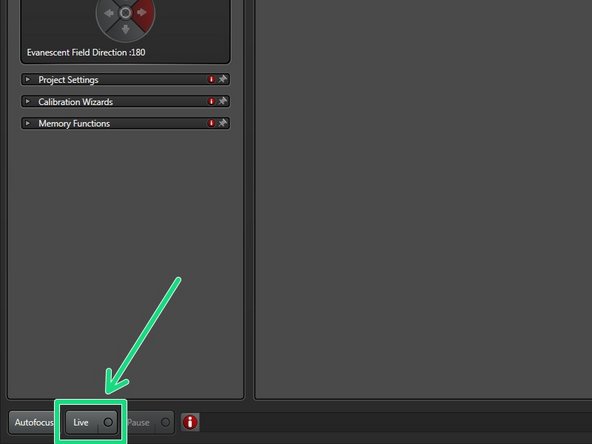
Click "Live".
-
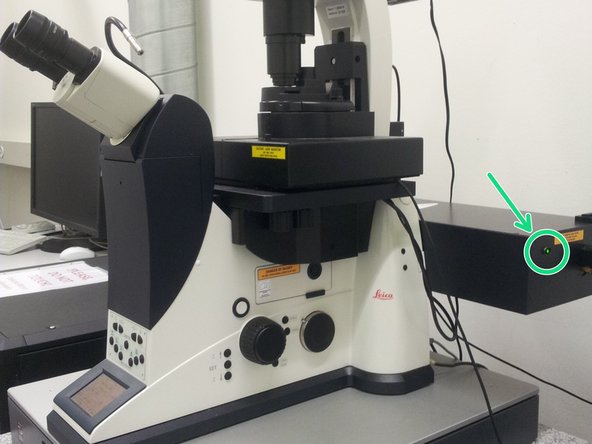
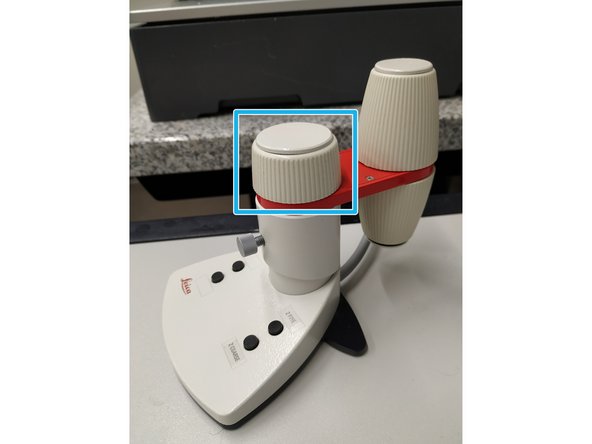
Use the external controller to focus your sample (max. travel range 400 um).
-
-
-
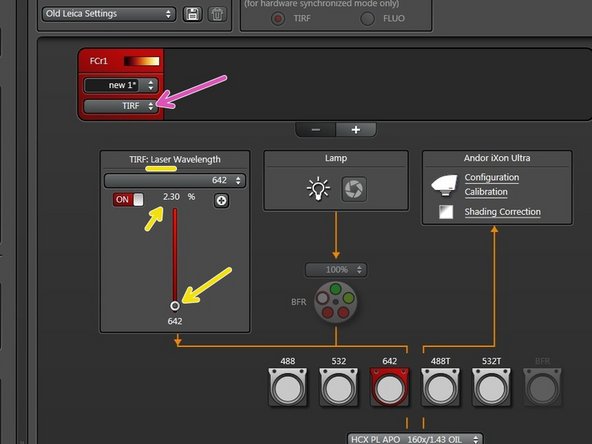
Switch to "TIRF" mode to enable laser illumination.
-
Click "Live".
-
Adapt laser power while being in "Live" mode.
-
-
-
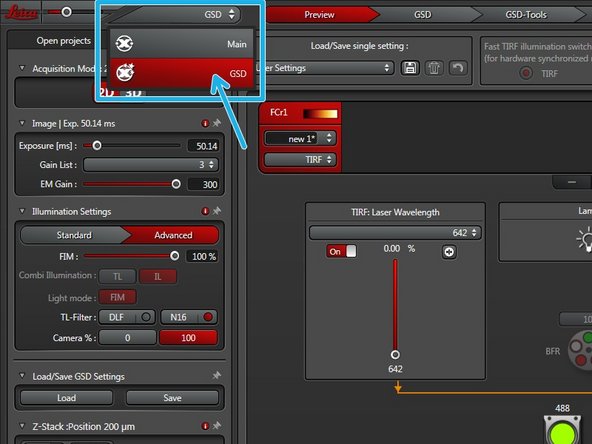
After finding the focus and proper laser and exposure settings switch to the "GSD" wizard.
-
GSD operation will be explained in another ZMB guide.
-