-
-
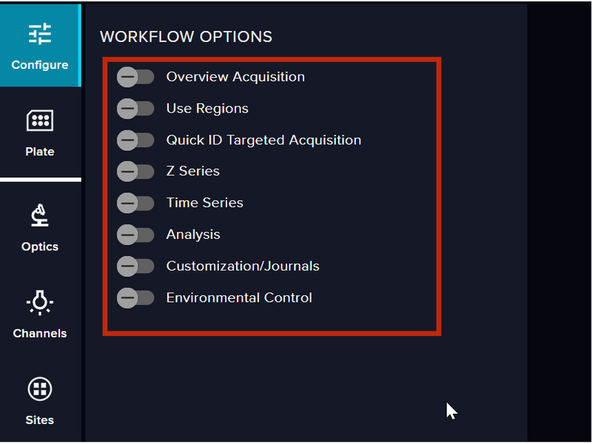
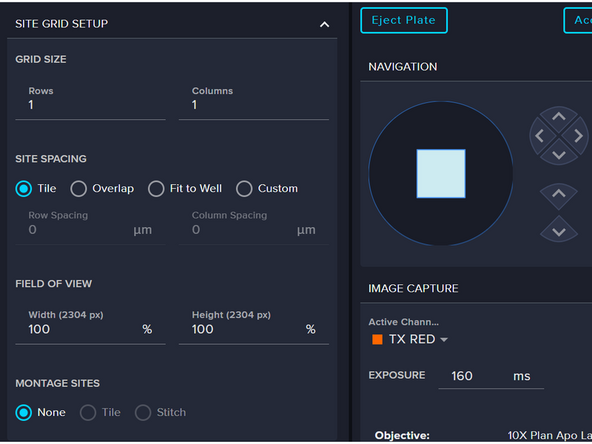
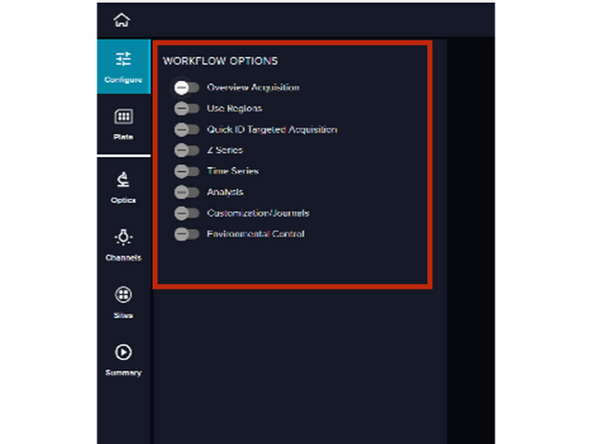
Leave all toggles unchecked for the overview acquisition.
-
-
-
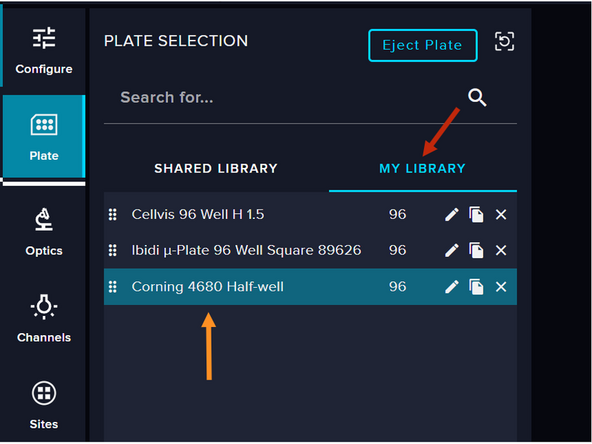
Go to your Plate library
-
Select the plate configuration you are using
-
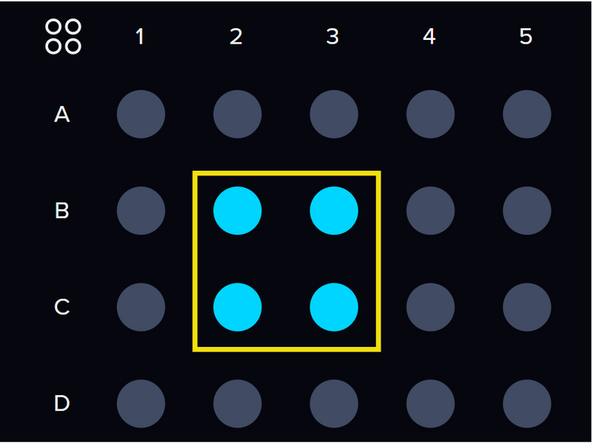
Select the fields you want to include in the overview scan
-
-
-
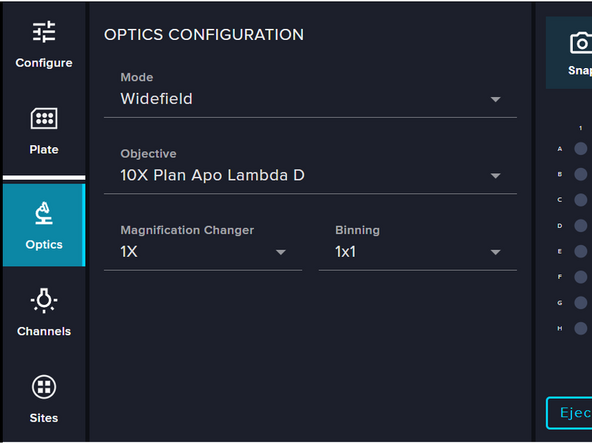
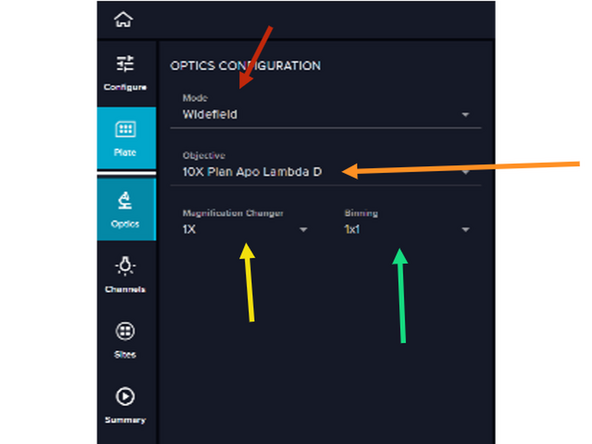
For overview acquisition, Widefield mode is recommended over spinning disk. It allows faster acquisition through lower exposure times and is generally sufficient for detecting targets of interest.
-
The 10× Plan Apo Lambda D objective offers the best trade-off between image resolution, speed, and data size.
-
Set the Magnification Changer to 1×.
-
Set Binning to 1×1.
-
-
-
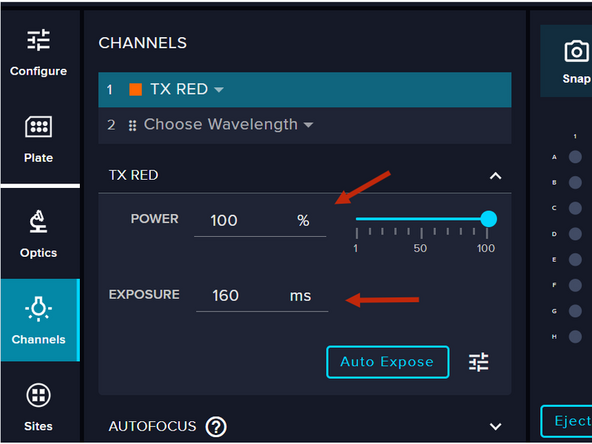
Only one channel can be used for target selection during the analysis. Additional channels can be set up if desired, but they will not be used further in the workflow.
-
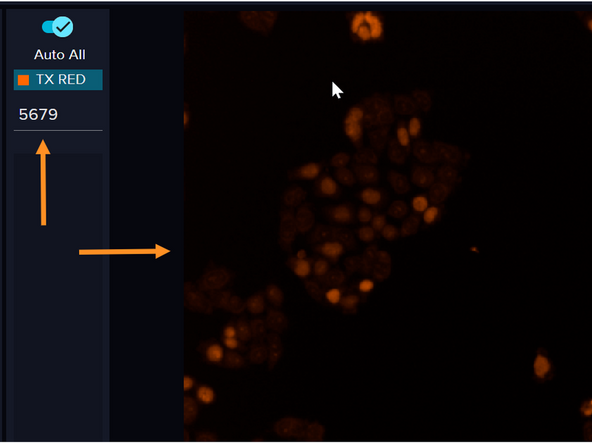
Adjust the laser power and/or exposure time until your signal falls within the optimal range for your sample.
-
-
-
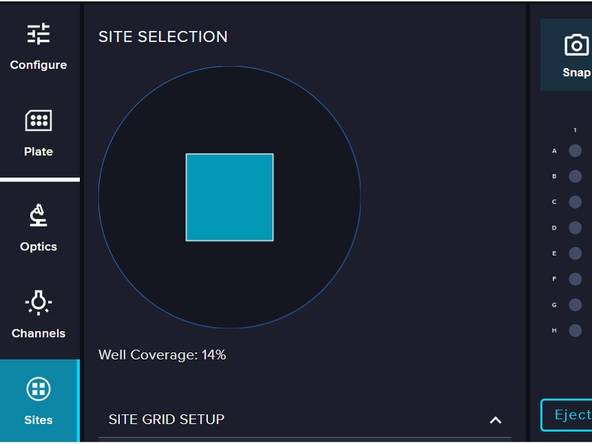
Set up the sites you want to scan.
-
-
-
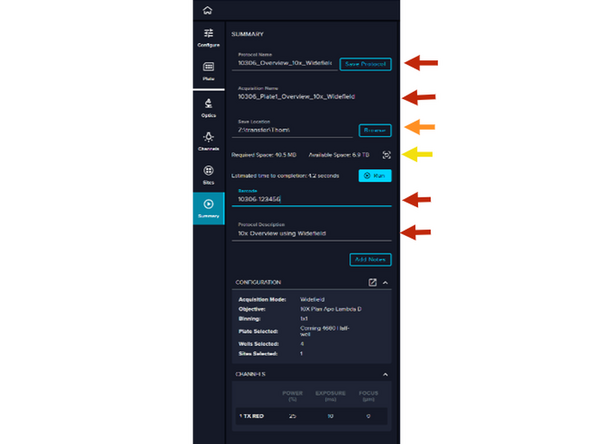
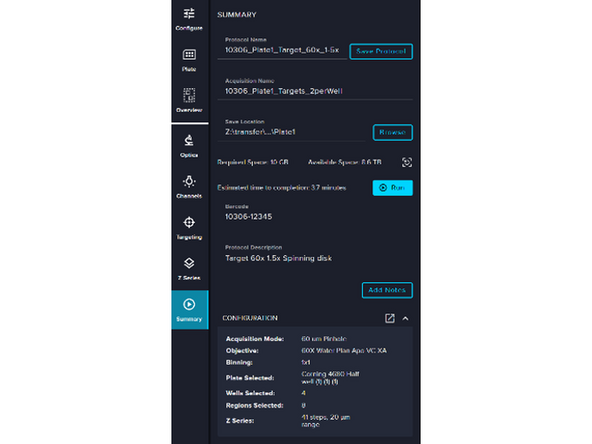
Give the protocol and acquisition informative names.
-
Save your data to your data folder on the Z: drive for easy access from the ZMB MetaExpress VM.
-
Be mindful of the data size.
-
-
-
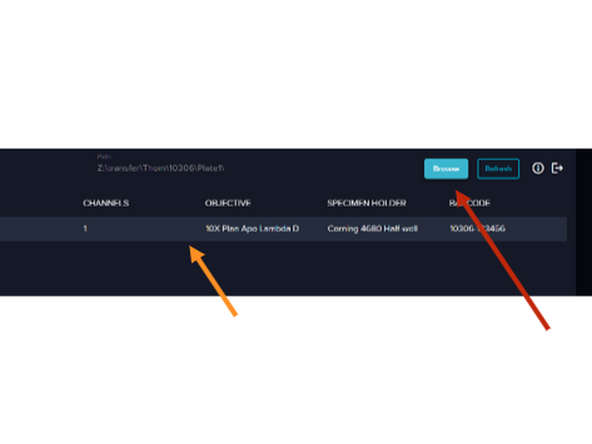
Browse to the acquisition data in your data folder on the Z: drive.
-
Select your data
-
-
-
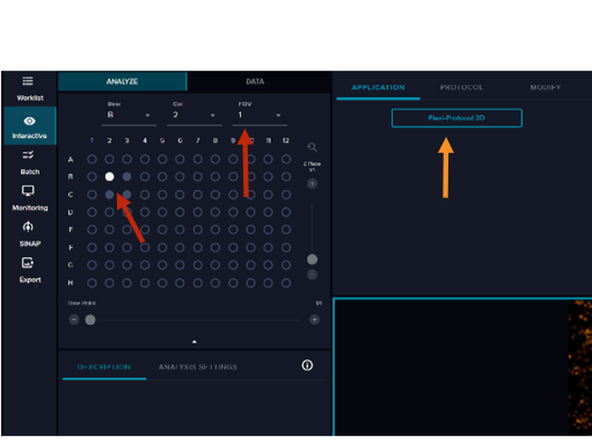
Select the position and field of view (FOV) for target selection.
-
Select the FlexiProtocol 2D
-
-
-
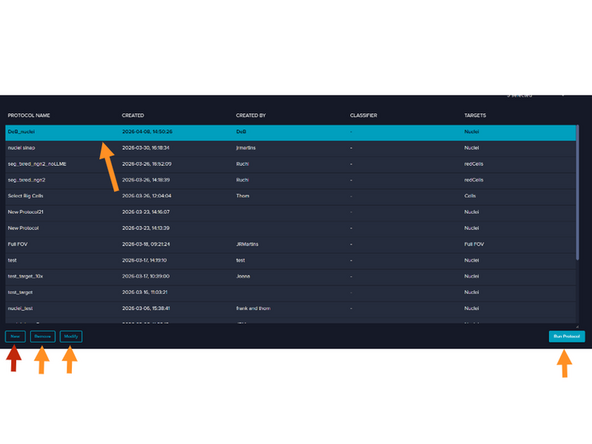
Press New to create a new detection protocol.
-
If you have already created a protocol, you can select it from the list to rename, modify, or run it.
-
-
-
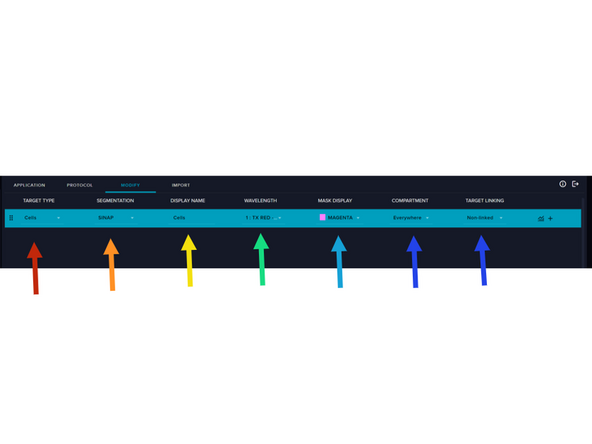
Select Cells as the target type.
-
The SINAP segmentation mode works well for most use cases.
-
Give your targets a descriptive name.
-
Select the channel to be used for segmentation.
-
Select the color for the segmentation masks.
-
Set the compartment to Everywhere and target linking to Non-linked.
-
-
-
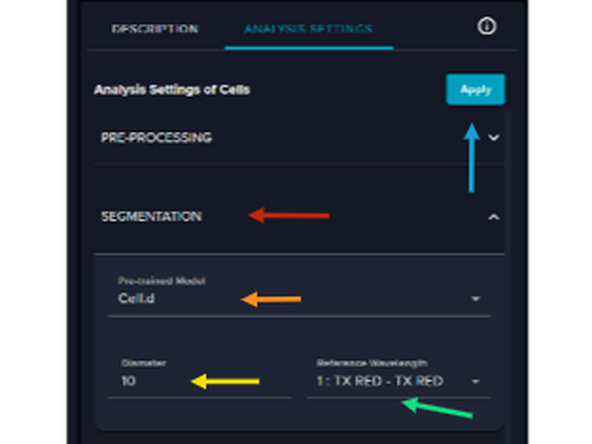
Configuring the segmentation settings properly, under Analysis Settings, has the biggest effect on your target detection.
-
Several segmentation options are available. We recommend Cell.d, which generally gives good results.
-
Cell.d also lets you provide a rough estimate of the object size you are selecting.
-
Make sure the correct channel is selected for segmentation.
-
Press Apply to test the settings.
-
-
-
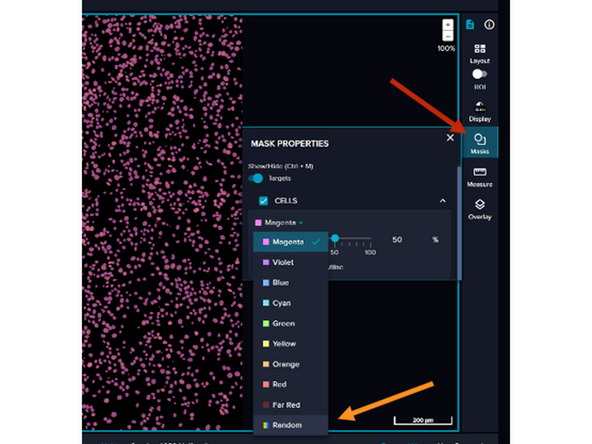
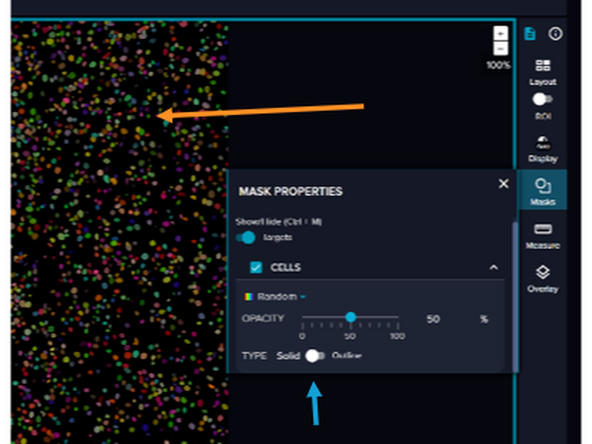
Click Masks to adjust mask settings.
-
Switch to Random color to better distinguish individual segmented objects.
-
Change the mask type from Solid to Outline for a clearer view of underlying cells.
-
-
-
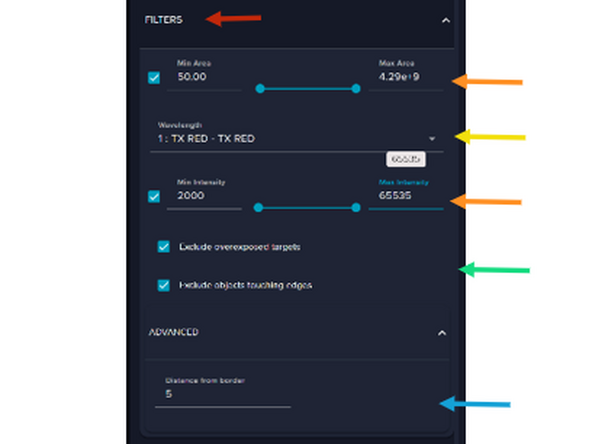
Under Filter in the Analysis Settings, the segmented objects need to be further defined.
-
Refine the segmentation by filtering cells by size and intensity
-
Make sure the correct channel is selected.
-
Suppress overexposed signals and cells touching the image border.
-
Under Advanced, define the minimum number of pixels required between the border and segmented objects.
-
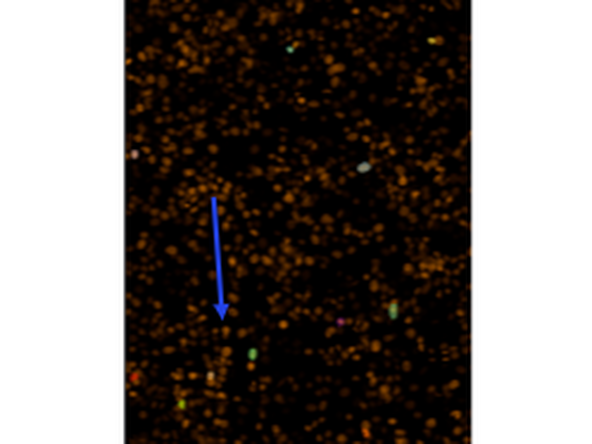
Only a few segmented objects should remain. These will be used as your targets.
-
-
-
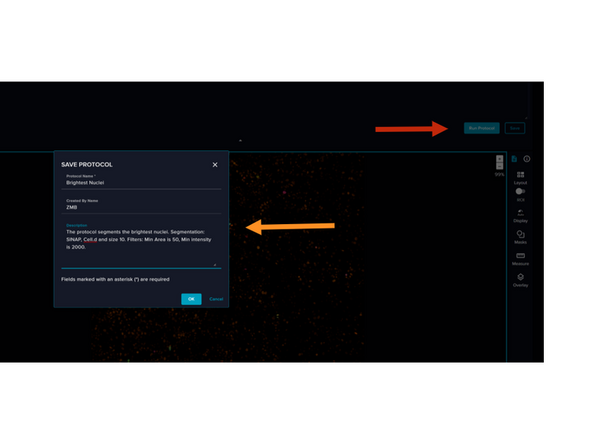
Press Run Protocol
-
Save your protocol with a descriptive name and an informative description
-
Select the well you want to run the analysis on.
-
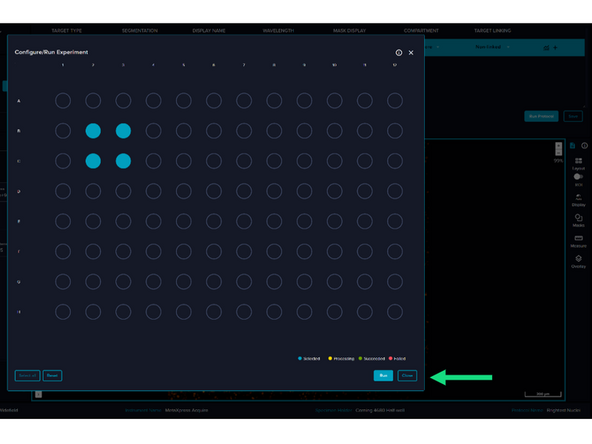
Start the analysis.
-
-
-
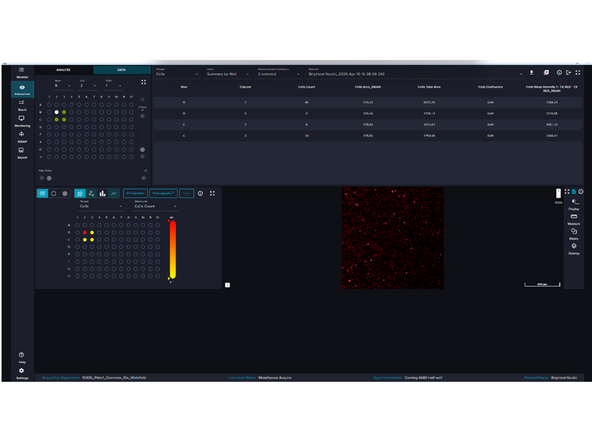
The analysis is finished, and the results are shown here. You can now move on to target acquisition.
-
-
-
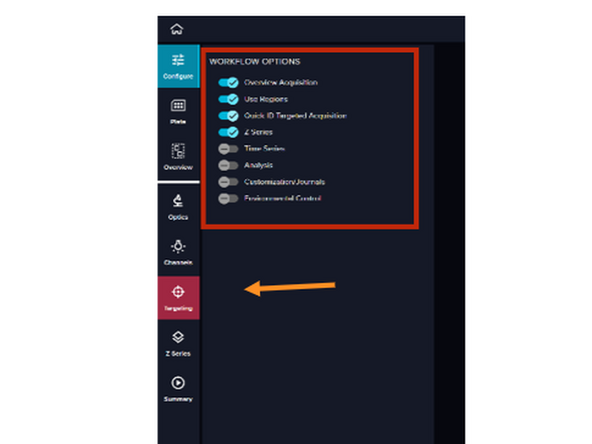
Select Overview Acquisition, Use Regions, Quick ID Targeted Acquisition, and Z-Series.
-
The Targeting button will appear in the sidebar.
-
-
-
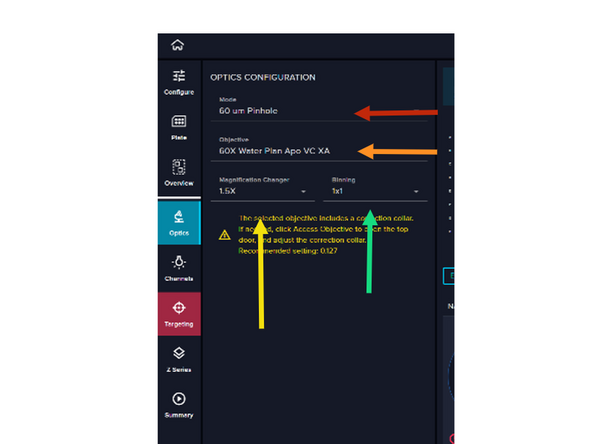
For target acquisition, switch to a higher resolution.
-
Select the 60 µm Pinhole spinning disk.
-
Select the 60× Plan Apo VC XA Water objective.
-
Set the Magnification Changer to 1.5×
-
Leave binning at 1×1.
-
-
-
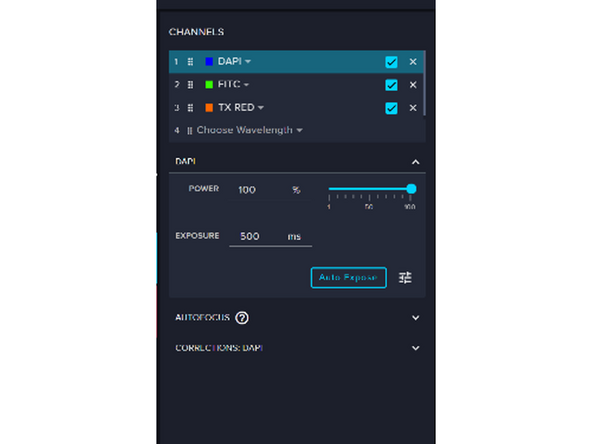
Setup the channels of interest
-
-
-
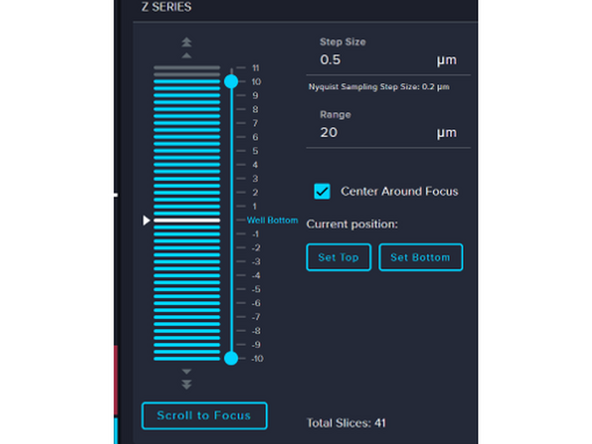
Set up the Z-series Before you move to Targeting
-
-
-
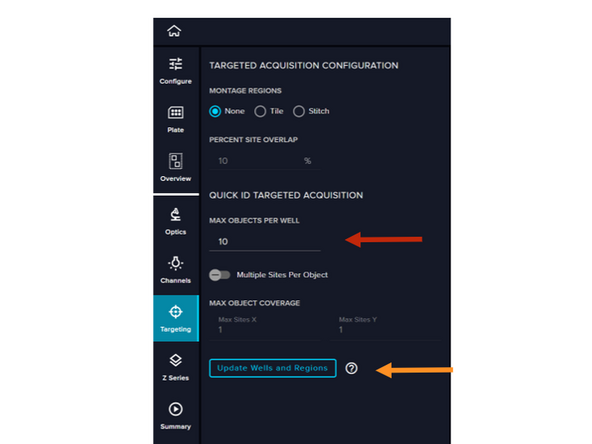
Select the maximum number of objects per well you want to load.
-
Load the objects using the Update Wells and Regions button.
-
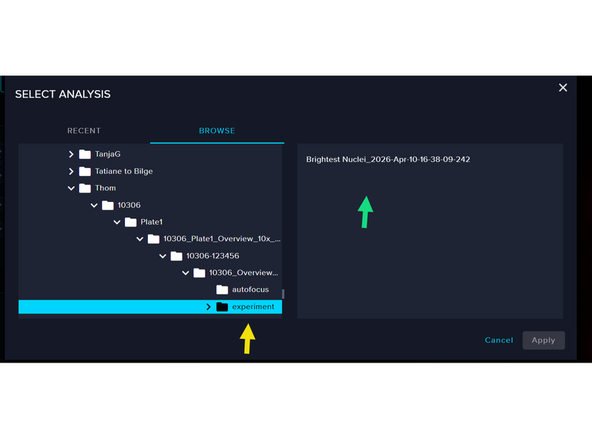
Navigate to the experiment folder in your data folder on the Z: drive.
-
Select the analysis that has been done with IN Carta
-
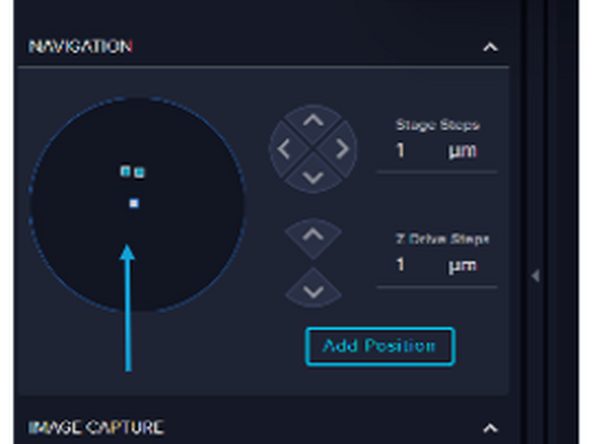
The targets will load into the Navigation window, where you can also delete overlapping areas.
-
-
-
Give your protocol and data appropriate names
-
Run your protocol.
-