Introduction
In this guide of the Center for Microscopy and Image Analysis we show how to shut down the Leica SP8 inverse confocal laser scanning microscope located at Balgrist Campus, Room Microscopy 3 W.112.
Please find detailed information about the system setup here.
-
-
Go to "Open Projects" tab.
-
Save your data
-
by either right-clicking on the "Project",
-
using the "Save All" icon on top,
-
or clicking the save sign behind the "Project".
-
Please save your data on your core storage (network path: "\\files.core.uzh.ch\").
-
Please follow our instructions here on how to access your data.
-
-
-
You can save your settings and reuse them by loading them in your next imaging session. By default the following settings will be loaded: laser intensities, detector settings, averaging and accumulation settings.
-
Save your sequential scan settings if applicable.
-
In your next imaging session you just need to activate "Seq" and click "Load" in order to retrieve your scan settings.
-
To save only single channel settings:
-
Click the "Save-Sign" and choose an appropriate name for saving.
-
Click "Ok".
-
You can now find your single channel setting under "User Settings".
-
-
-
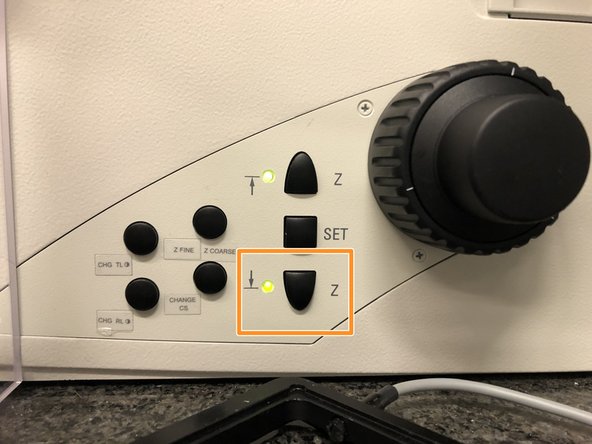
Lower the objective and remove your sample.
-
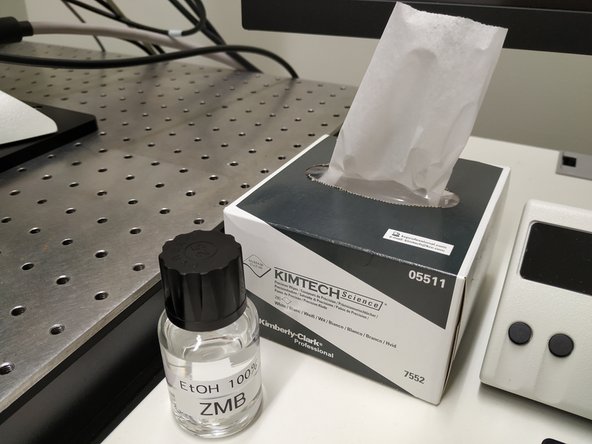
Clean the immersion objective(s) you have used with the available "KIMTECH" wipes and 100% EtOH.
-
Always clean the lenses in concentric circles and from the center to the edge. Clean also the sides of the objective(s).
-
Please also take care that immersion media has been cleaned off of all the other microscope parts which got in touch with.
-
-
-
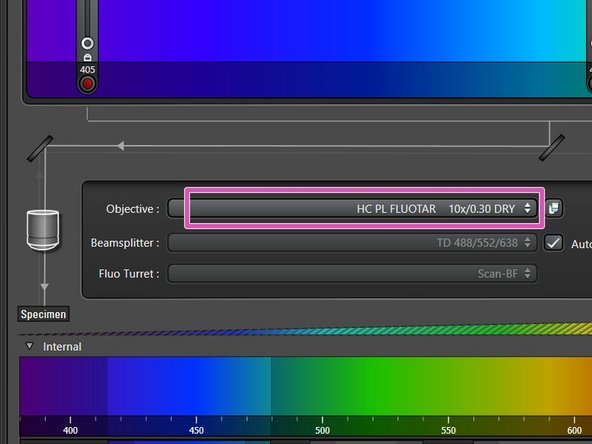
Switch to the 10x dry objective.
-
-
-
Only follow this step if environmental control was applied during your experiment.
-
37°C and 5% CO2 are set as a standard. If you have changed it during your experiment, please set it back to the standard values.
-
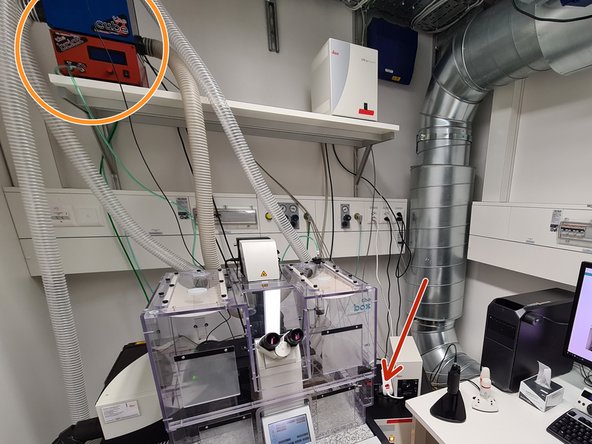
Cube (temperature) and brick (CO2) do not to be switched off separately - they are powered by the mentioned power switch below.
-
Switch off the power switch on the cable strip.
-
-
-
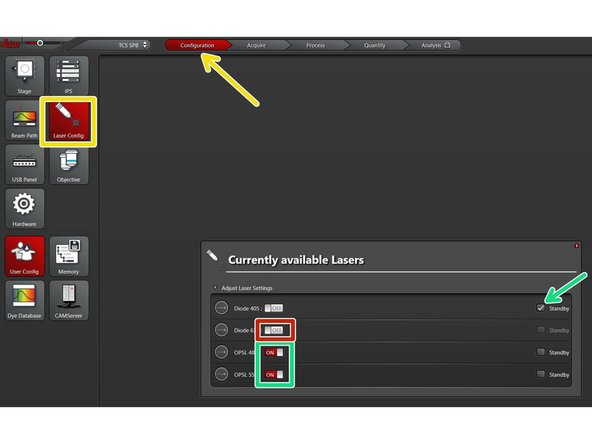
Go to "Configuration" and choose "Laser Config".
-
Check in the booking system if there is another booking within the next 2 hours.
-
If YES
-
keep the lasers ON or put on standby,
-
close the "LAS X" software and Sign-Out.
-
If NO
-
switch OFF all lasers ,
-
close the "LAS X" software, shut-down the PC and follow the next step.
-
-
-
Only follow this step if there is no booking within the next 2 hours.
-
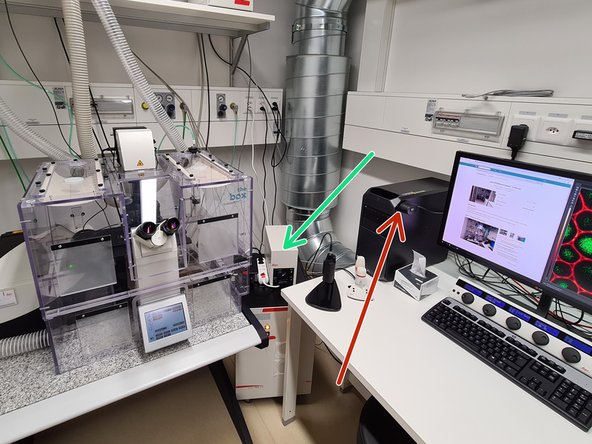
Switch-OFF the fluorescence lamp.
-
Switch-OFF the main power switch.
-
Take care the PC has been fully shut-down before.
-