Introduction
In this guide you learn how to exchange objectives on the Leica SP8 MP DIVE FALCON microscope.
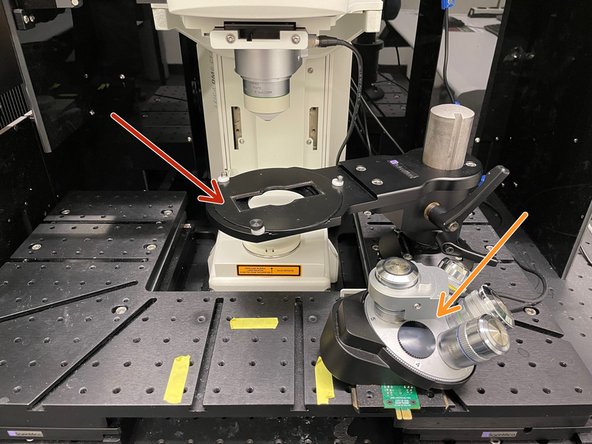
In our standard configuration this microscope is equipped with a IRAPO 25x 1.0NA water immersion objective with a 2.6mm working distance. For normal imaging using MPE excitation this objective is usually the best choice.
However, we also have an additional objective revolver, equipped with high-end objectives, which can be used for more advanced imaging needs or which can deliver better performance in single photon confocal Imaging.
When exchanging objectives, please always be sure to build the system back to our standard configuration using the 25x 1.0 water immersion objective at the end of your imaging session.
-
-
Be sure to completely power down the microscope before exchanging objectives!
-
If the microscope is running, perform a proper shutdown sequence and turn-off the power on the:
-
Remote switch.
-
Switches below the table.
-
-
-
Before removing the front part of the light insulation box be sure to perform the following steps inside the box:
-
unplug the power connector.
-
carefully detach the magnetic cable holders.
-
do not detach the non magnetic cable holders.
-
-
-
For removing the front part of the box open the 4 holding wheels.
-
Open the side door.
-
Hold the box above the detector as well as on the right corner and horizontally slide it away from the microscope.
-
The interior of this box is quite cramped. Be sure to very carefully place the objectives as well as your equipment.
-
-
-
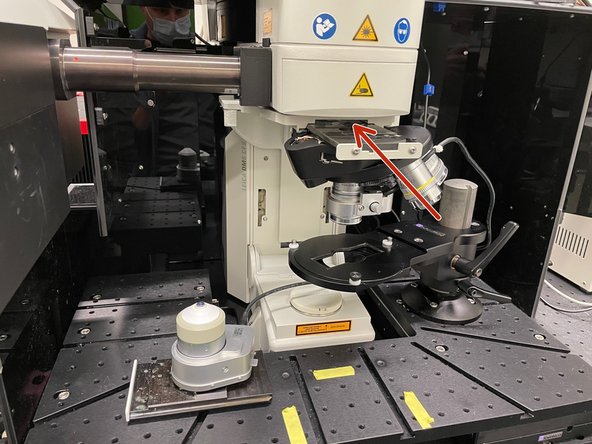
Move out the sample stage to ensure a save distance to the objective.
-
Locate the objective revolver. Be careful with the rather short cables.
-
-
-
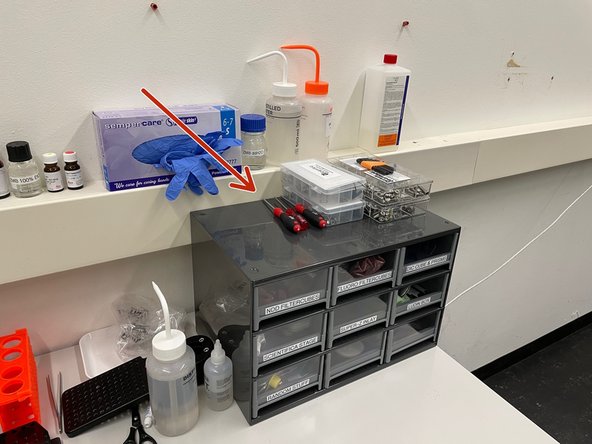
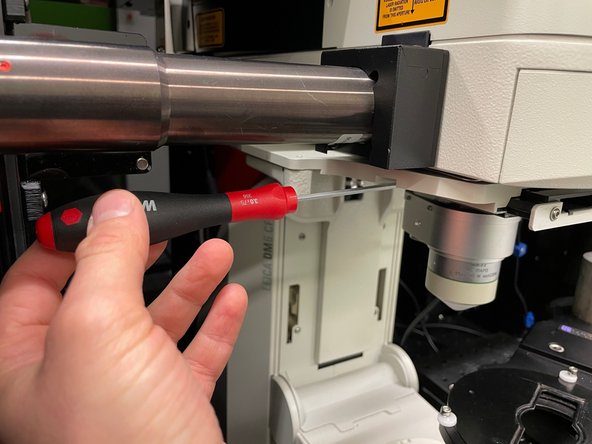
Locate a suitable srewdriver (M3).
-
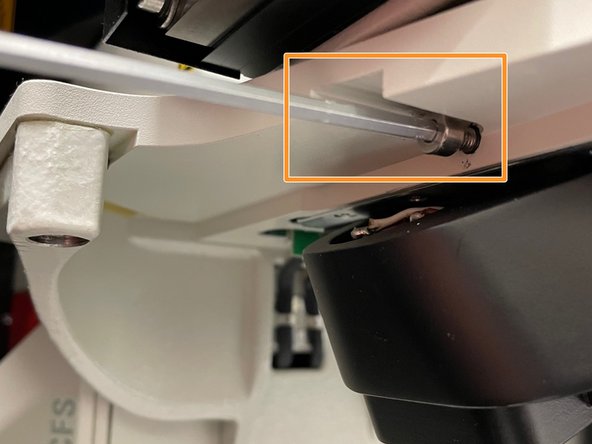
Loosen the screw. This only takes 2-3 turns. Be sure to not completely remove the screw.
-
-
-
Slide out the 25x objective.
-
Slide in the objective revolver.
-
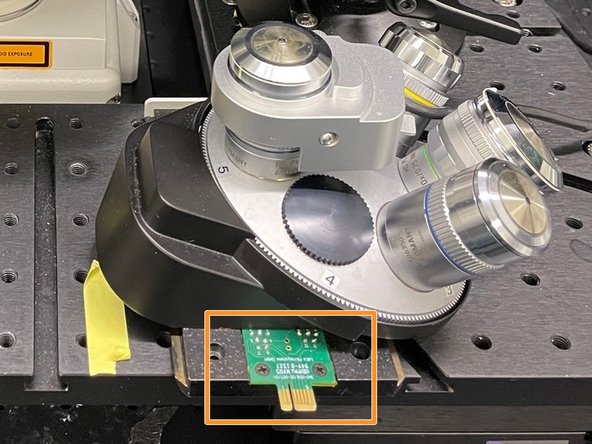
Be sure that the electronics connector of the revolver is facing towards the microscope.
-
-
-
Be sure to push the revolver to the very back of the slider.
-
Gently tighten the screw.
-
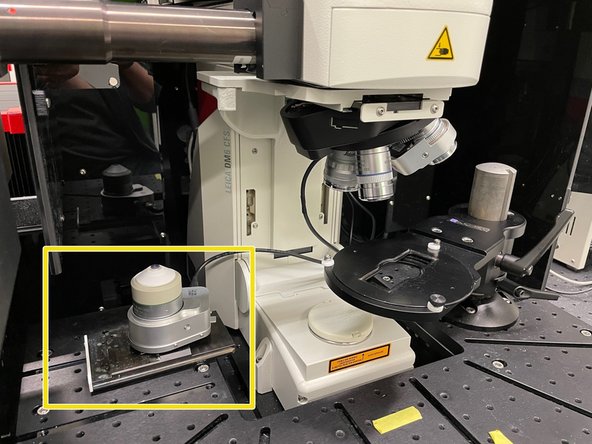
Place the exchanged objective inside the box but outside of a possible danger zone (e.g. when moving the stage or handling samples).
-
Remember to put back the 25x objective when done with your imaging session.
-
After starting the microscope, the different objectives can be selected within the LASX software. Be extra careful with the sample stage since the revolver will rotate automatically and might collide.
-