Introduction
In this guide of the Center for Microscopy and Image Analysis we describe how to set up the environmental control system for live cell experiments at the Leica SP8 inverse confocal laser scanning microscopes located at Gloriastrasse 30, Room GLM F01.
-
-
Start heating at least 30 min before you start your experiment. This allows the chamber and the microscope components to heat up and avoids major drift during your experiment.
-
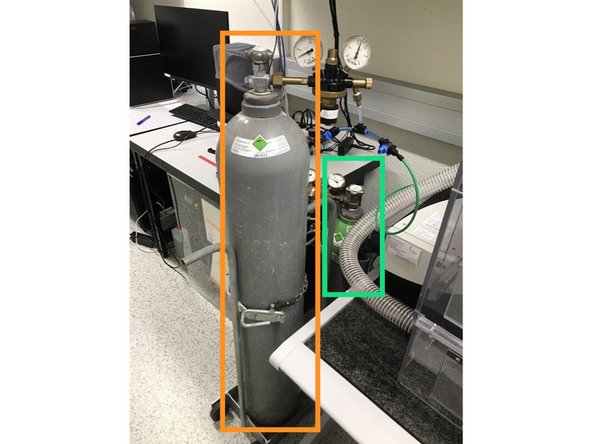
Gas bottles can be found on the left of the microscope:
-
CO2
-
Air
-
Humidifier: Make sure the humidifier column is filled with water. If not, carefully refill ddH2O. Don't overfill!
-
Use dishes or well plates suited for imaging. Preferably glass bottom.
-
Make sure your media does not interfere with the imaging - e.g.use media without phenol red.
-
-
-
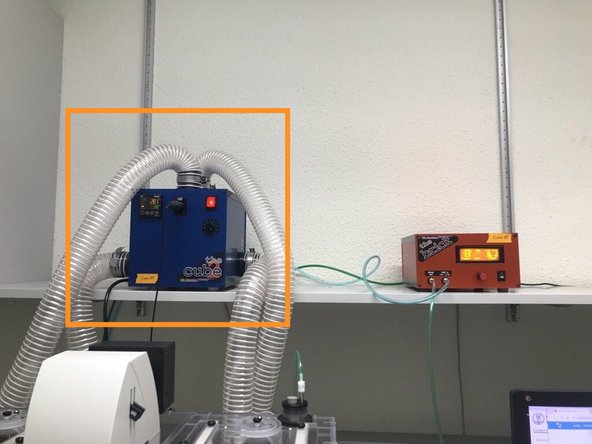
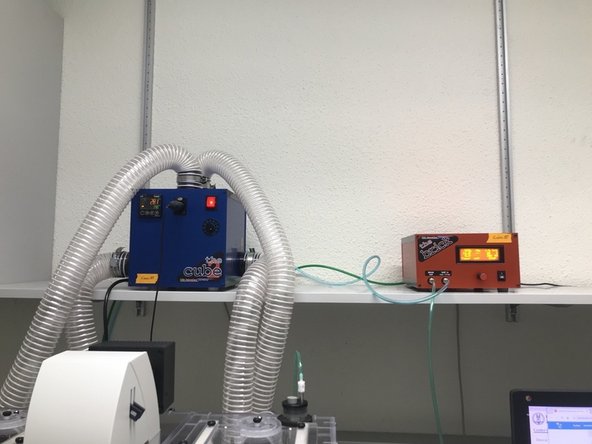
Switch ON the temperature controller (the cube).
-
Define the desired temperature using the arrows.
-
The yellow number (top) indicates the current temperature measured inside the incubation chamber.
-
-
-
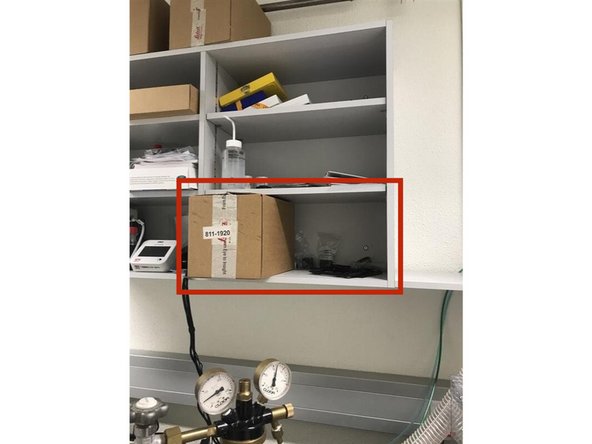
You will find the accessories in the cupboard.
-
If you use a well-plate insert, we recommend to put a dummy plate or a lid inside the chamber during the equilibration process to avoid vanishing of CO2 and humidity.
-
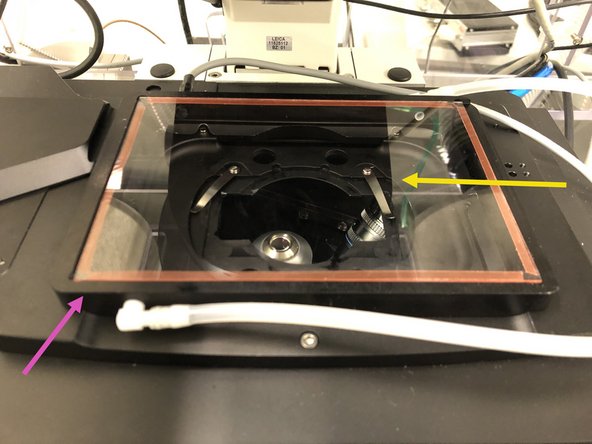
You will find the frame inside the incubation chamber.
-
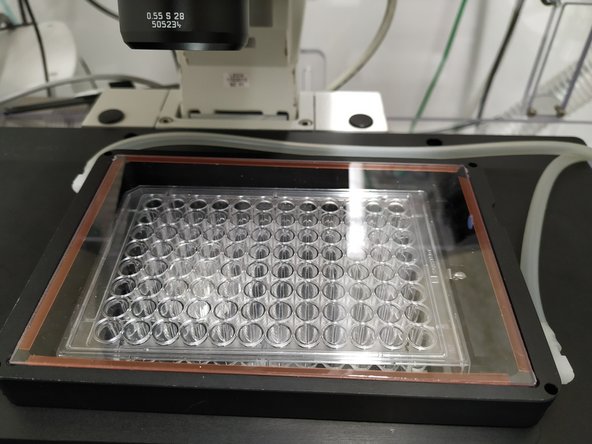
Place the frame on top of the stage.
-
There are 2 small metal pins on the frame and two opposing holes in the stage in order to hold it in place.
-
Slide in the glass/plastic lid to cover the frame.
-
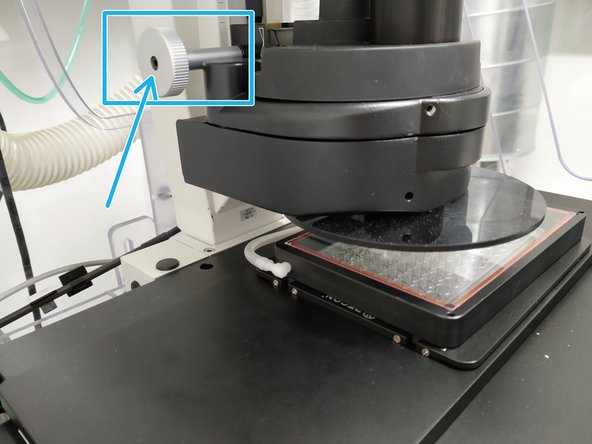
Adjust the condenser height in case it touches the top of the lid.
-
-
-
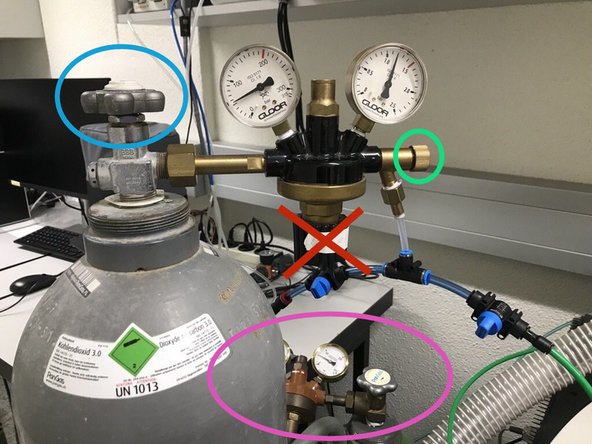
The gas bottles:
-
Air remains open the whole time - no need to change anything.
-
CO2: Gently open the main tap of the gas bottle.
-
As well as the small knob on the right.
-
Please DO NOT CHANGE the pressure control tap!
-
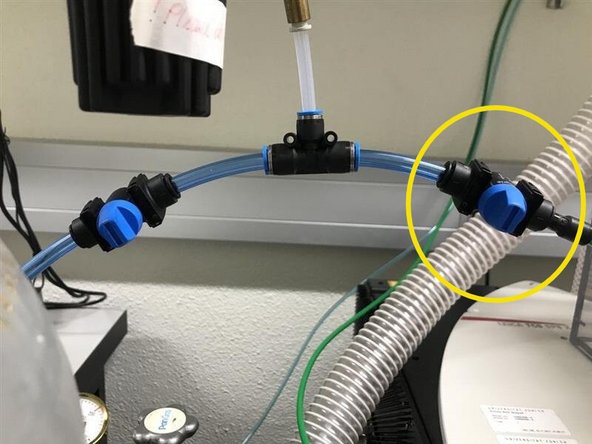
NEW: We have 2 valves, allowing to have either the NanoLive, the SP8 or both supplied with CO2.
-
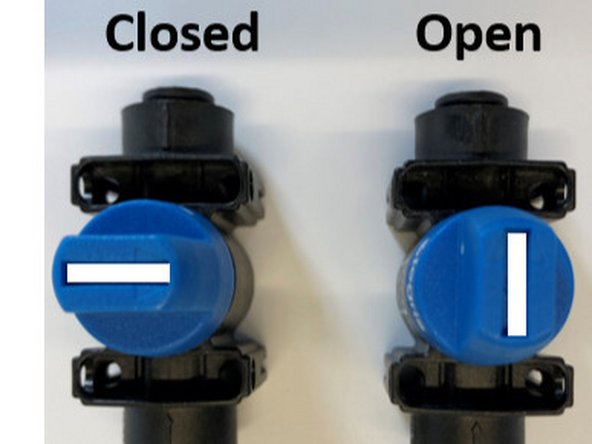
Open the valve to let CO2 reach the brick.
-
-
-
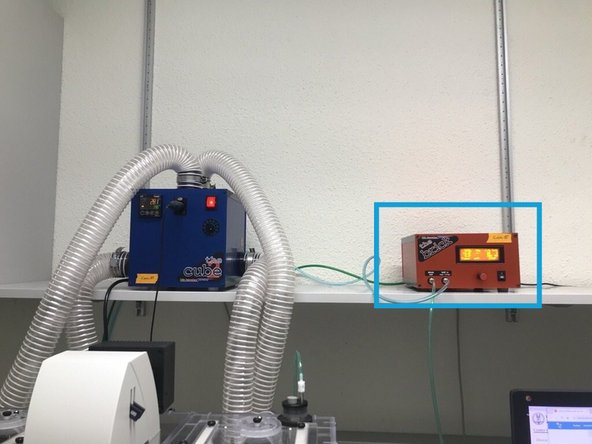
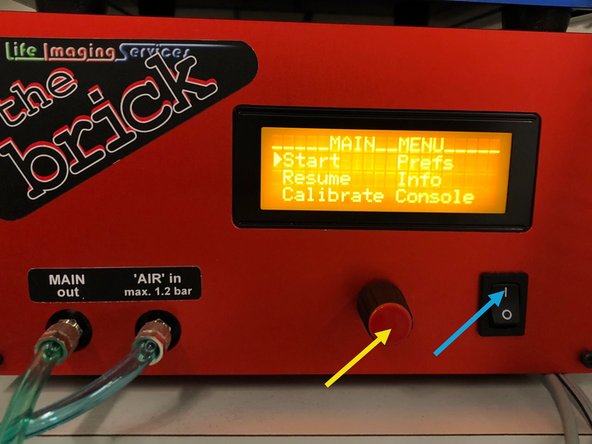
Switch ON the CO2 controller (the brick).
-
Turn the knob to navigate through the menu options. Small arrow next to the option will show where you are.
-
Press the knob to select the desired option, in this case "Start".
-
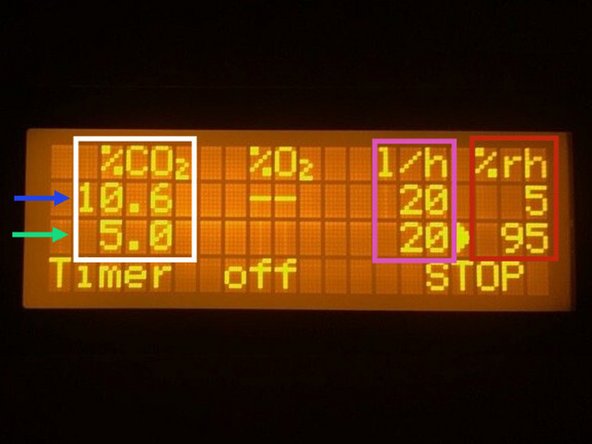
Use the knob to navigate through the options. The upper row gives the readings inside the chamber.
-
The lower row indicates the defined settings.
-
For normoxia, set CO2 to 5%.
-
Adjust the flow - 20 l/h maintains the right CO2 concentration inside the chamber.
-
Please be aware that this instrument only has passive humidity, meaning that there is no humidity sensor. Humidity is expected to reach approx. 70%. So you can ignore both the set value and the measured one.
-
-
-
Wait until the CO2 concentration and temperature stabilize inside the chamber (approx. 30 min).
-
Once temperature and CO2 have stabilized you can place your sample/cells.
-
You can now start setting up your experiment!
-