Introduction
Imaris requires IMS files as input. Imaris File Converter can be used to convert your files into *.ims so you can visualize them in Imaris.
-
-
Reserve and open a ZMB image processing virtual machine.
-
Open ImarisFileConverter.
-
-
-
Either Drag & Drop the files you wish to convert, or click "Add Files...".
-
-
-
If you have *.lif (Leica) files containing 2D and 3D you might be asked to change the voxel size.
-
Imaris 9.9 is not able to handle LIF files with mixed 2D and 3D datasets.
-
If your files have different z step sizes this change will affect all your files!
-
You can hoover over your file name to check the dimensions of the different datasets.
-
Until this bug is fixed please use the workaround of doing the conversion in Imaris Arena.
-
-
-
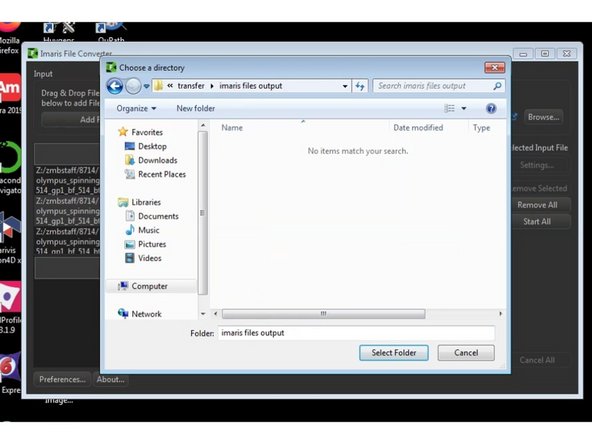
It is recommend that you save your processed files in a different folder than your raw data.
-
Click "Specific Folder:".
-
Choose the desired folder path.
-
-
-
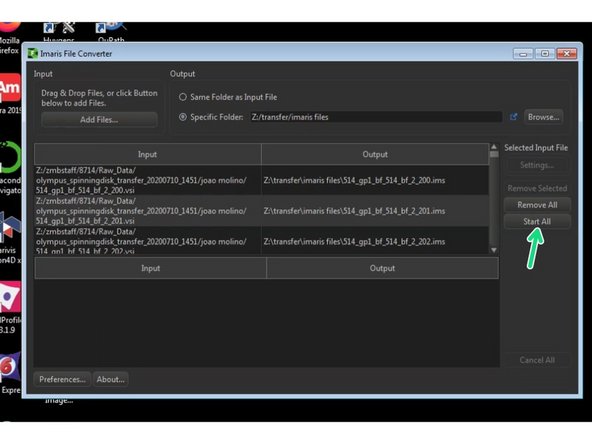
Multiple files of a series such as 3D stacks, time series and multi channel images should be automatically recognized as a single *.ims file.
-
If the dimensions are not properly detected you can select your file and click on "Settings".
-
Here you can adjust the dimensions of the image series for conversion.
-
In the example each file correspond to a different channel (C). The same principle would apply to different Z planes (Z) or timepoints (T).
-
For container files such as .lif (which can contain multiple images/datasets) an individual *.ims file for each image/dataset will be generated.
-
-
-
You can now start converting your files by pressing "Start All".
-
If the conversion is successful you will now see a green mark next to your files.
-
-
-
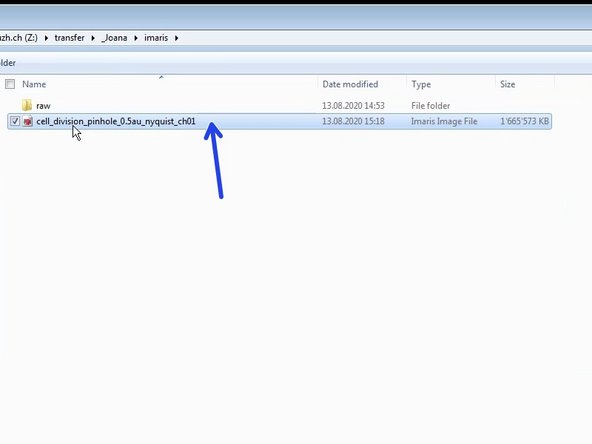
Open your specified folder and double click to visualize your file.
-
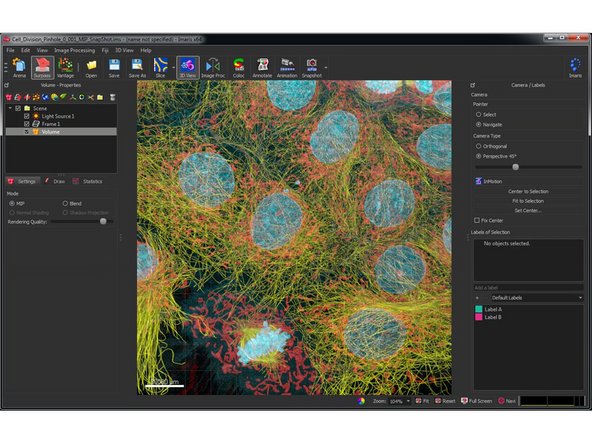
Alternatively you can also use the Arena view in Imaris to browse through the different files. Please check the corresponding guide.
-