
Introduction
"Arena" allows users to explore and interacting with folders as well as for importing files into the Imaris file format .ims. It also works as the interface for a simple batch processing. Here you can find a short guide covering some of the basic "Arena" functionalities. If you are working with *.lif files containing 2D and 3D images this is also the preferred way of handling your files.
-
-
Reserve and open a ZMB image processing virtual machine.
-
Open Imaris
-
Imaris will automatically start in the new "Arena" view.
-
-
-
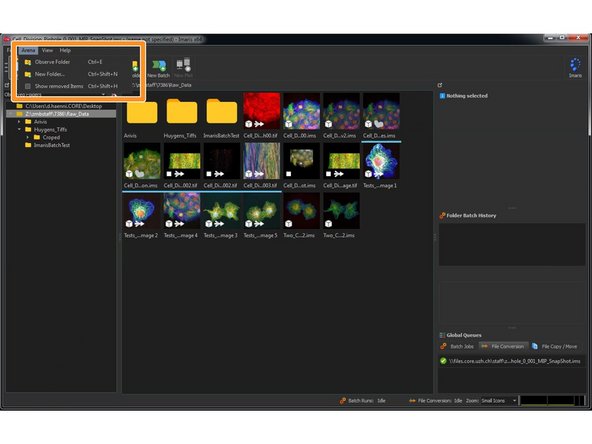
Use the "Observe Folder" icon to add folders to the "Arena" view.
-
It is good practice to add more than one folder to the "Observed folders" list because some views only refresh if you switch between folders.
-
Imaris shows you the content of the selected "observed folder" as seen in the windows file explorer.
-
In this section you can find the available metadata of the selected file without opening/importing the file.
-
-
-
The small symbols on the thumbnails indicate the file dimensions and format. The arrows indicates that a file is its source format such as .tif or .lif and has yet to be imported for visualization.
-
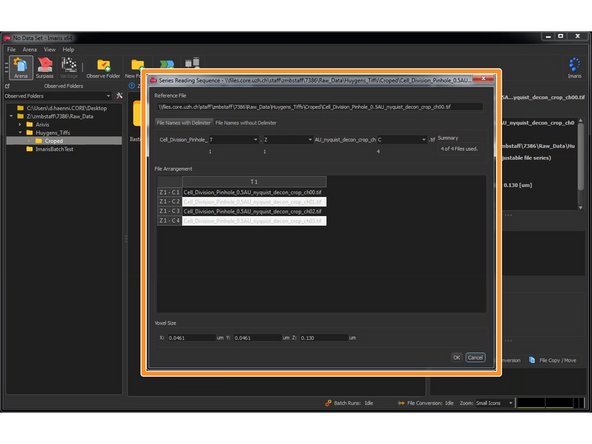
Multiple files of a series such as 3D stacks or time series are shown as a single icon with the dimensions indicated.
-
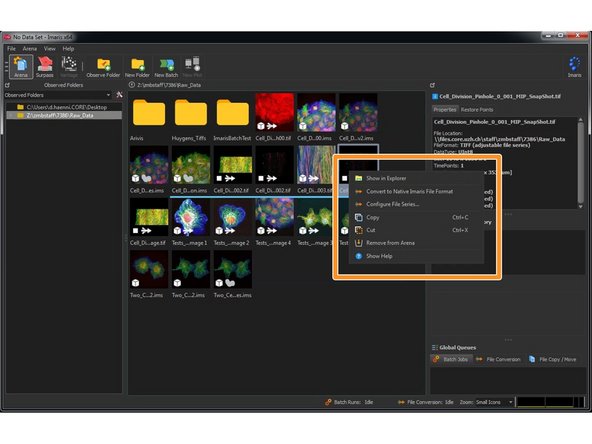
By Right click on a file you can open the "Configure File Series" dialog which allows to modify the dimensions of the image series for import.
-
For container files such as .lif which can contain multiple experiments/datasets, "Arena" shows a preview for each individual dataset.
-
-
-
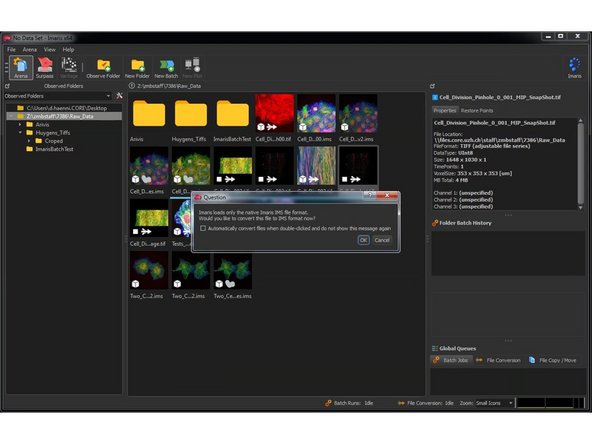
Double click on a thumbnail for importing it into the .ims file format.
-
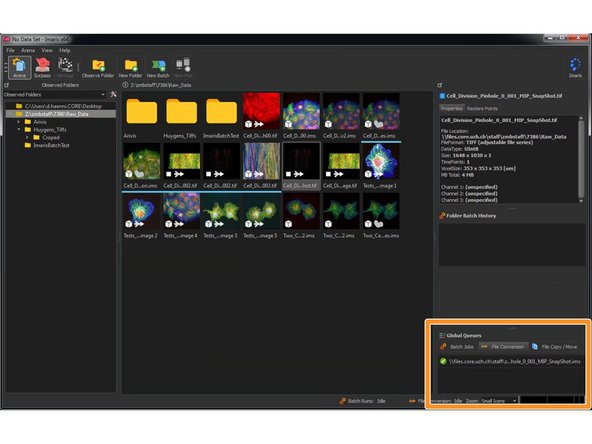
You can see the progress of your file conversion in the "Global Queues" area of your Arena view.
-
In order to see the effect of your import you need to refresh the file view by clicking F5 or on another folder in "Observed Folders" and then back.
-
Now Imaris refreshes the view and the ending of your file should have changed to .ims and the arrow is gone.
-
-
-
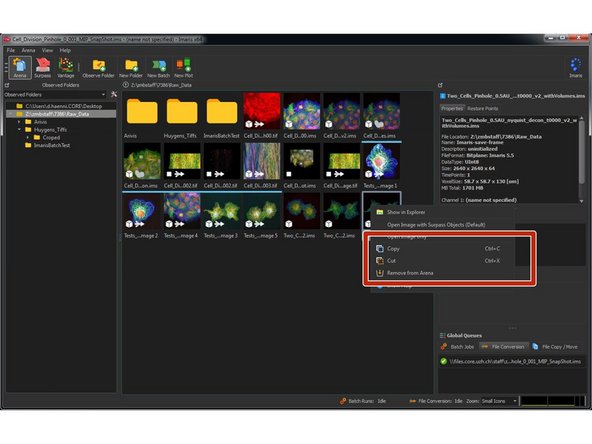
Right clicking on a file allows you to cut/copy a file or to remove it from Arena. This won't remove your file from the drive.
-
In the top menu you can select "Arena/Show removed items" to bring the removed files back.
-
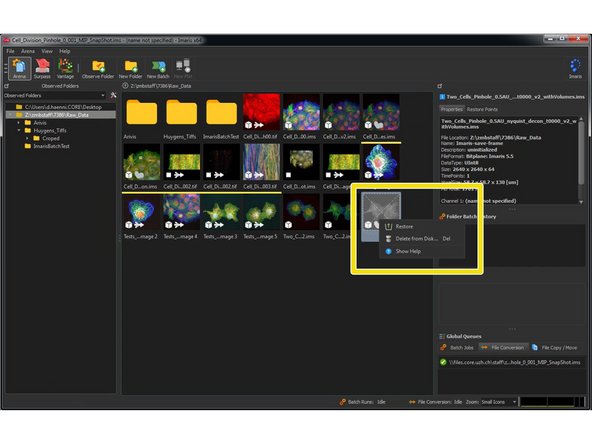
You can see them now again as grey thumbnails. Right click and "Restore" on such a grey thumbnail allows you to restore it.
-
You can also use the "Arena" view to copy or move files between folders. This also works by drag and drop.
-
-
-
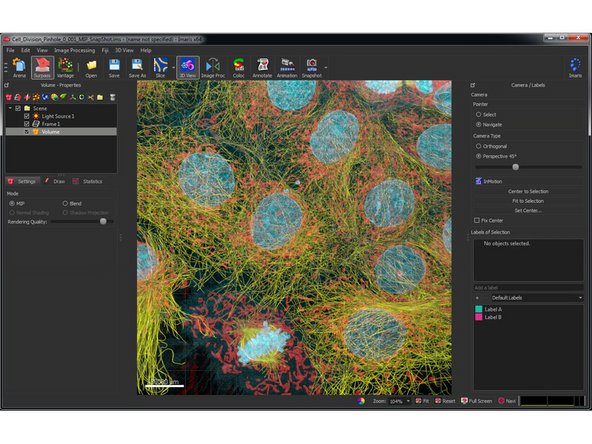
Double clicking on the converted file opens the "Surpass" view.
-
From this point on everything is the same as in the old versions of Imaris.
-
-
-
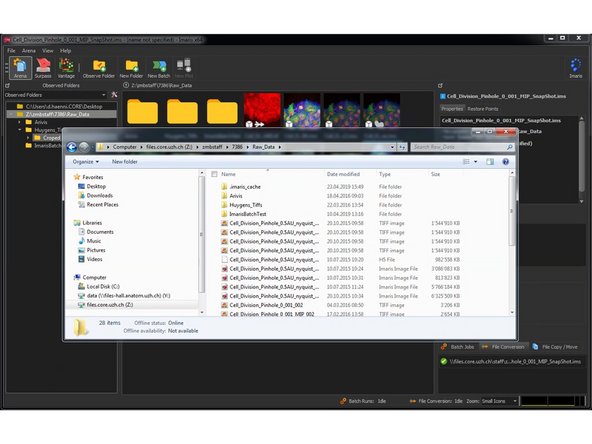
In the data folders of your "Observed Folders" you will find a new folder called ".imaris_cache". Here Imaris saves the thumbnails and some metadata.
-
By generating this cache, Imaris does not need to index the "Observed Folders" each time you access it. Which speeds things up quite a bit.
-
Deleting this folder does not do any harm besides forcing Imaris to re-index the folder which takes some time.
-


Cancel: I did not complete this guide.
4 other people completed this guide.

