Introduction
In this guide of the Center for Microscopy and Image Analysis you will learn how to set-up and use the water immersion objective on the GE InCell Analyzer 2500 HS microscope.
The higher numerical aperture of the water immersion objective, leads to a better optical sectioning, much better light collection as well as to an improved resolution. You will get more crisp and contrasty images by using the water immersion objective on this microscope.
Since contact immersion can lead to objective contamination we will also show how to clean an objective on this microscope.
This guide does not explain basic microscope operation. Please check out the other InCell guides for that.
-
-
The water immersion system uses the fluidics handling system of the InCell microscope.
-
Immersion water is taken from the "Reagent" bottle.
-
Before performing a water immersion experiments, carefully rinse and refill the "Reagent" and the "Wash" boottle with fresh ddH2O.
-
Excess water will be collected by a waste bottle in the back of the microscope. Also check that everything is fine there.
-
Carefully clean the bottom of your sample plate before putting it into the microscope.
-
-
-
Load a sample plate and an experiment or a plate template.
-
Check the sample using an air objective.
-
Click on the "Liquid Handling" button.
-
Check the fill volumes and adjust when needed using the "Set" and "Refill" buttons.
-
"Prime" both channels.
-
To avoid objective contamination, perform a "Wash Tip".
-
-
-
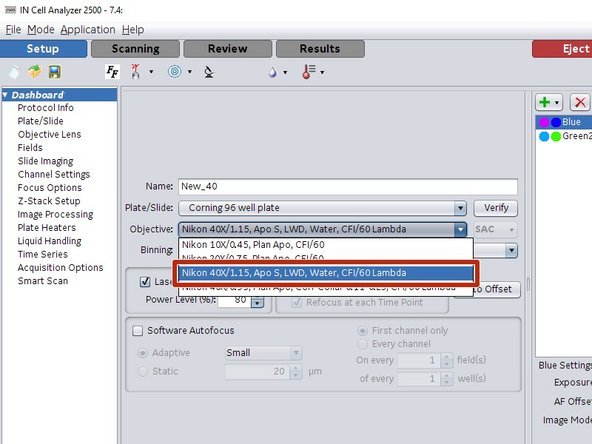
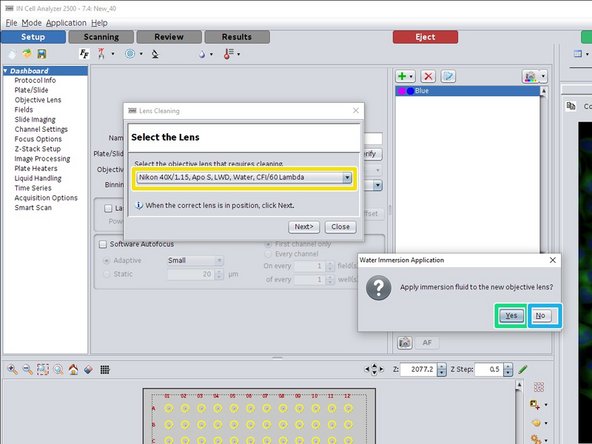
Select the "Nikon 40X/1.15, Apo S, LWD, Water, CFI/60 Lambda" objective from the drop down list.
-
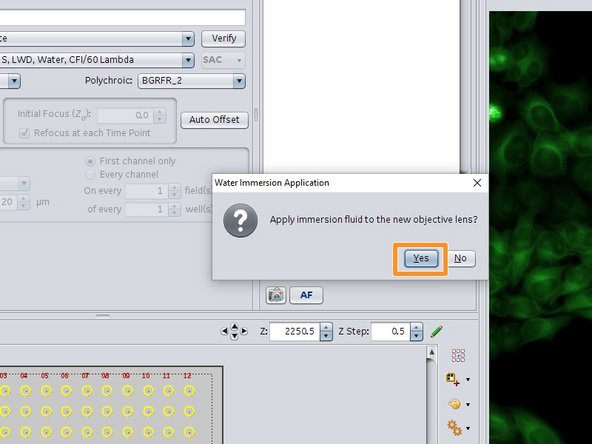
Confirm application of immersion water by clicking "Yes".
-
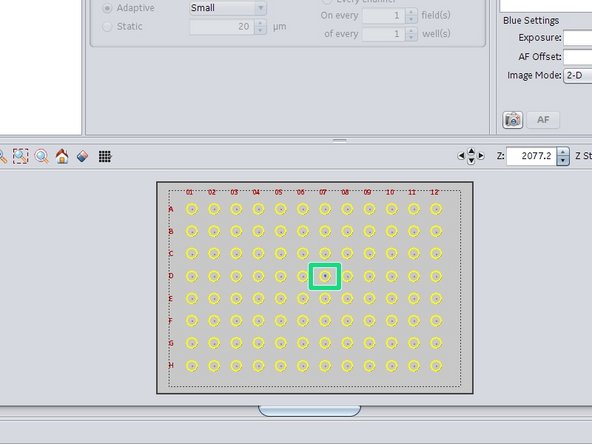
Click into the center of a well to ensure that the plate is back over the objective.
-
When switching back to another objective, the immersion water is automatically removed from the objective.
-
-
-
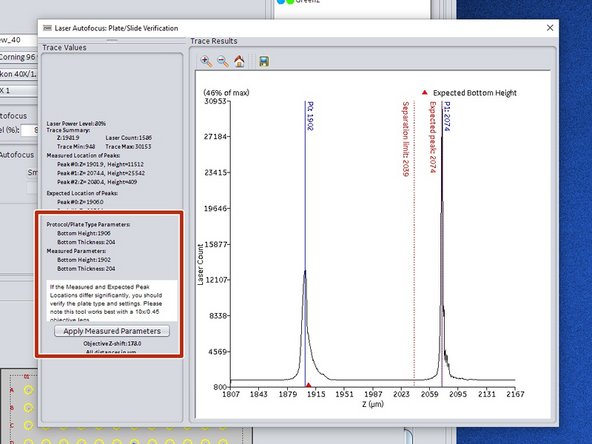
Run a "Verify" hardware auto-focus and check if the auto-focus trace looks good and that the plate parameters are correct. Otherwise adjust them accordingly.
-
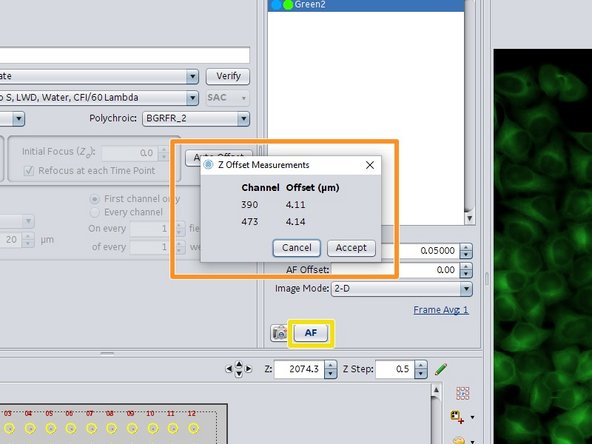
Run a "Auto Offset" to measure the new offsets of this objective.
-
Check the new channel offsets. By running an "AF".
-
-
-
When performing a screen, automated immersion handling is required to avoid loss of immersion due to plate movements or evaporation.
-
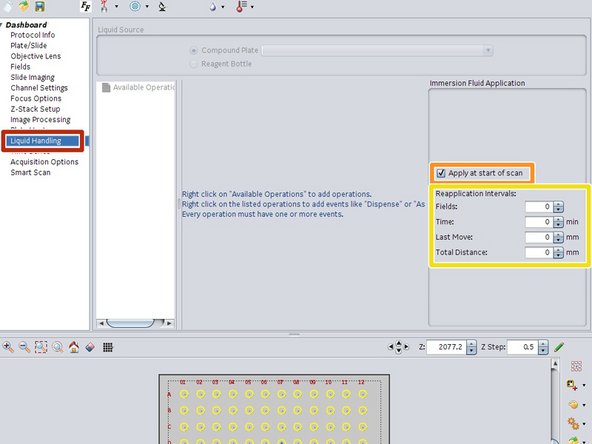
In the "Dashboard" go to "Liquid Handling".
-
Check "Apply at start of scan" for adding immersion water at the beginning of your screen.
-
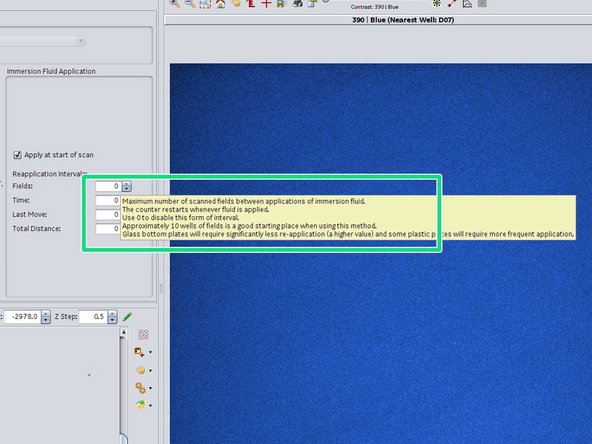
Choose you preferred immersion application strategy. The optimal settings will depend on the plate, plate material as well as on the acquisition parameters used for the screen.
-
Hoover with the mouse over the parameter fields to get more information about the settings as well as some recommended values.
-
Run your screen.
-
-
-
Due to the direct contact of the water immersion objective with the sample plate, there is a risk of dirt ending on the objective. If you observe a degradation of the image quality, clean the bottom of your plate as well as the water immersion objective as described here.
-
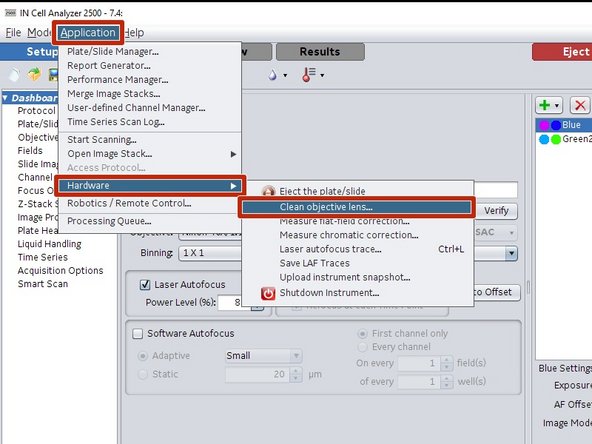
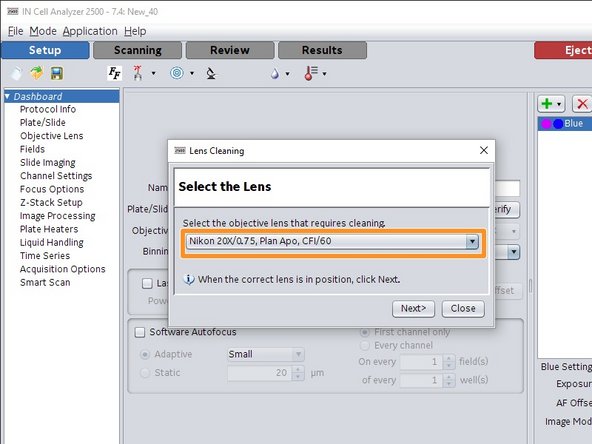
Go to "Application/Hardware/Clean objective lens..." for starting the cleaning wizard.
-
Select the objective to clean.
-
If you choose the water immersion objective, the wizard will ask if you want to apply immersion water or not.
-
Click "Yes" if you want to check if the immersion application works (Drop on the objective).
-
Click "No" if you want to clean the objective.
-
-
-
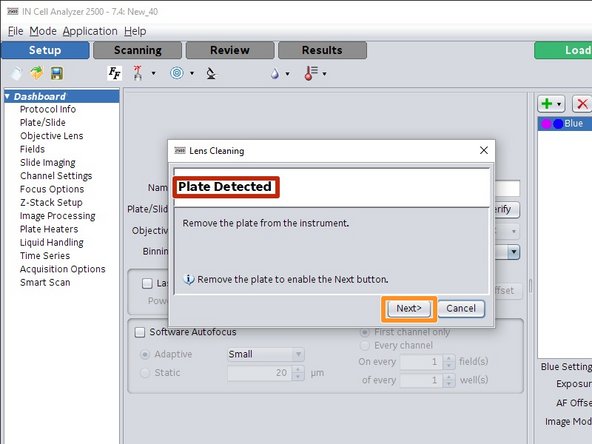
If there is a sample plate in the microscope, the wizard will open the tray and asks you to remove it.
-
Click "Next" when the sample is removed.
-
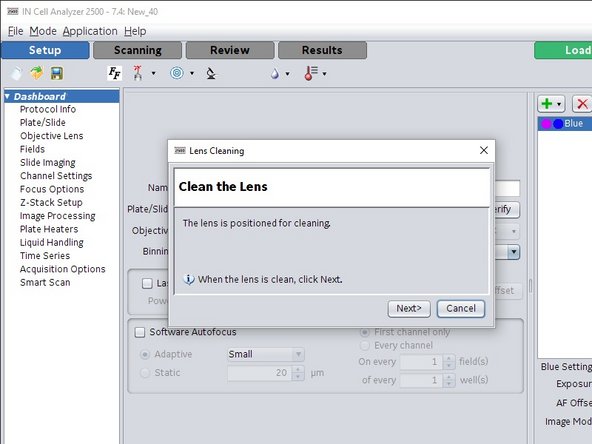
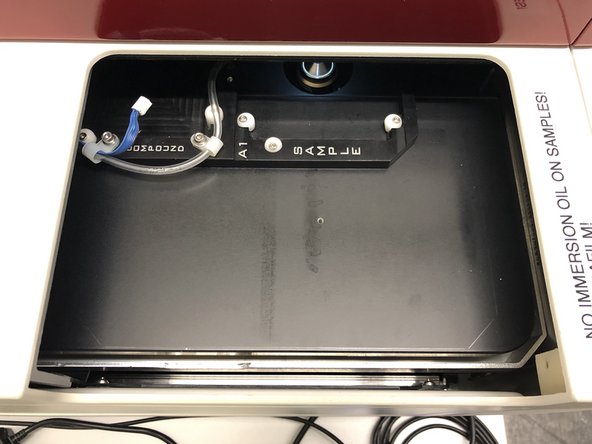
The sample try opens and the stage as well as the objective will be positioned for cleaning and the transmission light is activated for illuminating the objective.
-
-
-
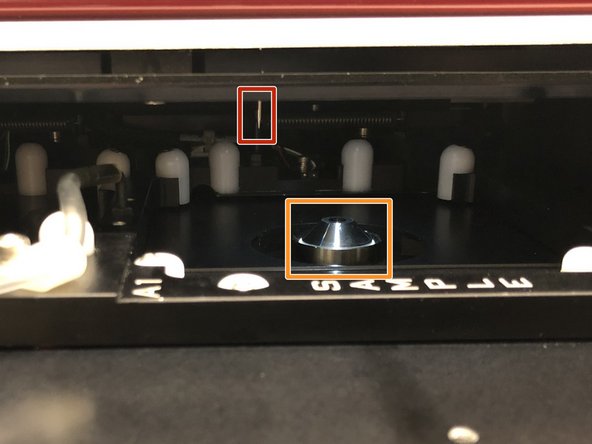
When cleaning the objective be careful not to touch the needle of the fluidics handling system.
-
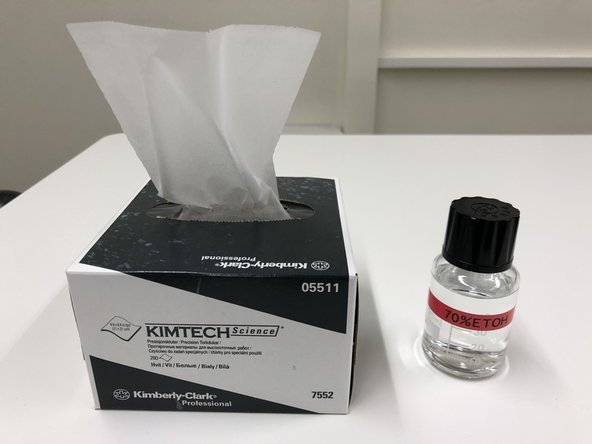
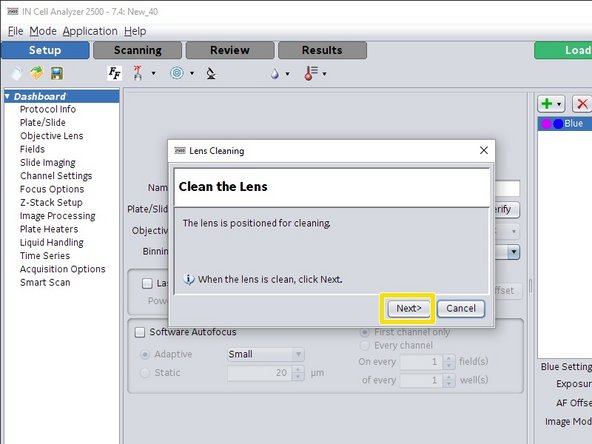
Very carefully clean the lens of the objective using Ethanol and KIMTECH wipes.
-
Click "Next" when done cleaning. The tray closes, and the stage as well as the objective moves back to the plate loading position.
-
Load your sample and finish the wizard.
-
The system will be ready for setting up and performing a screen.
-