Introduction
In this guide of the Center for Microscopy and Image Analysis at the University of Zurich you will learn how to set-up and use the live cell incubation system on the GE InCell Analyzer 2500 HS microscope.
-
-
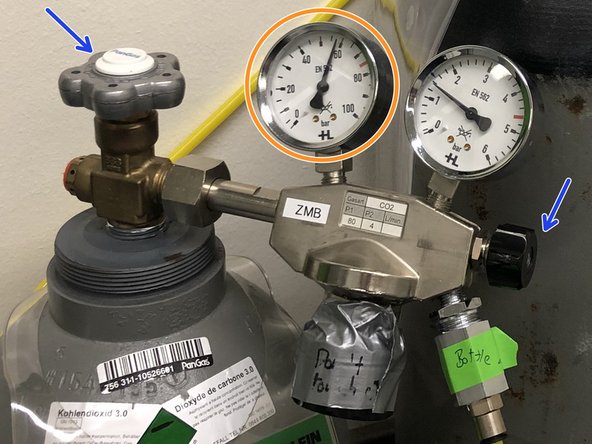
Open the valves at the CO2 and N2 bottles.
-
Do not change the pressure settings!
-
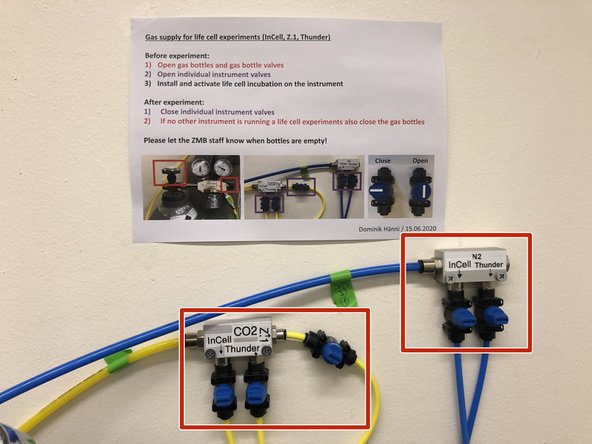
Open the wall mounted distribution valves labeled "InCell".
-
-
-
Open the fluidics handling tray of the incell.
-
Remove the bottle insulation.
-
Check that the gas inlet is properly submerged in double distilled water. If not add some more.
-
Only put back the bottle insulation when everything is properly set up and you can see gas bubbles in the bottle.
-
Do not fill the bottle too much since this might result in a blow out of water into the gas exit tubing.
-
-
-
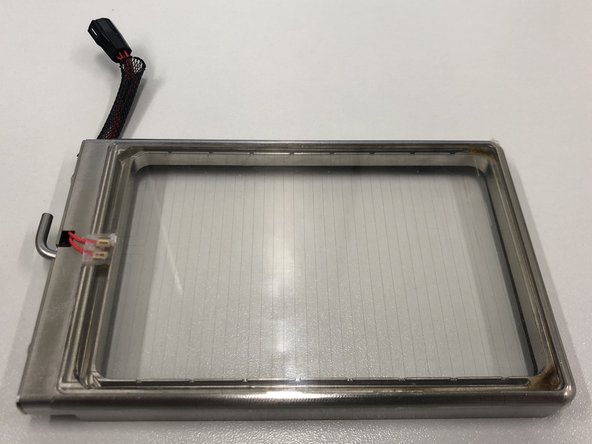
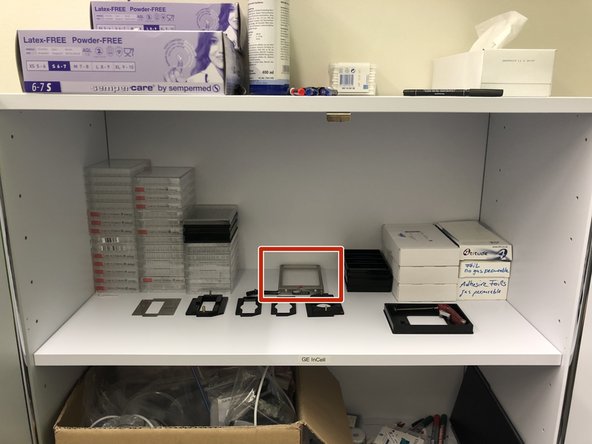
For the environmental control to work, a top heater is required.
-
It should be located in the cabinet close to the door.
-
The thin foil on top of the heater is the actual heating source. Do not remove it, this will destroy the device.
-
-
-
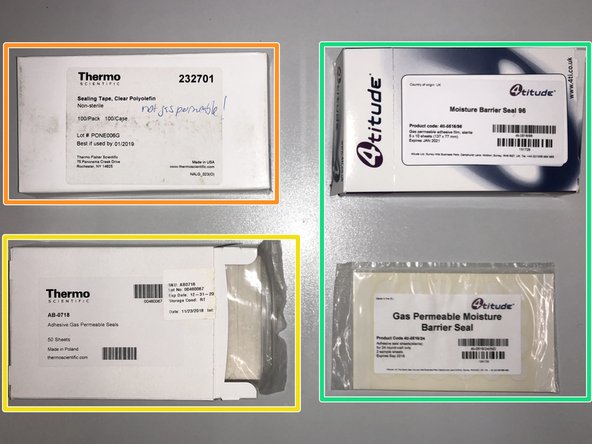
The environmental control system of the InCell is not sterile and cannot be sterilized. In order to keep your cells happy, consider to seal your plate with a gas permeable seal.
-
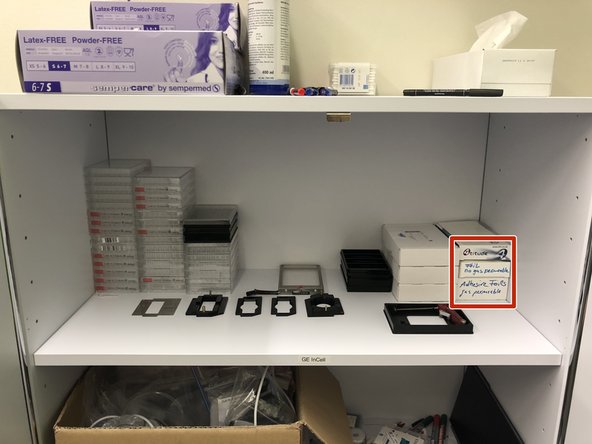
For your first test you can take a suitable seal from the cabinet close to the door. From then on you are requested to buy and bring your own.
-
Non gas permeable.
-
Gas permeable suitable for fluorescence but not transmission contrast.
-
Gas permeable suitable for both fluorescence and transmission contrast (Expensive: Please only use when transmission contrast is needed!)
-
-
-
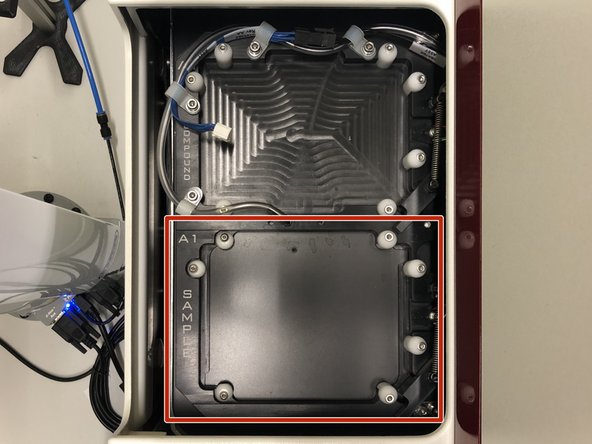
Mount your plate or live cell chamber into the Sample tray of the InCell.
-
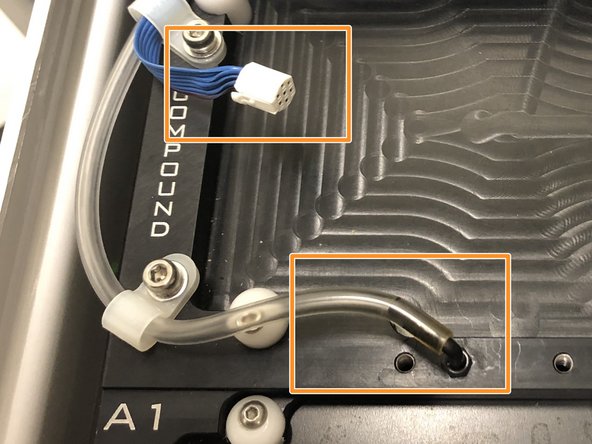
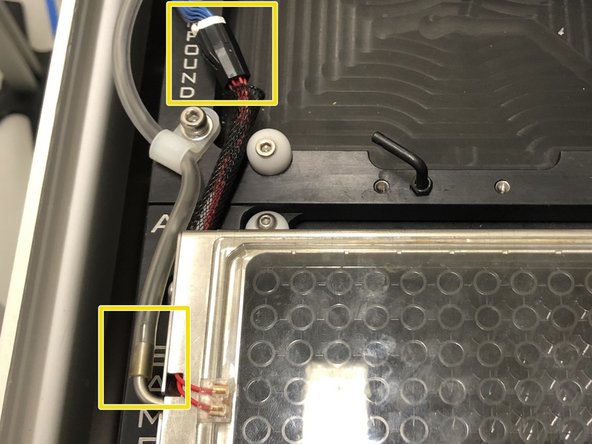
Locate the power as well as the gas connectors.
-
Carefully connect them to the top heater.
-
For some plates it needs a bit of force to put the top heater on. Always check that its properly placed and sealed before starting an experiment.
-
Heating up the bottom and top heater as well as getting a steady gas flow in the system might take some time (~30 min). Consider mounting a dummy plate first and only bring your cells from the incubator when everything is equilibrated.
-
-
-
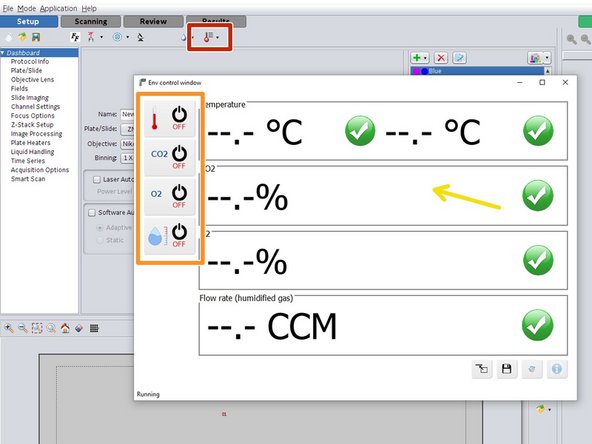
Activate the environmental control settings in the InCell software.
-
Activate the heating as well as the gas flow.
-
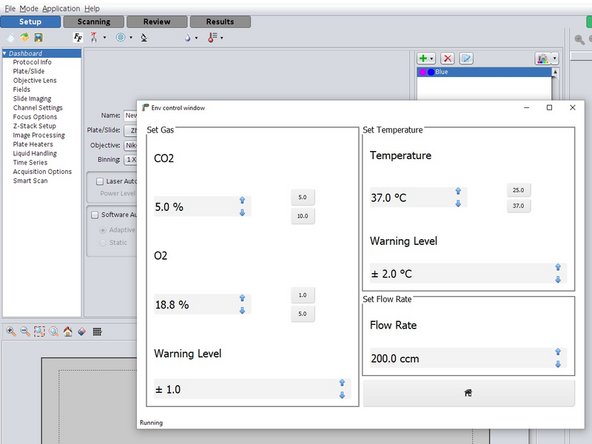
Double click on the status window to open the settings.
-
Here you can set your desired temperatures, gas composition as well as warning levels. A gas flow rate of 200 ccm is usually a good starting point.
-
-
-
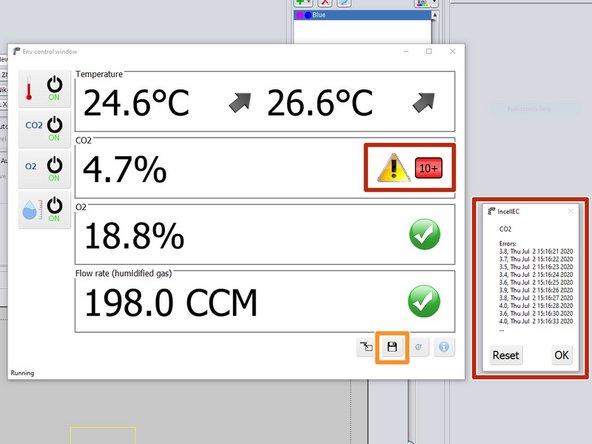
Until the system has equilibrated, you will get some errors.
-
Double clicking on the errors, will open the error log where you can check and reset the errors.
-
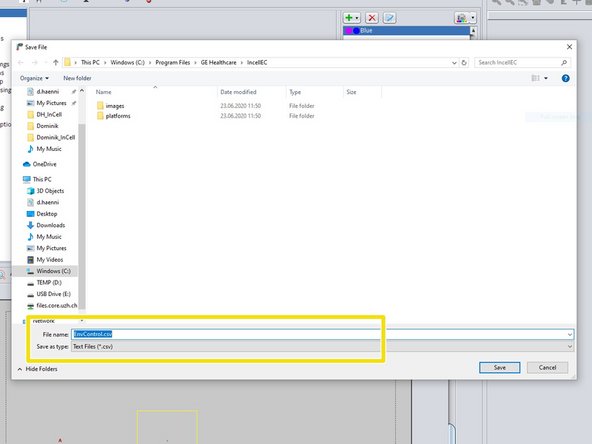
To ensure a successful incubation during an experiment you can download the log files after an experiment by clicking on the disk icon.
-
We recommend you to save your environmental log files together with your experiment.
-
When running the experiment do not close the environmental control window but just minimize it.
-
-
-
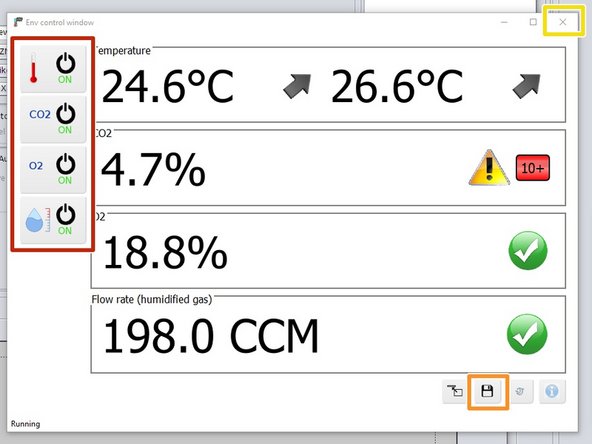
Turn off the environmental control.
-
Do not forget to save your log files.
-
Close the environmental control software.
-
After closing the environmental control software also check in the lower right of the software if the bottom heater is really off. If not, try again by using the environmental control software.
-
Carefully disconnect, clean and store away the top heater.
-
-
-
Check if the other systems in the room are running a live cell experiment
-
If yes: only close the distribution valves of the InCell microscope.
-
If No: Close the distribution valves of the InCell as well as the valves on the gas bottles.
-
When done also check the fill level of the gas bottles. Please inform the ZMB staff when below 20% of the full bottle capacity (as indicated by the red marking)
-


