-
-
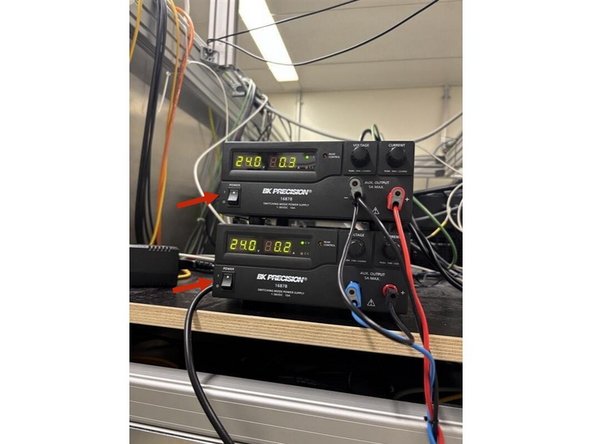
Turn on the 2 power supplies (top left of the microscope).
-
Both should indicate 24.0 V
-
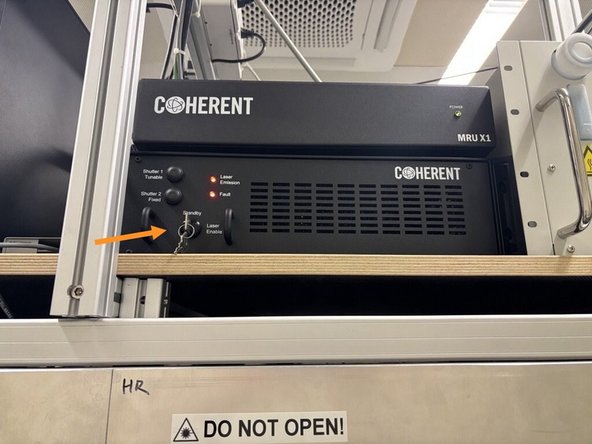
Turn on the laser key to "Laser enable".
-
The laser is on the top right of the microscope.
-
-
-
Log in with your core credentials
-
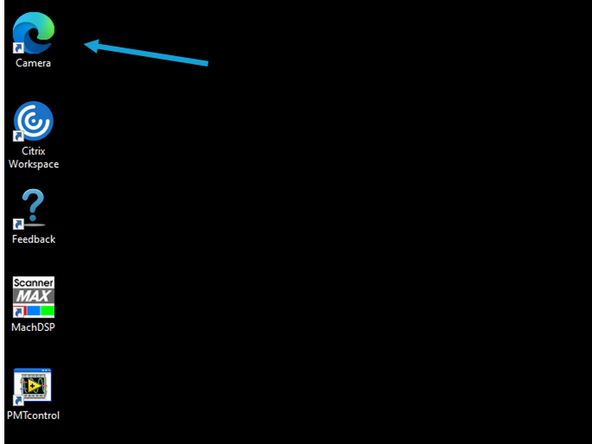
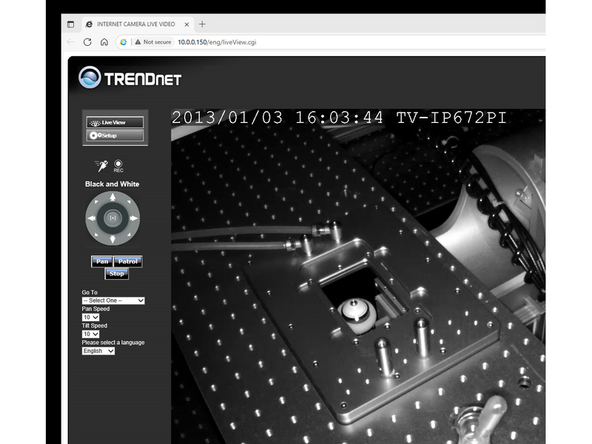
Start the Camera
-
Log in with the appropriate credentials.
-
-
-
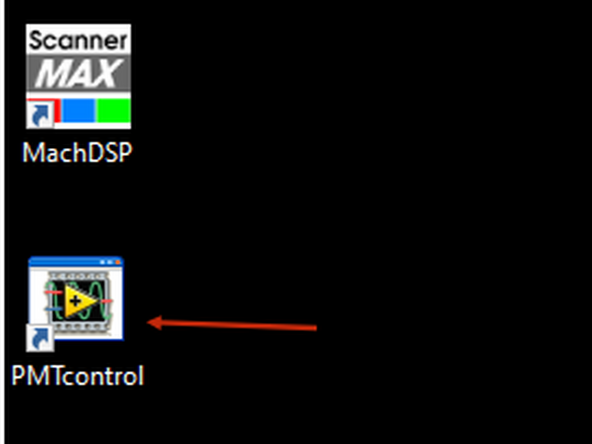
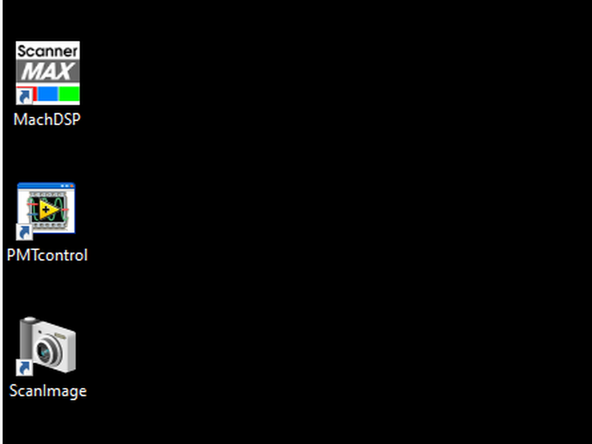
Start PMT control
-
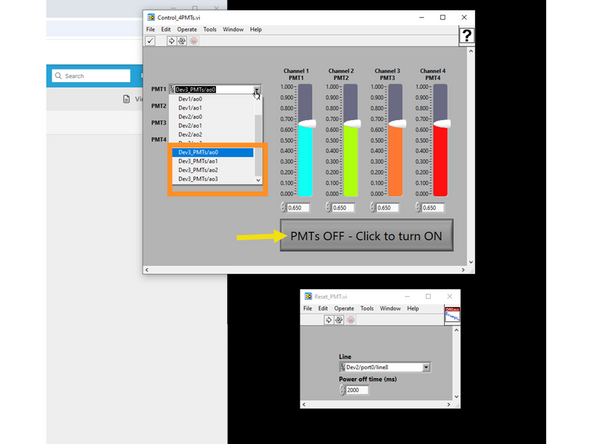
Adjust size of Reset_PMT window
-
Ignore the error 5x and insert correct device for each PMT
-
Toggle to switch on and off PMTs
-
-
-
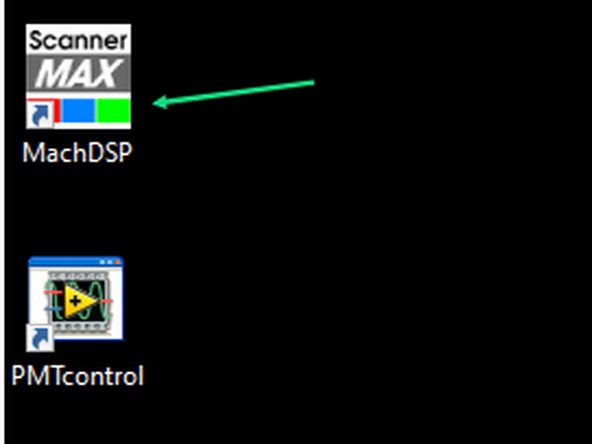
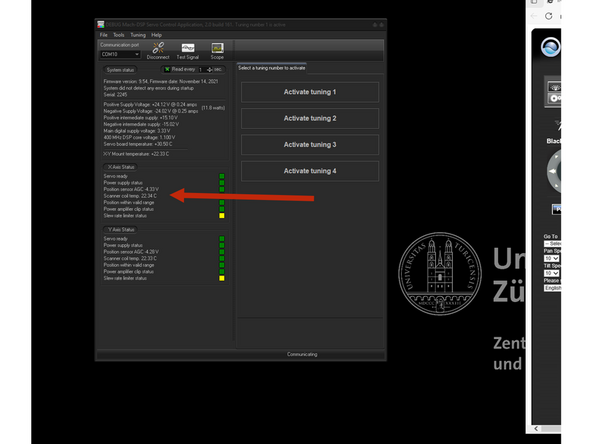
Start Scanner MAX
-
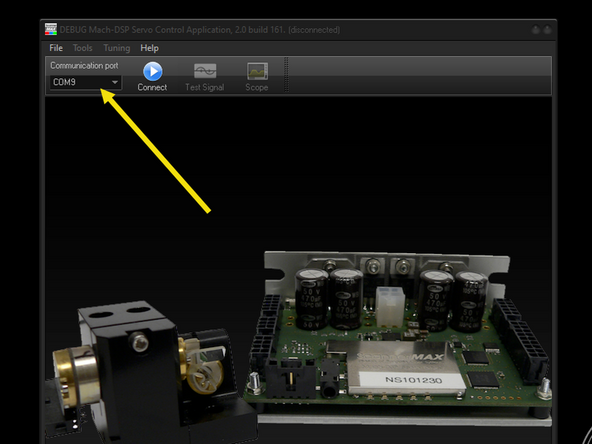
Connect to COM10
-
You are now connected. Please make sure when imaging coil temp is bellow 80°C. If not decrease the scanning speed or increase zoom.
-
-
-
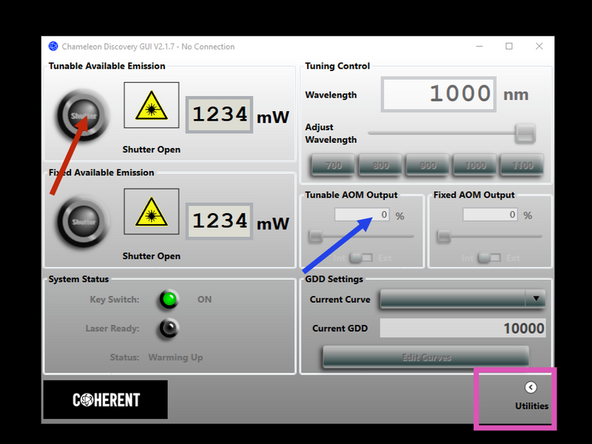
Start Coherent software
-
Select Utilities. Select Configuration
-
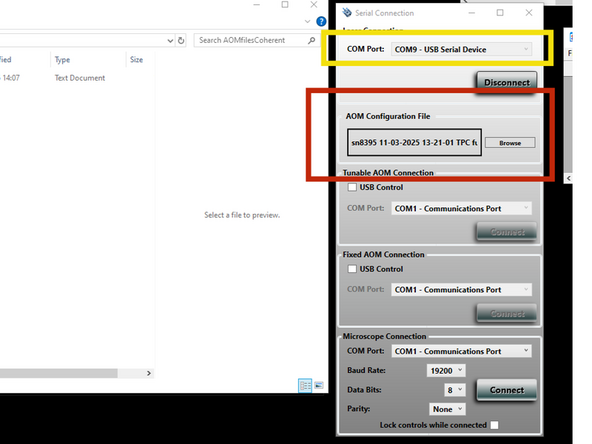
Connect to COM9
-
Choose the location of AOM Config file - direct it to C:\AOMfilesCoherent
-
Sellect the tunable laser output (eg 50%) and wavelenght.
-
-
-
Start ScanImage
-
Start user config (eg Imene)
-
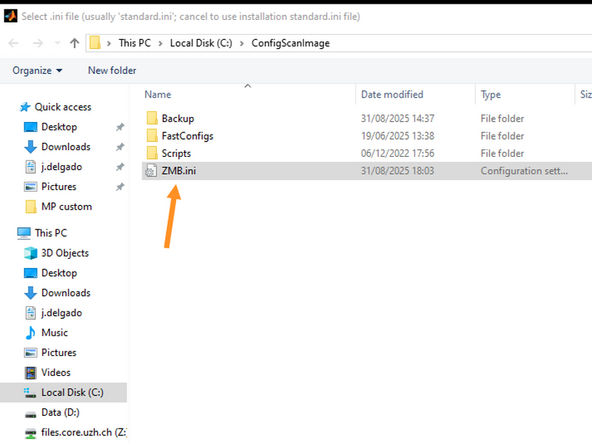
Select the instrument configuration “ZMB.ini”
-
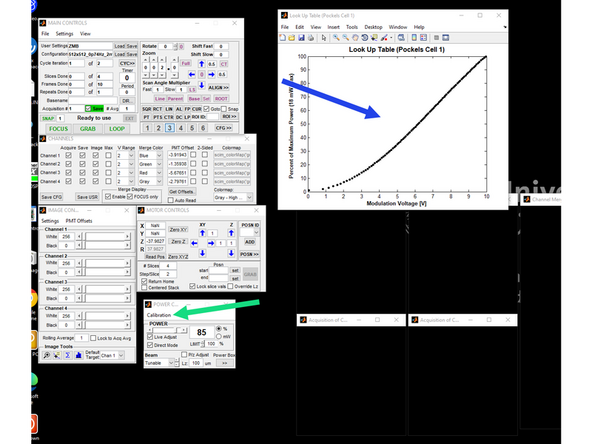
Calibrate the laser power (eg 50% in the coherent software, you can then tune it further down through scan image eg 10%, this would be 0.5% of the total power)
-
Check the calibration curve
-
-
-
Select the folder where you want to save your data.
-
For fast Ca2+ Imaging choose D:/file/ create a folder with your core credentials (eg. i.sakchi)
-
For slower acquisition saving directly in your data folder will be ideal.
-
Keep in mind there is no metadata saved with the image, so make sure you record all relevant information in a separate txt. file eg. laser power, resoltution, speed, laser power
-
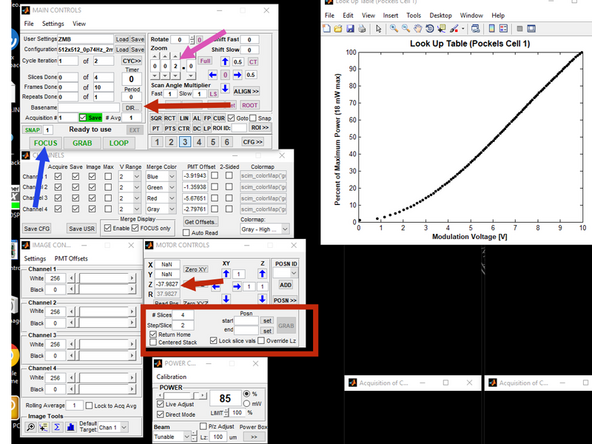
For z stacks make sure the motors are atposition 400. You can then define top and bottom by moving the z arrows and clicking "set".
-
Use "Focus" for live view
-
Use "Loop" for timeseries
-
Use Grab for a single image
-