Introduction
3D segmentation
Tiffs with multiple planes and multiple channels are supported in the GUI (can drag-and-drop tiffs) and supported when running in a notebook. Multiplane images should be of shape nplanes x channels x nY x nX or as nplanes x nY x nX. You can test this by running in python
-
-
Reserve and open a ZMB special B VM.
-
Search for and open "Anaconda Powershell Prompt (MinicondaZMB)" via the start button.
-
-
-
Check if the "zmb_cellpose" or "zmb_cellpose_v4" environment is available:
-
conda info --envs
-
Note: There are different environments with different cellpose versions: zmb_cellpose has version 3 installed, and zmb_cellpose_v4 has version 4.
-
Contact the ZMB staff, if no cellpose environments are listed.
-
Activate the desired enviroment:
-
conda activate zmb_cellpose
-
Sometimes, an error-message appears (see image). This particular message can be ignored.
-
The environment was activated successfully, if it is listed at the start of the line.
-
-
-
For best accuracy and runtime performance, resize images so cells are less than 100 pixels across
-
For multi-channel, multi-Z tiff’s, the expected format is Z x channels x Ly x Lx
-
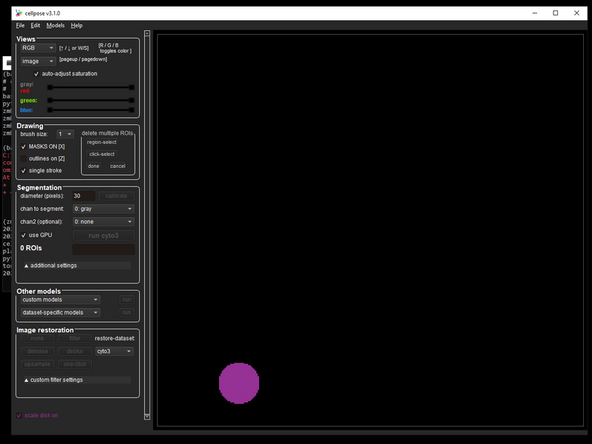
CHAN TO SEG: this is the channel in which the cytoplasm or nuclei exist
-
CHAN2 (OPT): if cytoplasm model is chosen, then choose the nuclear channel for this option
-


